Optimizing Your Experience
Studio is being deprecated, please head over to the documentation page for Mattercraft, our most advanced 3D tool for the web, where you can find the most recent information and tutorials.
Keeping your experience under the recommended 5MB limit can prove tricky at times. The following tips will help to ensure that your content, and subsequently the experience itself, is being optimized effectively.
ZapWorks Studio
Section titled “ZapWorks Studio”Remove unused files from the experience
The Media Library stores all of the media imported to a project. Any files found here will contribute to the final download size.
As a project progresses assets may be revised or updated, at times leaving unused media files left over within the Media Library.
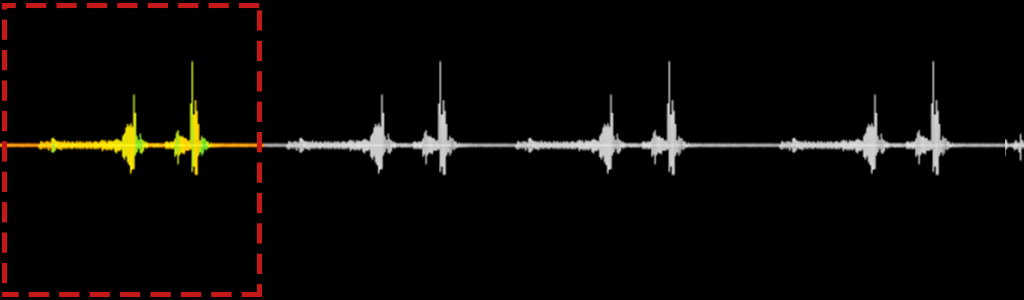
The Analyse > Final Download Size option (accessible through the lightning bolt menu in Studio’s UI) displays all media files used across the project, including those found within any subsymbols.
This option also displays a warning for any unused media files detected in the project, and which may be safely removed.
Studio may not be able to detect the use of media files referenced through a script.
<Image src=“/img/zappar-studio/optimisation/2.jpg)
Images
Section titled “Images”Export images at a lower resolution
The resolution of digital images is determined by their pixels per inch (PPI) setting, which sets the image’s pixel density i.e. the higher this value, the sharper the image will appear.
Reducing an image’s pixel density value will reduce its overall resolution and result in a smaller file size.
Images that won’t be the focus of the experience can be exported at a lower resolution as greater levels of detail are less likely to be noticed, making the higher resolution unnecessary.
In the image below the UI content on the left was exported at 1024 x 1024, while the UI content on the right was exported at 512 x 512. Though the latter produced a significantly lower file size the reduction in image quality isn’t noticeable due to its small scale relative to the scene.
<Image src=“/img/zappar-studio/optimisation/3.jpg)
Generally, the standard resolution for digital images is 72 PPI.
ZapWorks Studio also provides the ability to edit an imported image’s properties. This includes options to change the image’s quality, as well as resizing the image’s dimensions. You can access these options by right-clicking the image file in the Media Library.
Use JPG images instead of PNG images
The PNG file format uses a lossless form of data compression meaning that as a file’s size is reduced, its original quality is maintained.
However, this compression method results in larger file sizes than those exported to file formats that use lossy data compression, such as JPG.
The images below were exported with the same settings at 512 x 512 resolution, but to different formats. The image on the left is a PNG image with a file size of ~135 KB, while the image on the right is a JPG image with a file size of ~60 KB.

ZapWorks Studio allows an imported image’s final format to be changed from within the image’s Properties option mentioned in the previous section.
Images will be compressed during the export process within the image editing software, though online compression tools are also available.
Export audio files at a lower bitrate
A file’s bitrate property refers to the amount of data the file stores and processes over a set amount of time.
Reducing a file’s bitrate will produce a lower quality audio file (as less data is stored) but can reduce the file’s size considerably.
Try exporting your audio at different bitrates until you find an acceptable balance between quality and file size.
Use mono channel audio instead of stereo
Stereo audio is defined as any audio that uses more than a single audio channel (which itself is referred to as mono audio) and results in larger files.
AR experiences very rarely require headphones, making the use of stereo channel audio unnecessary in most cases.
Trim long audio tracks to create shorter loop-able audio
Long audio files that are comprised of a shorter, looping audio track can be exported as a single looped section instead, and be set to loop within ZapWorks Studio.
Use streamed videos instead of local video files
The use of video files local to the project i.e. imported to the Media Library, will increase the experience’s final size significantly. To avoid this videos can be hosted externally and streamed to your experience using Studio’s video player symbol.
If streaming a video is not possible, follow the tips below to optimize your local video files.
Export videos at a lower bitrate
Video files also have a bitrate property i.e. the amount of data the file stores and processes over a set amount of time.
Reducing the video’s bitrate will reduce its final quality, but will also decrease its file size.
Export videos at a lower resolution
Videos that won’t be the primary focus of a scene (a smaller video playing in the scene for example) can be exported at a lower resolution, as a reduction in quality will be less noticeable.
To avoid compatibility issues, videos should not exceed 1920 pixels in either dimension.
Use custom dimensions to trim unused areas of the frame
The dimensions of videos which contain a large amount of blank space can be trimmed to remove unnecessary areas of the frame, resulting in a video with smaller dimensions and a smaller file size.
Use shorter, loop-able videos where possible
Videos that are comprised of a short, looping section of video can be exported as a single looped section, and be set to loop within ZapWorks Studio.
3D Assets
Section titled “3D Assets”optimize the geometry to reduce the polygon count
3D models with a higher polygon count will produce a larger file when exported.
The model’s polygon count can be reduced through manual optimization of the mesh or, alternatively, many 3D software offer built-in tools that perform basic mesh optimization.
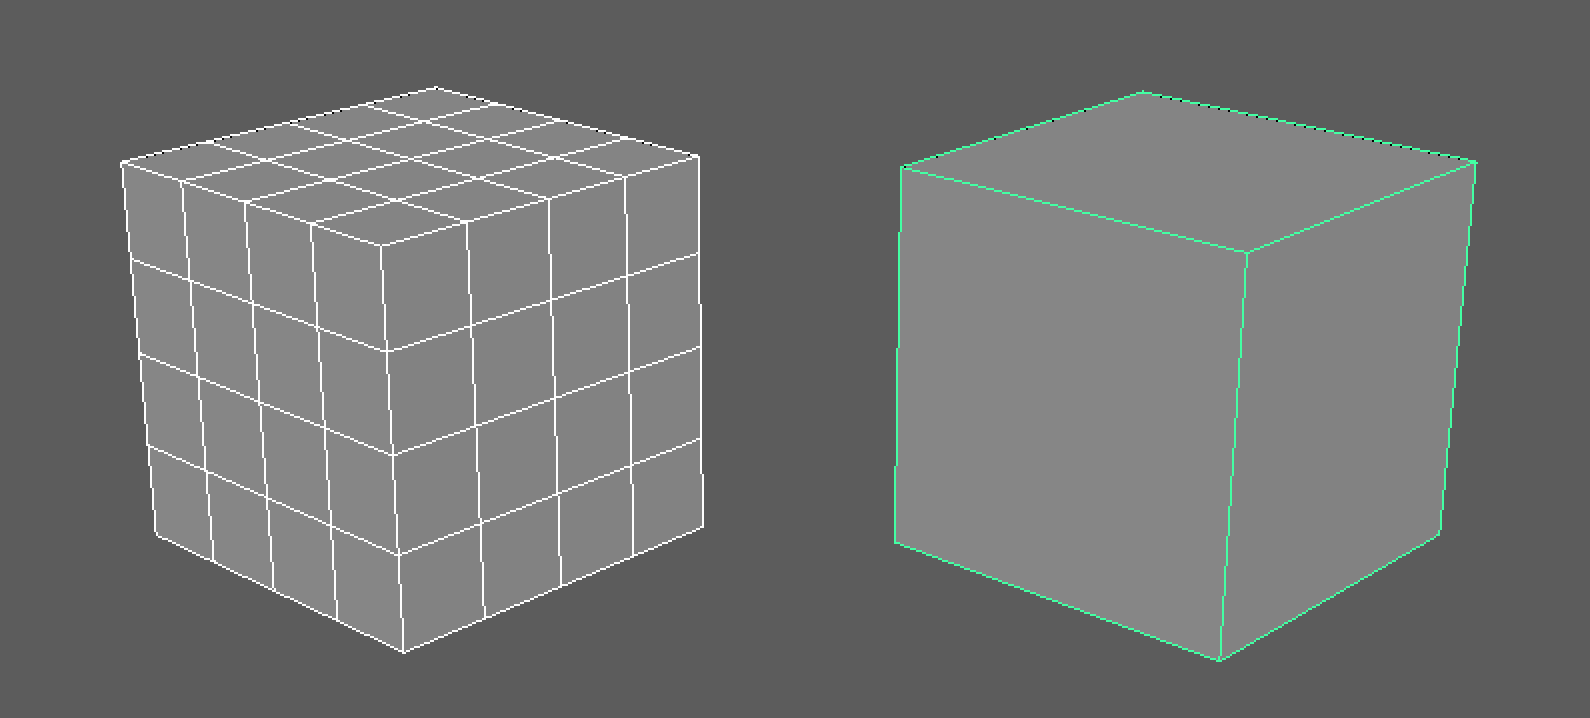
Distribution of poly limits across the experience should also be considered; models that will be rendered at a relatively smaller scale in the scene should use a lower poly count than those that are a scene’s main focus.
As per our Supported Formats and Limitations article, we recommend a maximum total poly count of 100K for an entire experience.
Export texture files at a lower resolution when appropriate
Texture files that provide less complex texture detail to the model’s surface can be exported at a lower resolution, as a reduction in quality will be less noticeable.
In the first screenshot below (left), both the dog and football 3D models are using texture files that have been exported at 512 x 512 resolution. In the second screenshot (right), their texture files have been reduced to 128 x 128 resolution. As the dog’s texture file is describing a more complex surface than the football model’s texture file, the drop in quality from the reduced resolution is more noticeable.
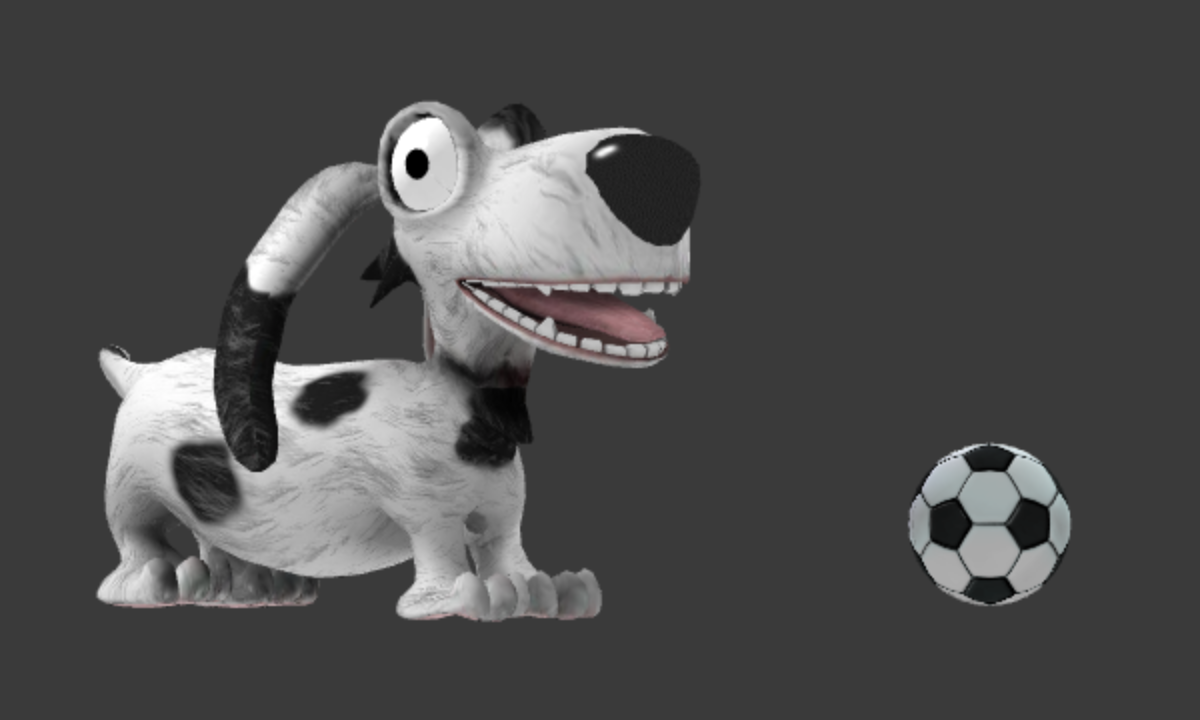
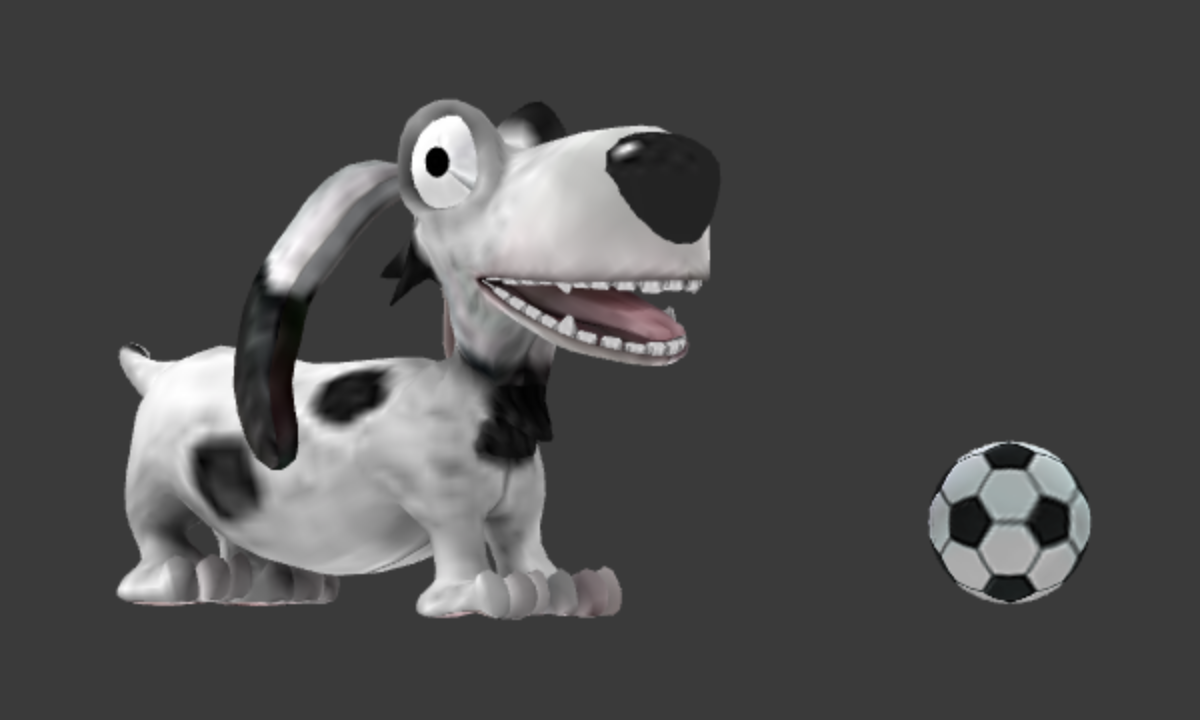
As can be seen from the previous images, the scale of the model within the scene should also be accounted for; lower resolution texture files are less noticeable when working with smaller objects in the scene.
These models are available from our 3D model library.
Finding a balance between a texture file’s most suitable resolution and its file size is especially important when working with ZapWorks Studio’s lighting materials, due to the additional texture maps required.
Normal maps will usually need to be exported at a higher resolution to avoid artifacts.
While not necessarily an optimization technique, managing the UV space on a texture map (especially when working with lower resolution texture files) is good practice. Essentially this involves reserving a larger portion of the UV map for areas of the mesh that require a greater level of texture detail.