Timelines
In ZapWorks Studio, Controllers and States provide the ability to transition the properties of a node from one value to another. Timelines functionality extends this concept by allowing for the creation of custom, more complex, transition animations e.g. simultaneously rotating and moving a 3D model in the scene.
Just as with states, timelines are managed by a controller. The controller stores a user-defined set of node properties that can be animated by any timeline belonging to the given controller. For example, if a node's position property is assigned to a controller, a timeline within that controller can animate the position of the node.
Adding Timelines
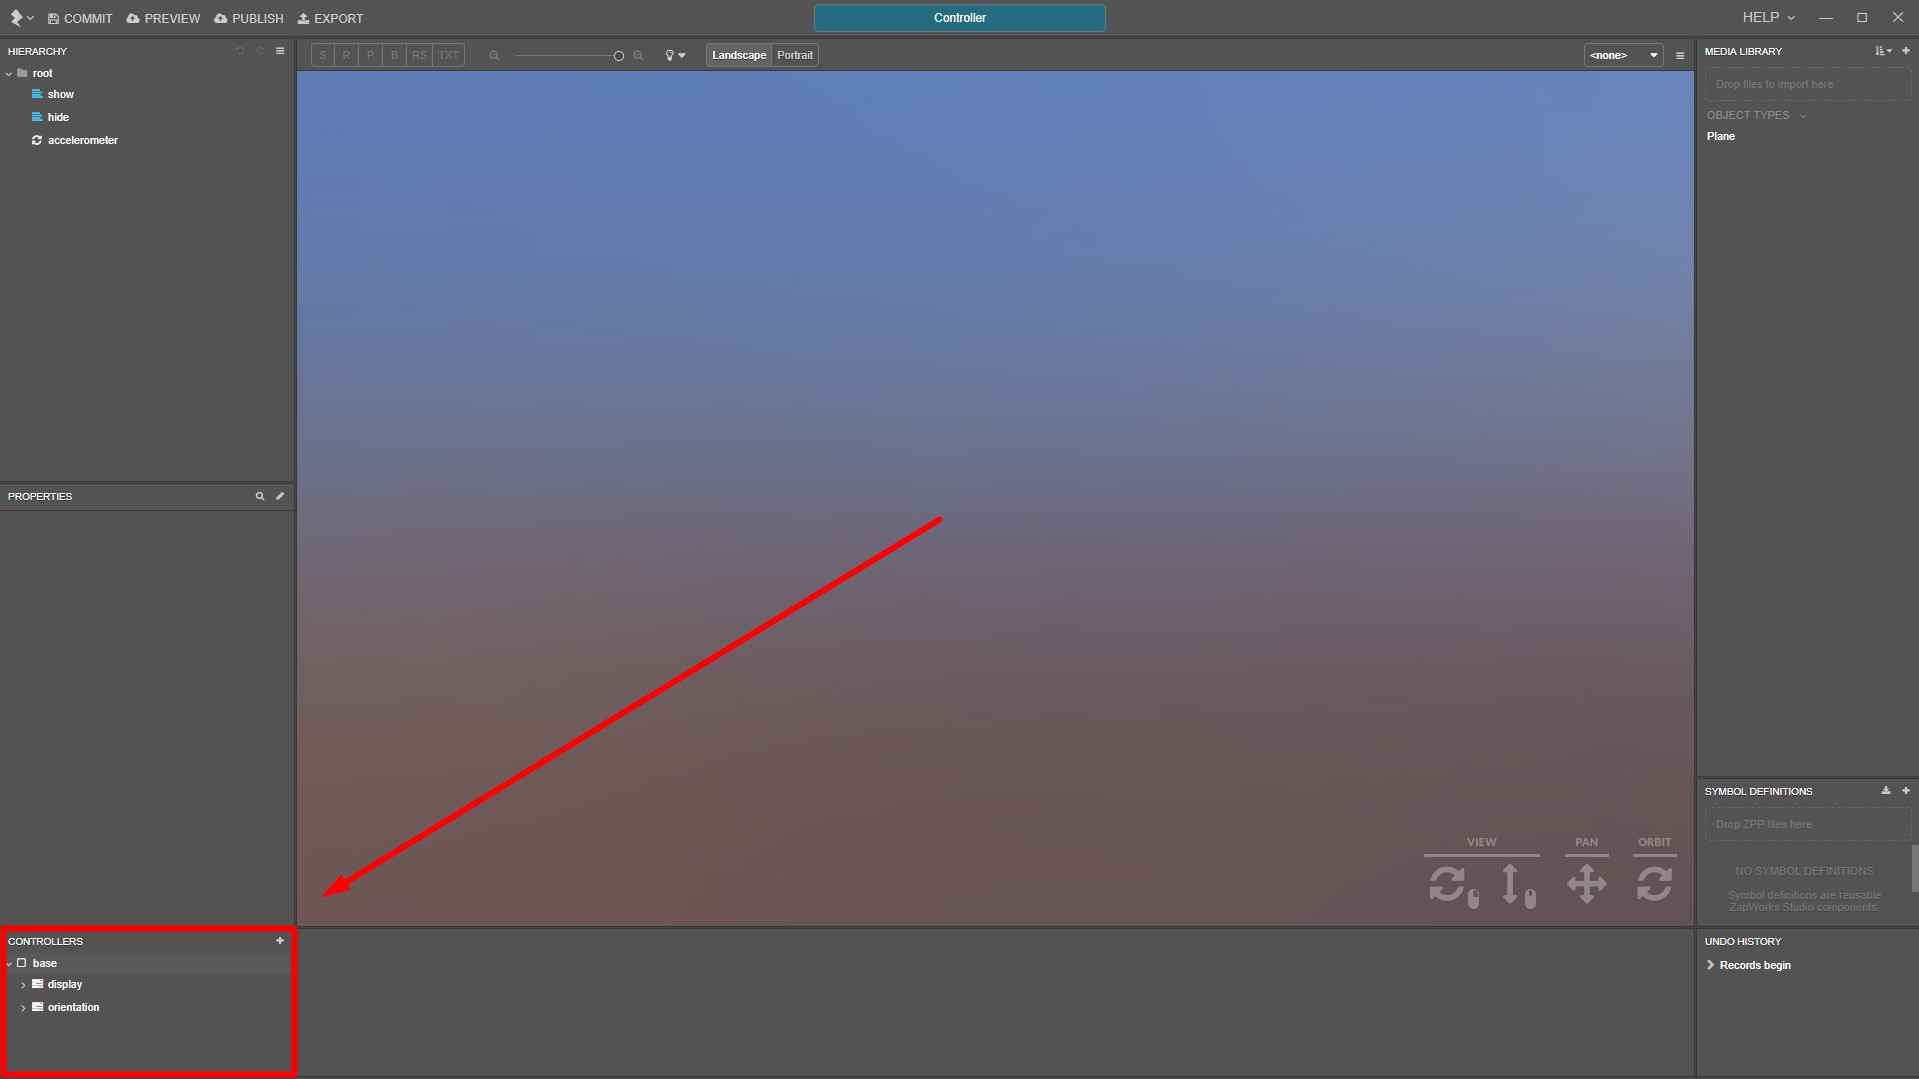
Timelines are created and managed in the Controllers Panel, located in the bottom left of Studio's UI.
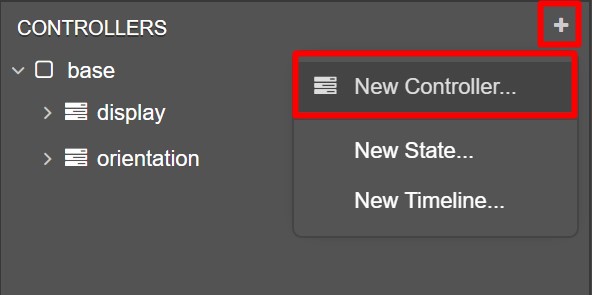
As they are managed by them, a controller must be created before a timeline can be added. To add a controller, click on the plus (+) icon in the Controllers Panel and select New Controller.
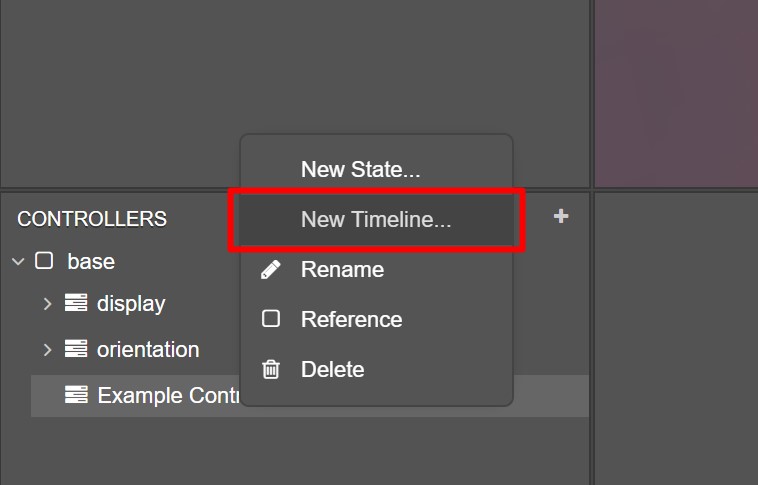
To add a timeline to a controller, right-click on a controller and select New Timeline.
Assigning Properties
Before a node's properties can be animated along a timeline, the properties must first be assigned to the timeline's controller.
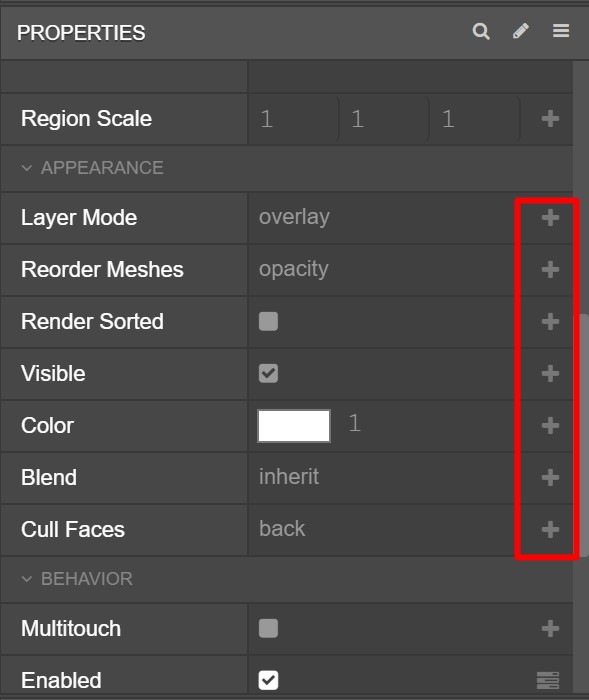
To assign a property to a controller, select the controller first, then a node in the Hierarchy. Clicking the plus (+) icon to the right of a property in the Properties panel will add it to the controller.
Once assigned, a property can be animated along the timeline to create custom animations.
Timeline View Panel
While a timeline is selected, the timeline panel is shown along the bottom of Studio's UI. Animated node property transitions are displayed in this view.
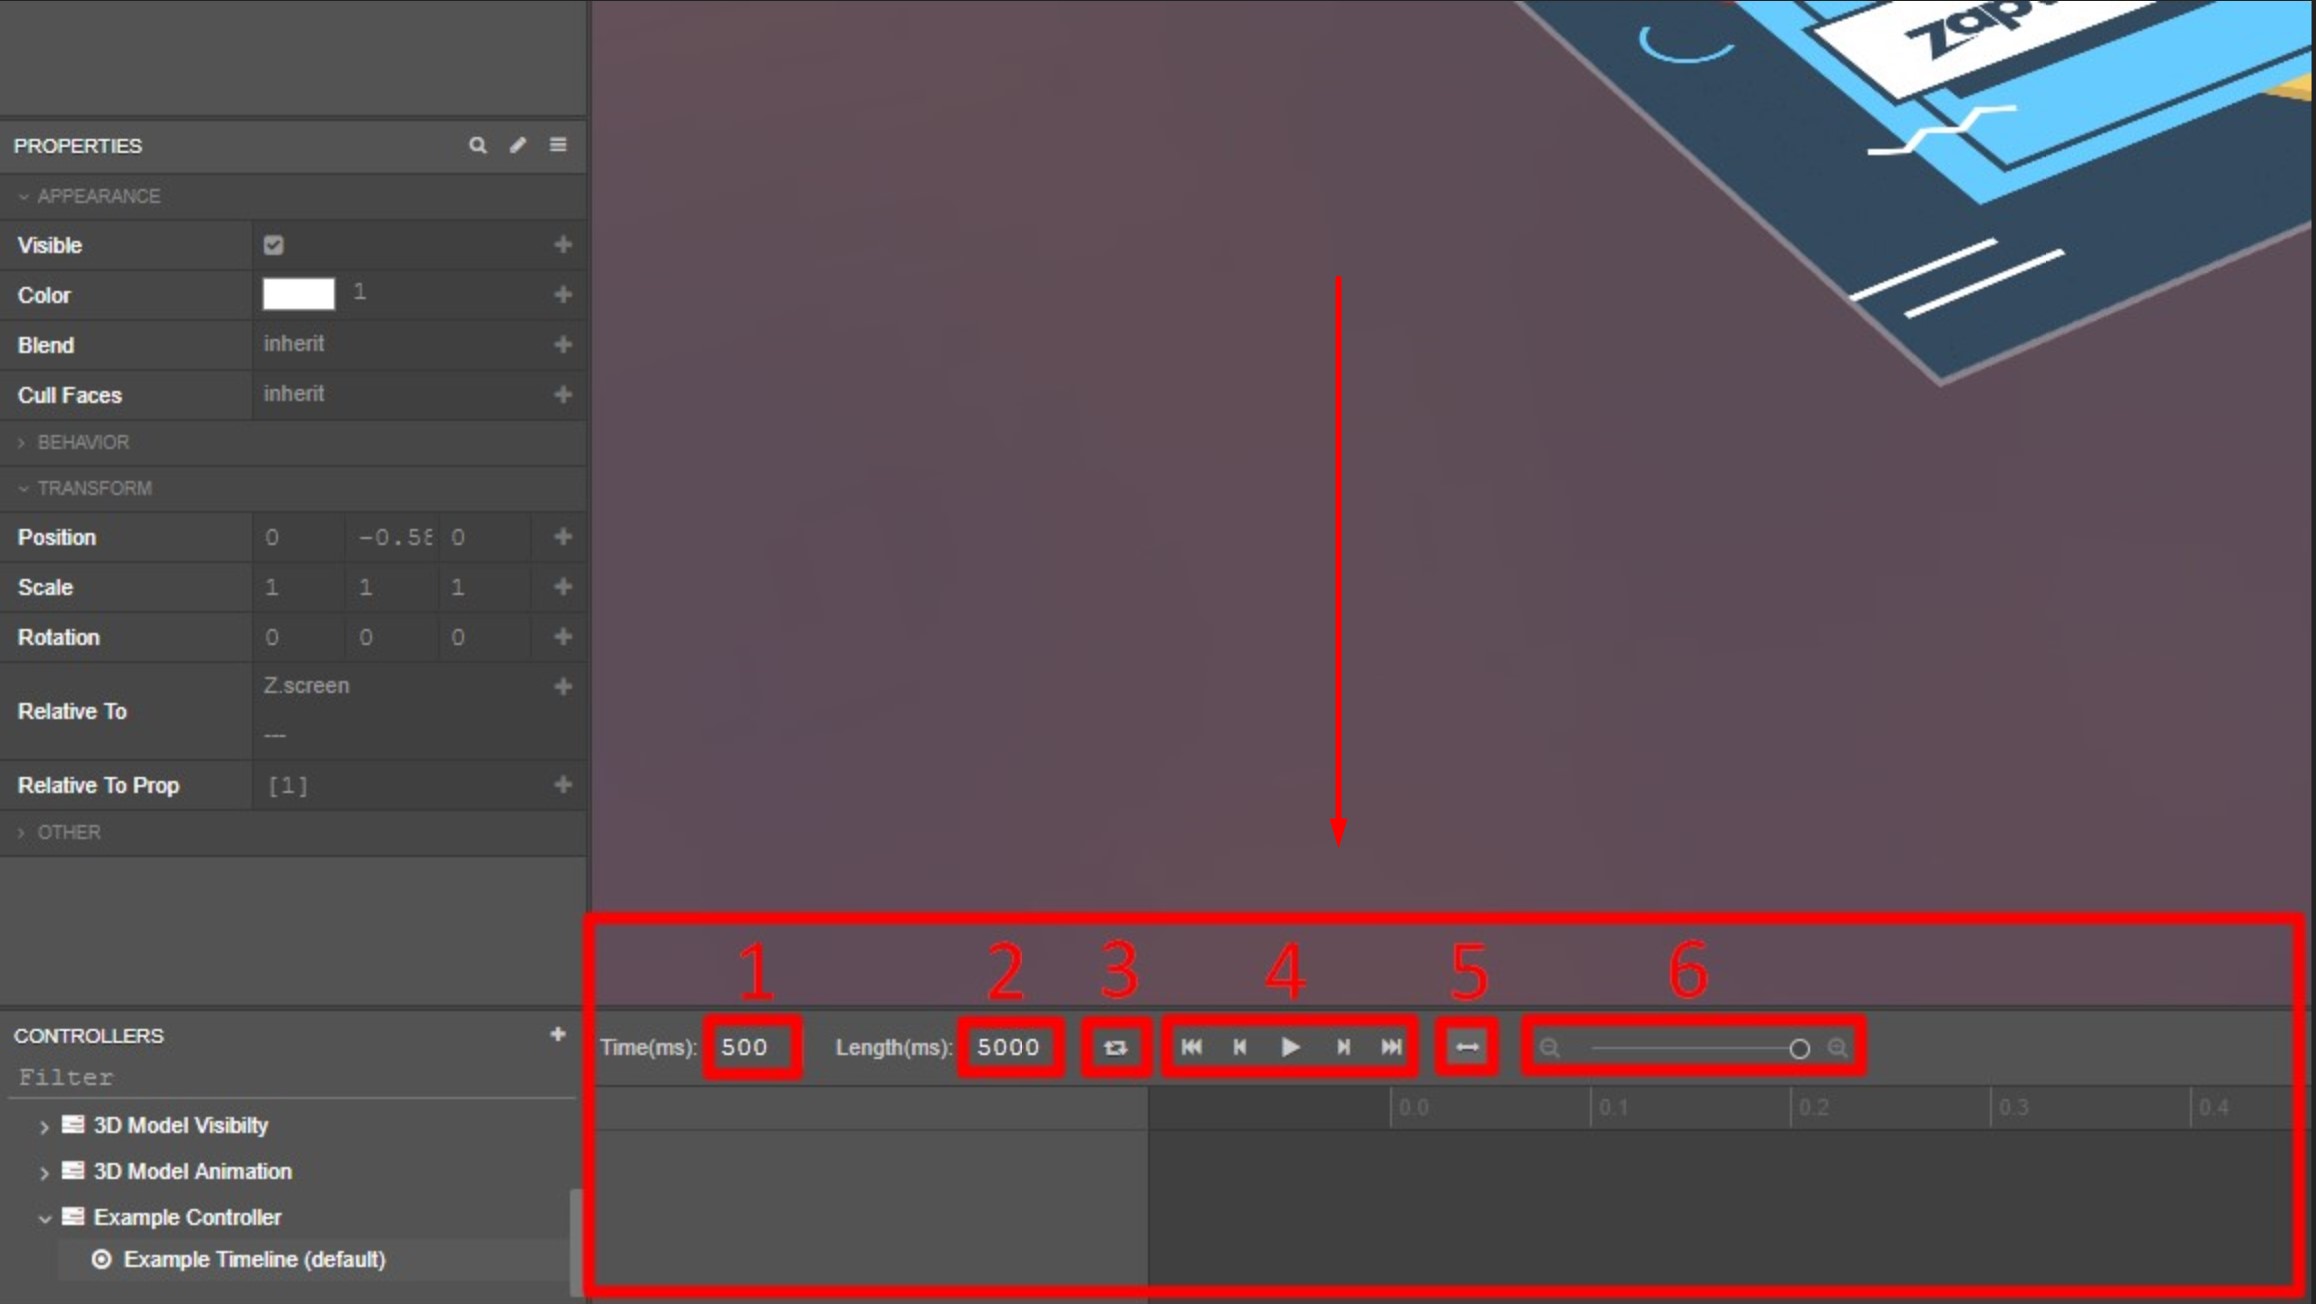
This panel contains helpful timeline tools, listed below:
| Diagram ID | Description |
|---|---|
| 1 | The time at which the seek bar is positioned along the timeline, in milliseconds (ms). |
| 2 | The total length of the timeline, in milliseconds (ms). |
| 3 | Sets whether the timeline should loop playback continuously. |
| 4 | The timeline controls allow you to play or pause playback, jump to the start or end of the timeline, and jump to the previous or next keyframe. |
| 5 | Sets whether the seek bar should snap to the nearest keyframe. |
| 6 | Sets the zoom level of the timeline. |
Keyframes
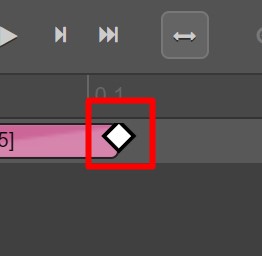
Keyframes represent a point along a timeline at which a property's value was changed, denoting the beginning or end of a transition. These keyframes are depicted by diamonds on the timeline.
Keyframes are automatically added to a timeline when the value of an assigned property is changed, though they can also be added manually by right-clicking on the timeline and selecting Add Keyframe at Current Time. The latter option is useful in situations where an additional keyframe is required, without altering the value of a property on the timeline.
Transition Blocks
When additional keyframes are added to a timeline, a transition block is created between the new keyframe and the keyframe at its left-most position.
Properties with binary values e.g. enabled/disabled, visible/not visible, cannot be transitioned over time and will not display a transition block. Instead, a link is added between them.
Links
Links are represented by thin lines connecting keyframes. Modifying the value of a property in a linked keyframe will also change the value in any other keyframes linked to it.

Splitting Keyframes
If a keyframe has a transition block on either side it can be split into two separate keyframes, containing the same values. A link between split keyframes will be automatically created.

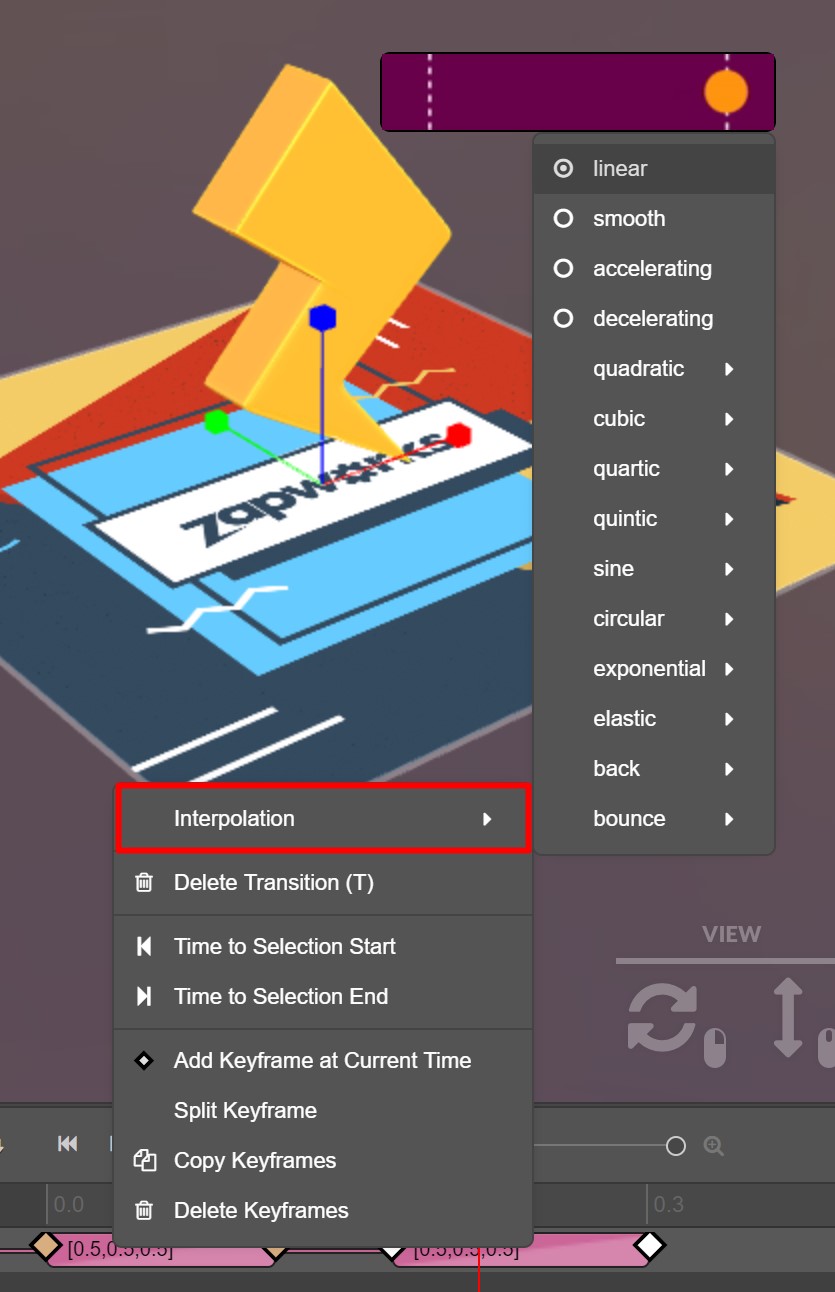
Interpolation
The transition style between two keyframes can be changed by right-clicking the transition block and setting a new interpolation type e.g. elastic or bounce.
Timeline Labels
Labels can be inserted onto positions along a Timelines to mark a specific point. They are mainly used to fire events when passed. You can find out more information regarding Timeline Labels here.
Timelines Between States
States contain a set of values for a node(s) properties. The transition between two states (within the same controller) can be further customized by creating a timeline between them.
To do so, right-click a state and select Add Timeline > ... and the state you'd like to transition to.
Timelines between states are automatically assigned start and end keyframes, representing the state being transitioned from and to, respectively.
Playing Timelines
Timelines can be set to play via user interaction (e.g. a button) or event triggers (e.g. on target seen) using one of two methods:
3D model animations can also be set up in a timeline. For more information on how to play a 3D model's baked animations, check out this article from our documentation.
Next article: Buttons and Interactivity