Buttons and Interactivity
Interactivity is an integral part of any immersive AR experience. Luckily, ZapWorks Studio allows you to listen out for user interactions (e.g. a button the user can tap) or events that were triggered (e.g. the target image entering the camera view) and activate actions in response. There are two ways these can be set up:
- Code-free, with Actions
- Or with code using an Event Handler in a script.
Adding an Action
Actions are an easy, but powerful, method of adding interactivity to your experience without having to write any code. With Actions you can:
- Launch a website when a button is tapped.
- Set up a menu that switches between different UIs.
- Play a timeline animation.
- Move content to the screen when the tracking image exits the camera view.
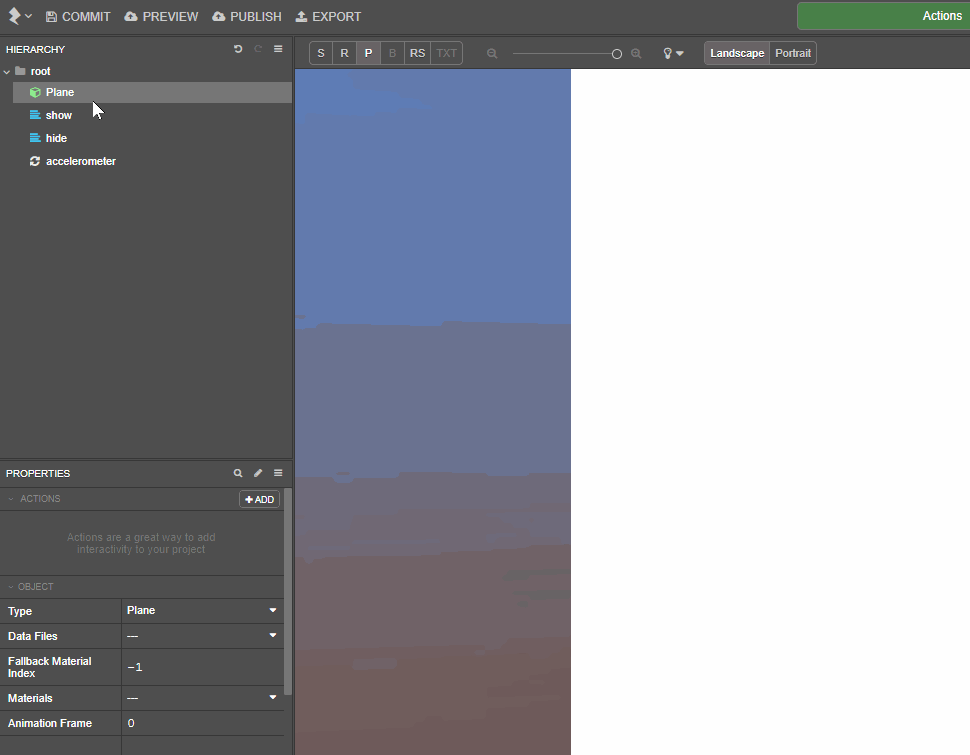
Actions can be added to certain node types (listed under the Events section of this article) from the Actions tab under the Properties panel, by selecting the + Add button.
The default Plane object in the Media Library, as well as imported images, support pointer events and can therefore be used as buttons in an experience.
When adding an action, the first option lists the events that the selected node emits, with the second list of options allowing you to choose an action to perform when the selected event is emitted.
The events available to a node are contextual and will vary depending on the node type.
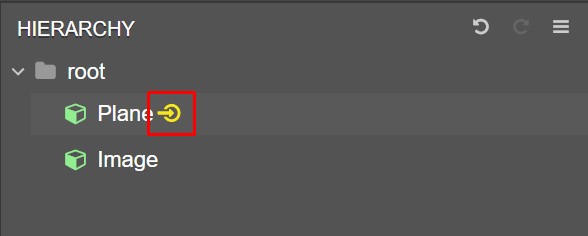
Once selected, the action is displayed in the Properties panel, along with a set of options. In the example below, an On Tap > Launch Web Link action is added to a Plane node.
Nodes with actions can be identified in the Hierarchy by the icon after their name.
Events
The following table lists the events available to each node type, along with a description of the event itself.
| Node Type | Event | Description |
|---|---|---|
| Accelerometer | Landscape | The device is in the default landscape orientation. |
| - | Landscape Inverted | The device is in an inverted landscape orientation. |
| - | Portrait | The device is in portrait orientation. |
| - | Portrait Inverted | The device is in an inverted portrait orientation. |
| Audio | Finish | The audio has finished playing. |
| Face Group / Face Paint | On Seen | A face is detected in the camera feed. |
| - | On First Seen | A face is first detected in the camera feed. |
| - | On Not Seen | A face is not detected in the camera feed. |
| - | On Mouth Open | The current face instance's mouth is open. |
| - | On Mouth Close | The current face instance's mouth is closed. |
| - | On Left Eye Open | The current face instance's left eye is open. |
| - | On Left Eye Close | The current face instance's left eye is closed. |
| - | On Right Eye Open | The current face instance's right eye is open. |
| - | On Right Eye Close | The current face instance's right eye is closed. |
| Headset Manager | Headset Mode Enter | The device has entered headset mode. |
| - | Headset Mode Leave | The device has exited headset mode. |
| - | Headset Button Press | The button has been pressed, while in headset mode. |
| Object | Tap | The object has been tapped. |
| - | Trigger Region Enter | The origin point of the object first enters a TriggerRegion. |
| - | Trigger Region Leave | The origin point of the object leaves a TriggerRegion. |
| Raycaster | IntersectionEnter | The raycaster has intersected with an object. |
| - | Intersection Leave | The raycaster is no longer intersecting with the object it had been previously. |
| Root | Show | The root node is currently visible. |
| - | Hide | The root node is currently hidden. |
| Target / ZapBox Map / ZapBox Controller | Seen | The target image is detected in the camera feed. |
| - | First Seen | The target image is first detected in the camera feed. |
| - | Not Seen | The target image is not detected in the camera feed. |
| Trigger Region | Trigger Enter | The origin point of an object first enters the TriggerRegion. |
| - | Trigger Region Leave | The origin point of an object leaves the TriggerRegion. |
| Video | Playing | The video has begun playback. |
| - | Pause | The video has been paused. |
| - | Finish | The video has finished playing. |
| - | Buffering | The video is buffering and needs to download more data before continuing. |
| - | Error | There is an issue with video playback. |
| Video Texture | Finish | The video has finished playing. |
Actions
The following table lists the actions available for all events, along with a description of what the action does and the options provided.
| Function | Description |
|---|---|
| Launch Web Link | Launches a URL, with the option to launch it in an external browser. |
| Vibrate | Vibrates the user's device (if the device's vibration functionality is enabled). |
| Activate State | Activates a state from a controller. |
| Play Timeline | Plays a timeline. |
| Stop Timeline | Stops a timeline. |
| Play Fullscreen Video | Plays a video in full screen, using the device's default video player. |
| Take Snapshot | Takes a snapshot of the current camera feed, with the option to save or share the resulting image. |
| Use Front Facing Camera | Sets the front facing camera as active in the camera feed. |
| Use Back Facing Camera | Sets the back facing camera as active in the camera feed. |
| Enter Headset Mode | Requests the device to enter headset mode for use in ZapBox and other cardboard headsets. |
Event Handlers
Although actions are a quick and easy way of adding interactivity, setting up event handlers within a script allows for full control and customization of content behavior using Studio's TypeScript environment.
Although familiarity with TypeScript (or a similar language) is useful, ZapWorks Studio simplifies the process of adding event handlers to make this method more accessible.
If you have little to no experience with the language, our TypeScript Primer is a great resource to get started with.
To add an event handler, right-click a node in the Hierarchy and select New > Script >. A menu will be displayed, listing the events that are emitted by that node.
Just as with actions, the events listed will be contextual to the node's type.

Selecting an event creates a new script node with the event handler automatically set up, or an empty script if the Blank option was selected.
States and timelines can be dragged directly into the event handler to activate/play them when the event is fired. Custom logic can also be coded within the event handler.
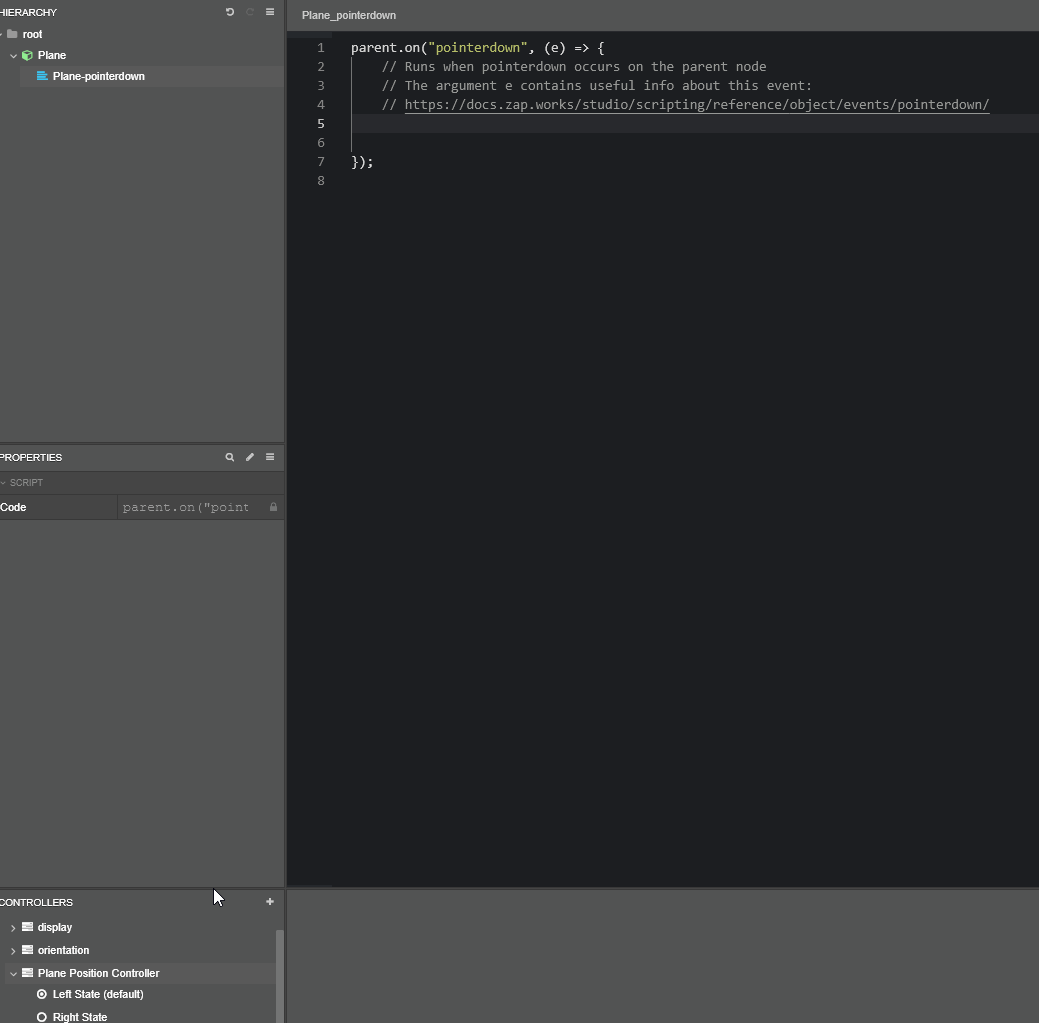
For a closer look at using a pointerdown event to set up a button, check out our Creating Buttons scripting example.
Triggers and Raycasters
In addition to user input, interaction can also be set up with Triggers and Raycasters. For more information on setting up event handlers for these check out the articles linked below:
Next article: Previewing and Publishing