Opening Transition - Bouncing 3D Model
Studio is being deprecated, please head over to the documentation page for Mattercraft, our most advanced 3D tool for the web, where you can find the most recent information and tutorials.

Difficulty Level: Beginner
Coding Knowledge Required: Beginner
Time to Complete: 10-15 minutes
In this step-by-step tutorial, we will create an AR experience’s opening transition consisting of a 3D model falling from the sky and bouncing when landing on the target image.
To show you how to add this opening transition to an existing project we’ve built it on top of the Streaming Video in the 3D View step-by-step project available in the ZapWorks documentation.
Download the completed project.
All that we’ve done in this project is create a timeline to animate the 3D model and play an audio file within Studio.
Click here to download a zip file containing all the assets we’ll need for this experience.
Step by Step
Section titled “Step by Step”1. Setting up your project
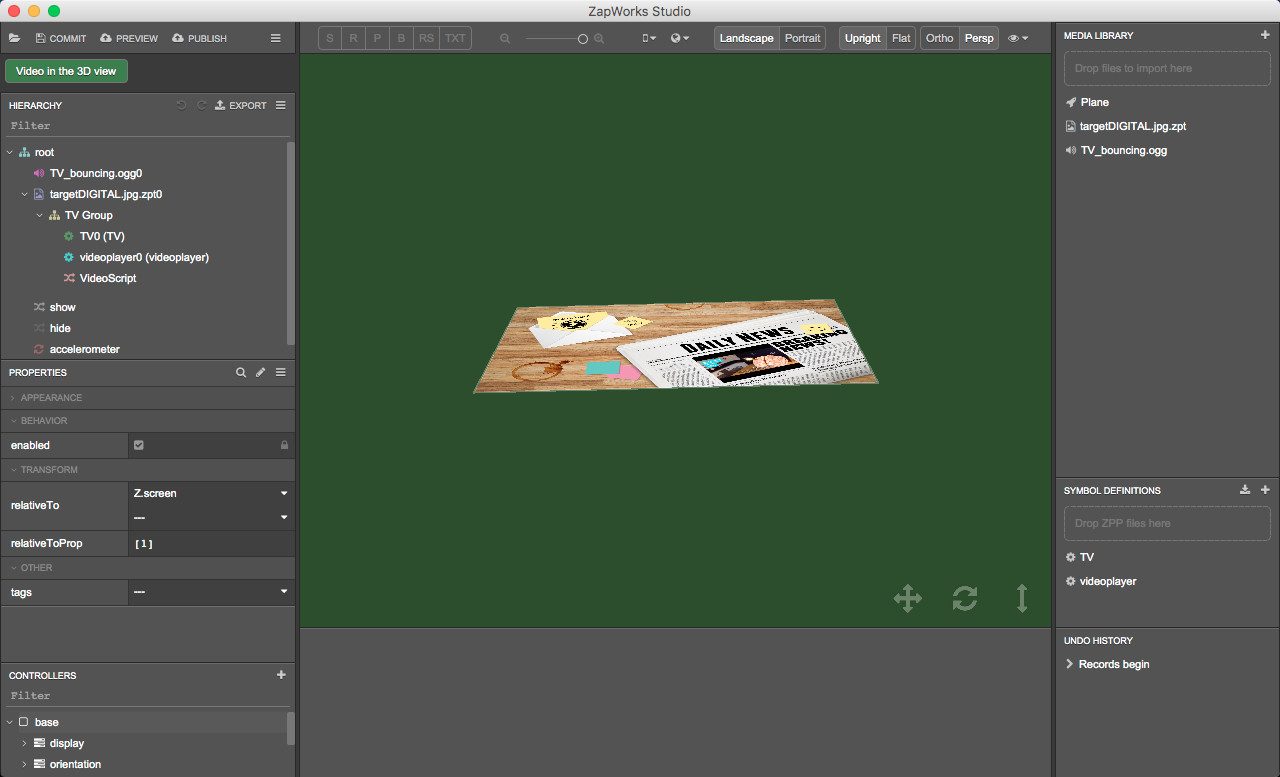
Open Studio and import the Streaming Video in the 3D View project’s zpp file previously downloaded. If you’ve already built this experience, you can simply open it in Studio.
You will also need to import the audio file.
2. Add the audio file to the Hierarchy
Drag the audio file from the Media Library on the root node in the Hierarchy.
3. Create your controller
Create a new controller called “opening transition”.
To create a controller, in the Controllers panel, click on the ‘+’ icon next to ‘Controllers’, select ‘New Controller’ and give it a name.
4. Create your animation timeline
Create a standalone timeline called “animation” for the ‘opening transition’ controller. Set the ‘Length’ of the timeline to 2000 ms.
To add a standalone timeline to a controller, right click on the controller, select ‘New Timeline’ and name it. To change the length of the timeline, in the timeline panel, update the value next to ‘Length’.
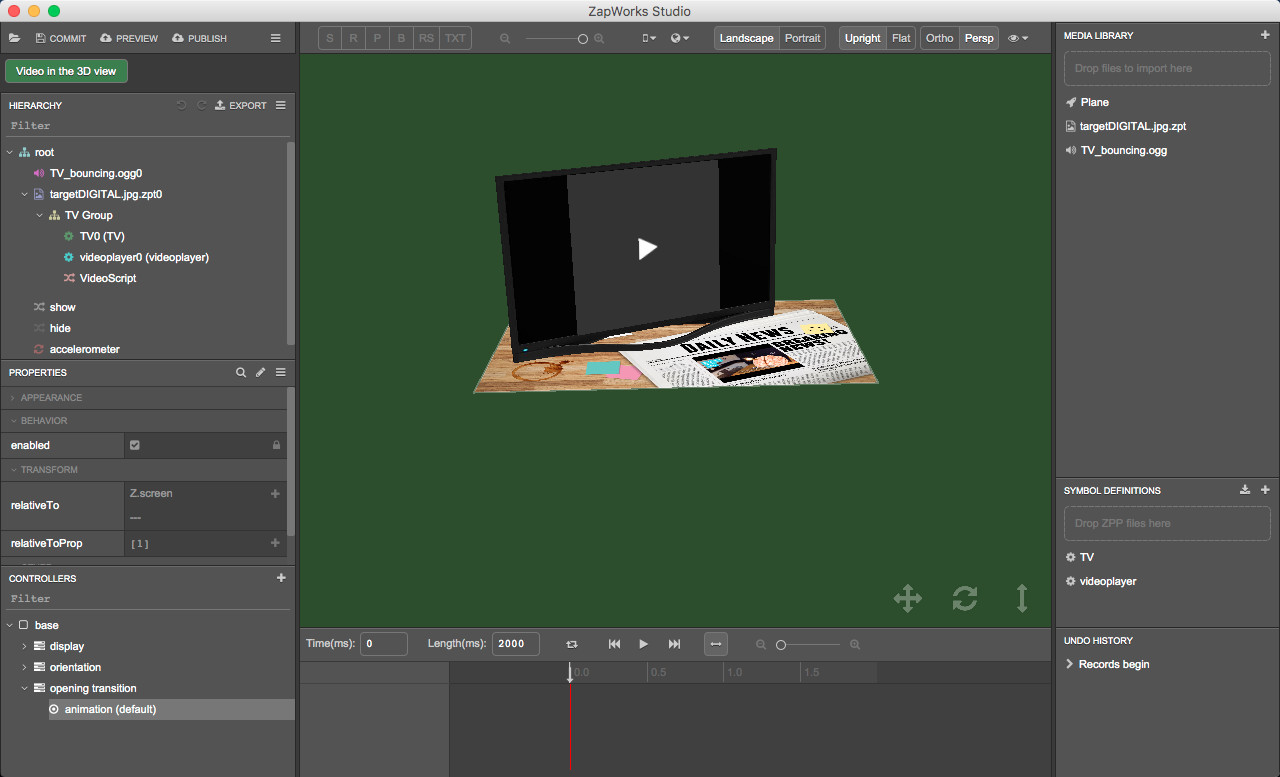
We recommend that you use the zoom in/out tool to make sure you see the entire timeline (between 0 to 2000 ms).

5. Set the position of the TV group
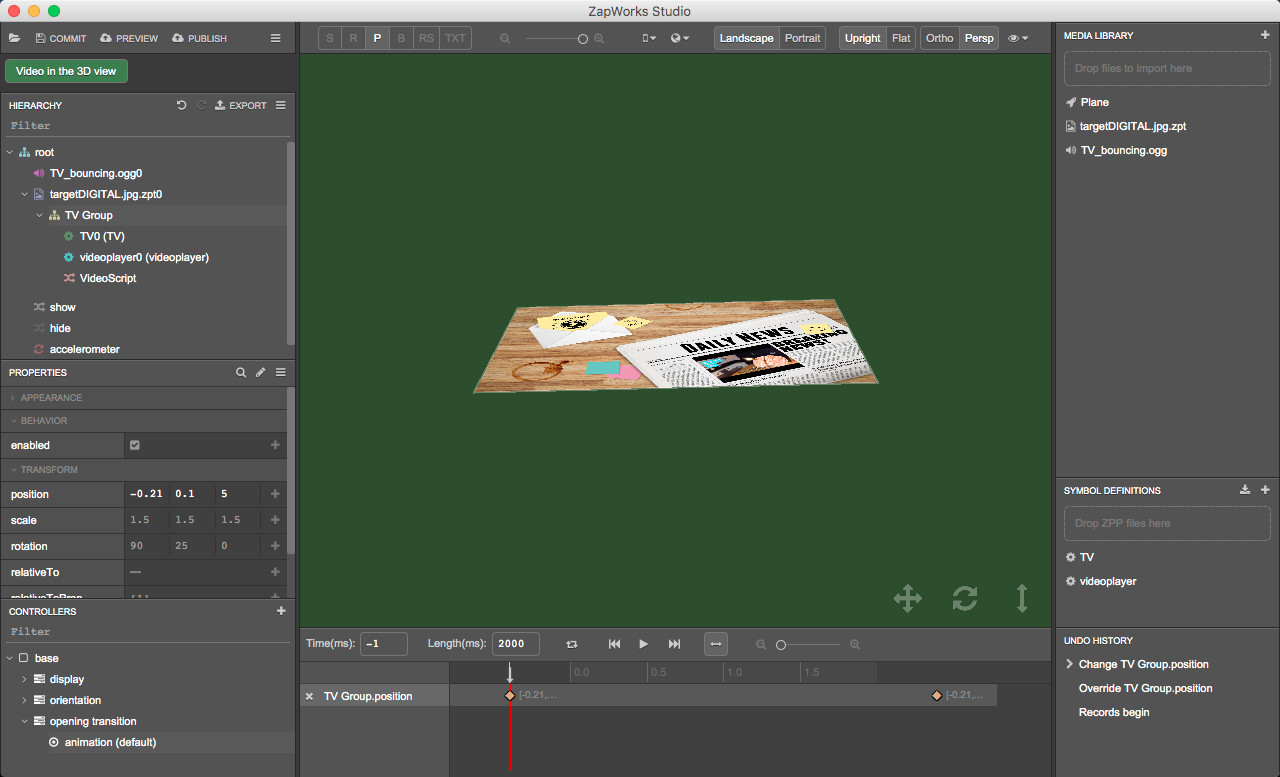
In the ‘animation’ timeline, set the ‘Time’ (not Length) to -1 ms and change the value of the ‘TV Group’ node’s position to (-0.21, 0.1, 5).
To change the value of a node’s property in a timeline, make sure the correct timeline is selected in the Controllers panel, and that in the Hierarchy the correct node is selected as well. You can then edit the node’s property value in the Properties panel.
Using timelines is a key component of creating AR experiences using ZapWorks Studio. In this step, we use time -1 ms to define the state in which an object will be found before the start point. This is also the state the that object will return to after it has been reset. To find out more about timelines, check out the article linked here.
6. Create a transition block
In the ‘animation’ timeline, on the ‘TV Group.position’ line, create a transition block between the first and last keyframes.
To create a transition block between two keyframes, select both keyframes, right click on the line between them and select ‘Make Transition’.
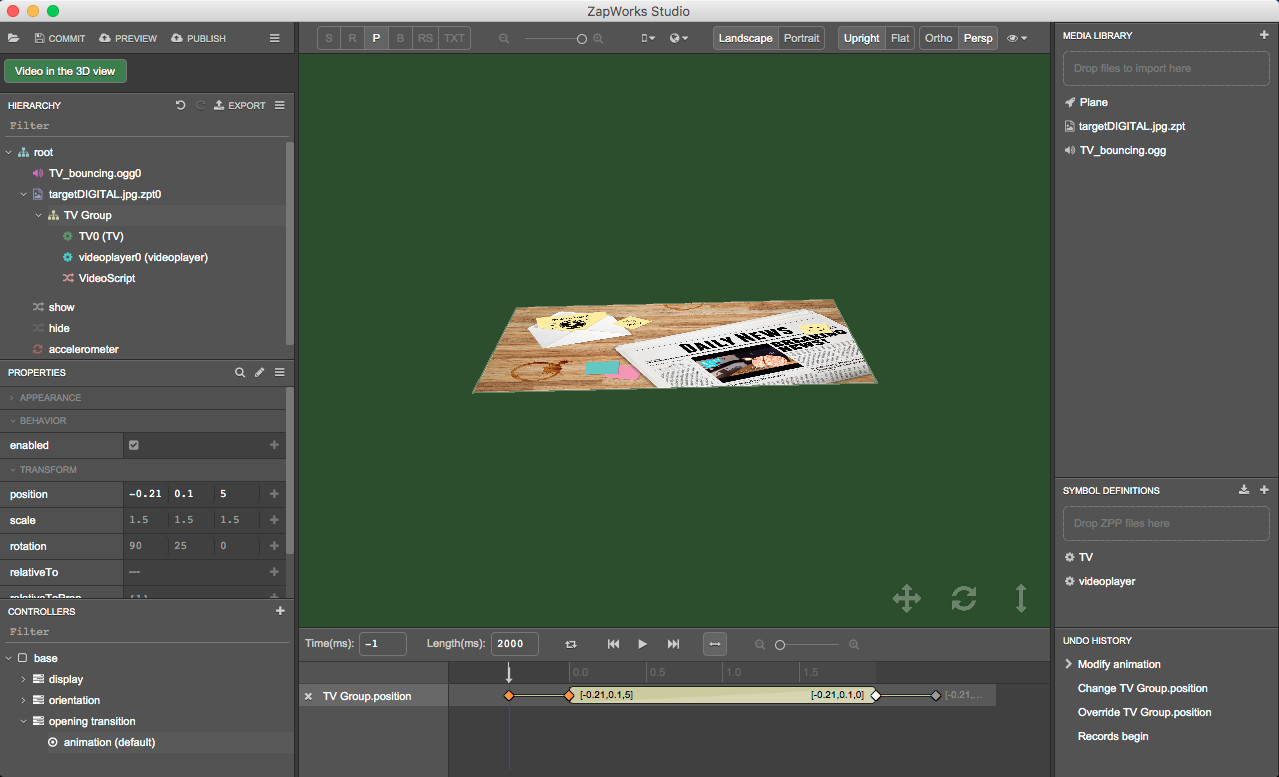
You can set the time back to 0 ms and play the timeline to see how it looks.
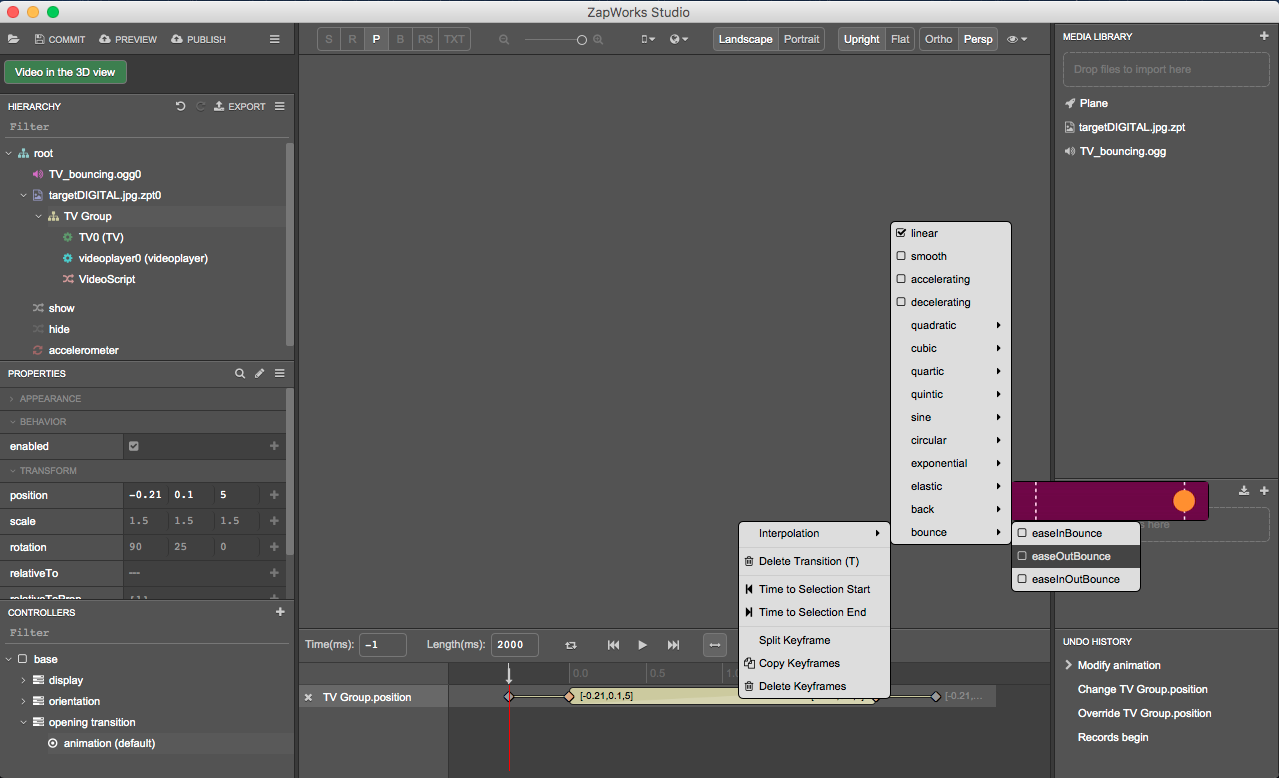
7. Add an ease out bounce effect to your timeline
To add an ease out bounce effect to a timeline, in the Controllers panel make sure the timeline is selected and in the timeline panel, right click on the transition block and select ‘Interpolation > bounce > easeOutBounce’.
Set the time back to 0 ms and play the timeline again to see the effect created.
8. Add the audio to the timeline
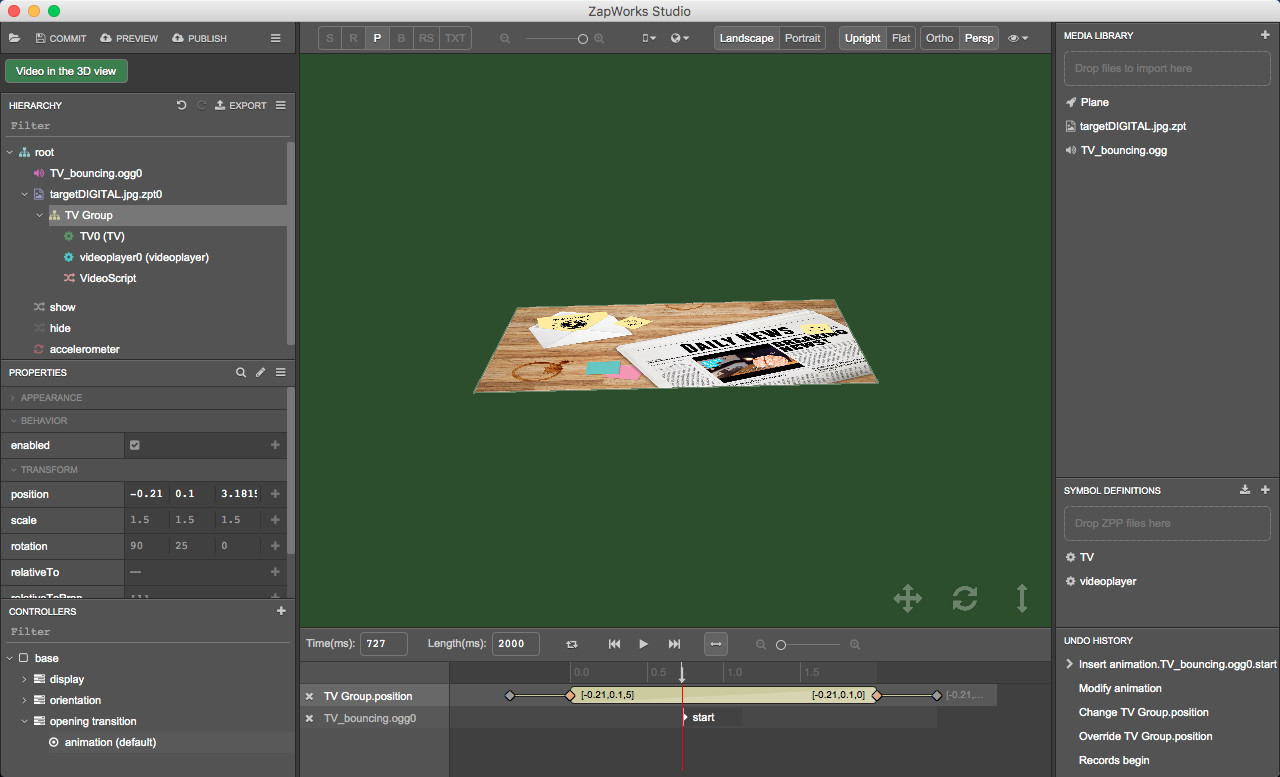
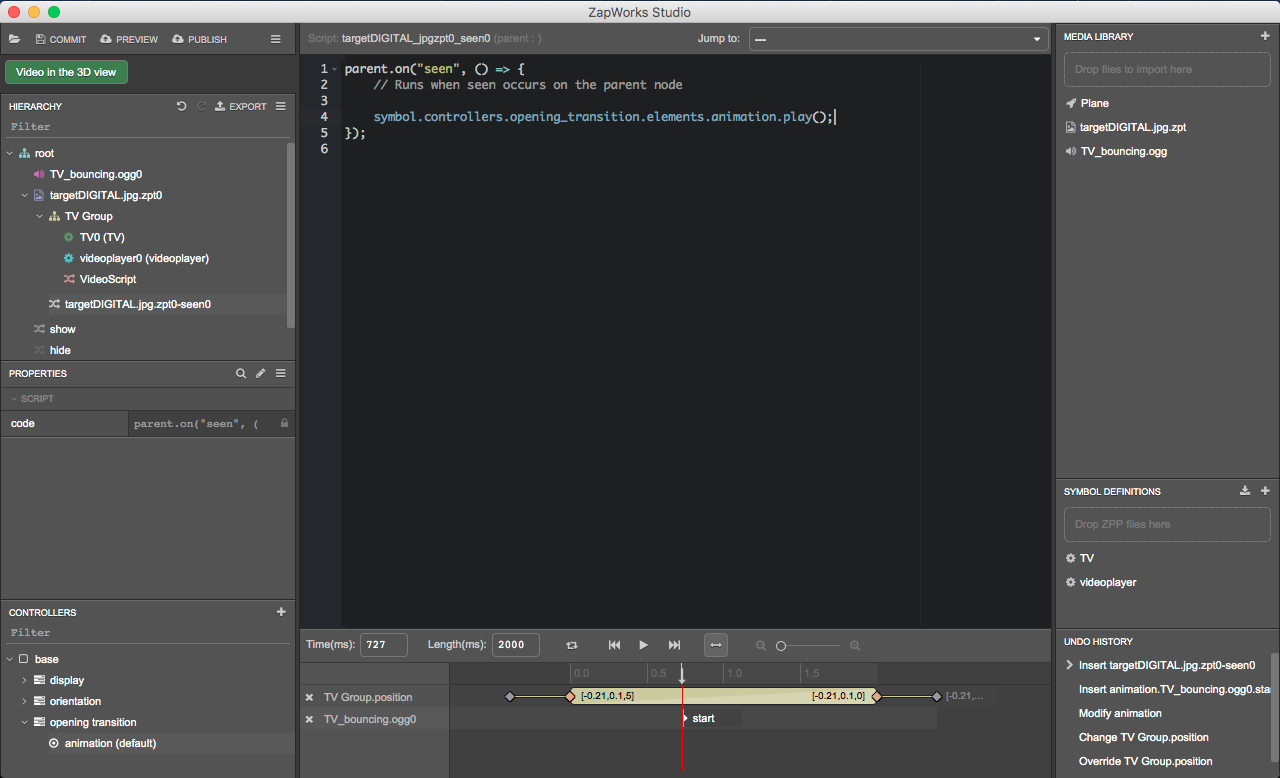
In the ‘animation’ timeline, set the time to 727 ms. In the Hierarchy, right click on the ‘TV_bouncing.ogg0’ node and select ‘Add Timeline Action > start’.
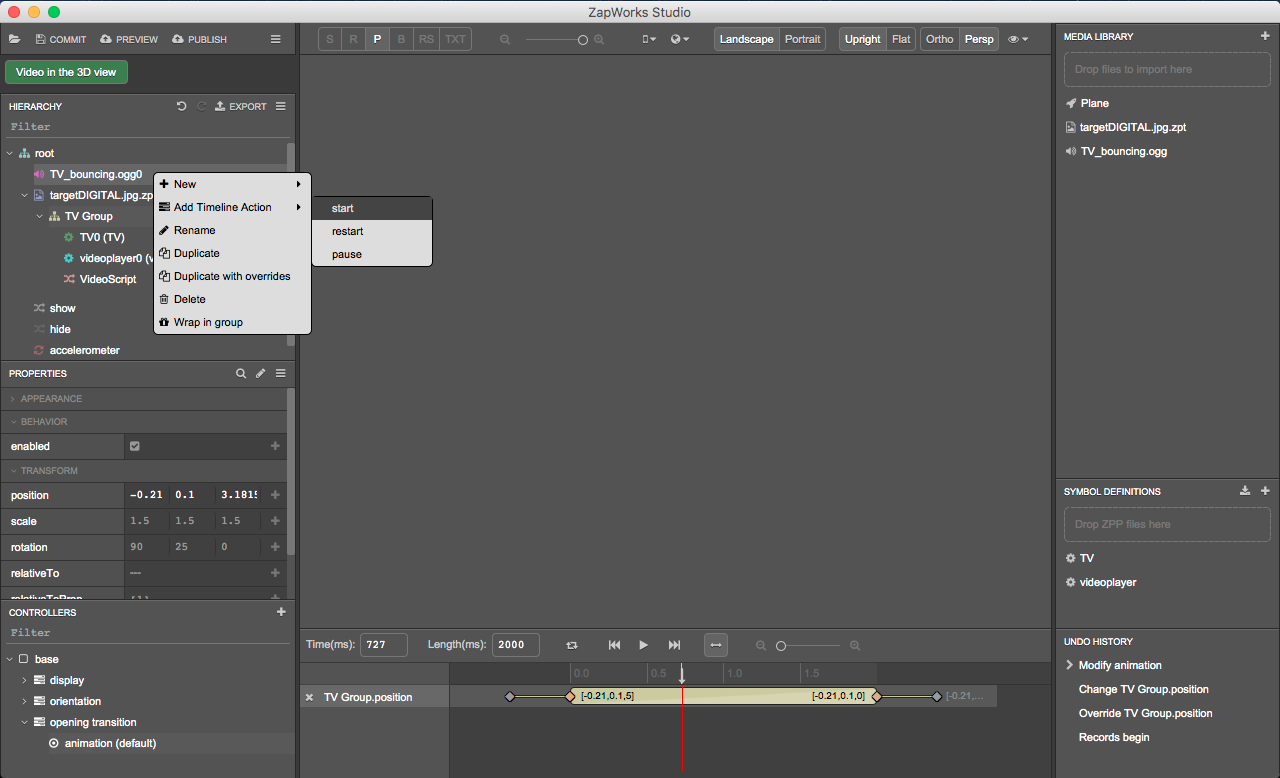
You will see that the audio file is set to play as soon as the TV is landing on the target image.
When playing a timeline with audio file(s) in Studio, the audio files do not play. The only way to test the timeline with audio file is to preview the experience.
9. Play the transition when the target is seen
The timeline is now ready to be set to play. We’d like the transition to start playing as soon as the tracking image is detected. Consequently, we’ll need to trigger the transition to play when a target image’s ‘seen’ event occurs (for more info, see the Target Events section in the article linked here.
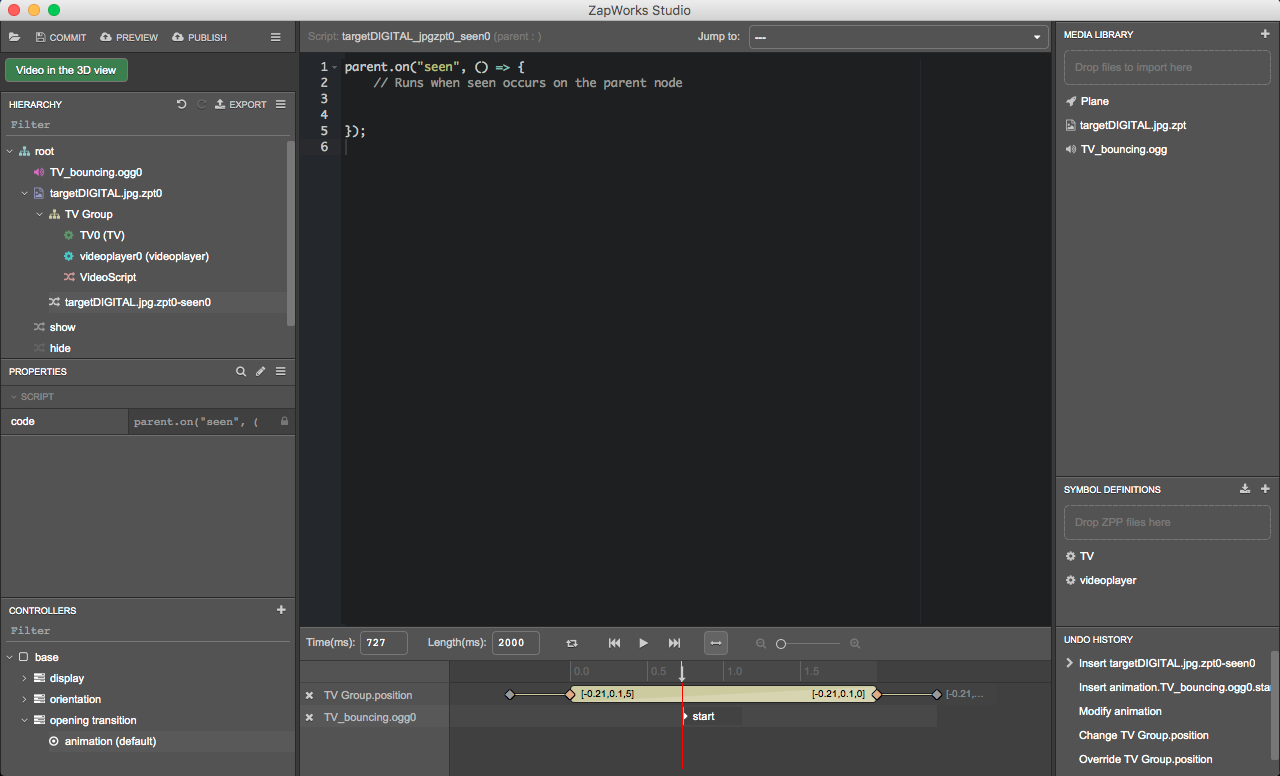
Add a ‘seen’ script to the target image node.
To add a ‘seen’ script to a target image node, right click on the target image node in the Hierarchy and select ‘New > Script > seen’.
10. Set the animation to play
Set the ‘animation’ timeline to play within the ‘seen’ script.
To set a timeline to play within a script, drag the timeline from the Controllers panel into the script, inside the function and when releasing select ‘play’.
The opening transition has been added to your experience and is now set to play as soon as the tracking image is detected. However, there is something we’d like to change in order to improve the user experience. The video is currently set to start as soon as the experience is launched and plays while the video is bouncing but we’d like it to start playing only when the TV has finished bouncing.
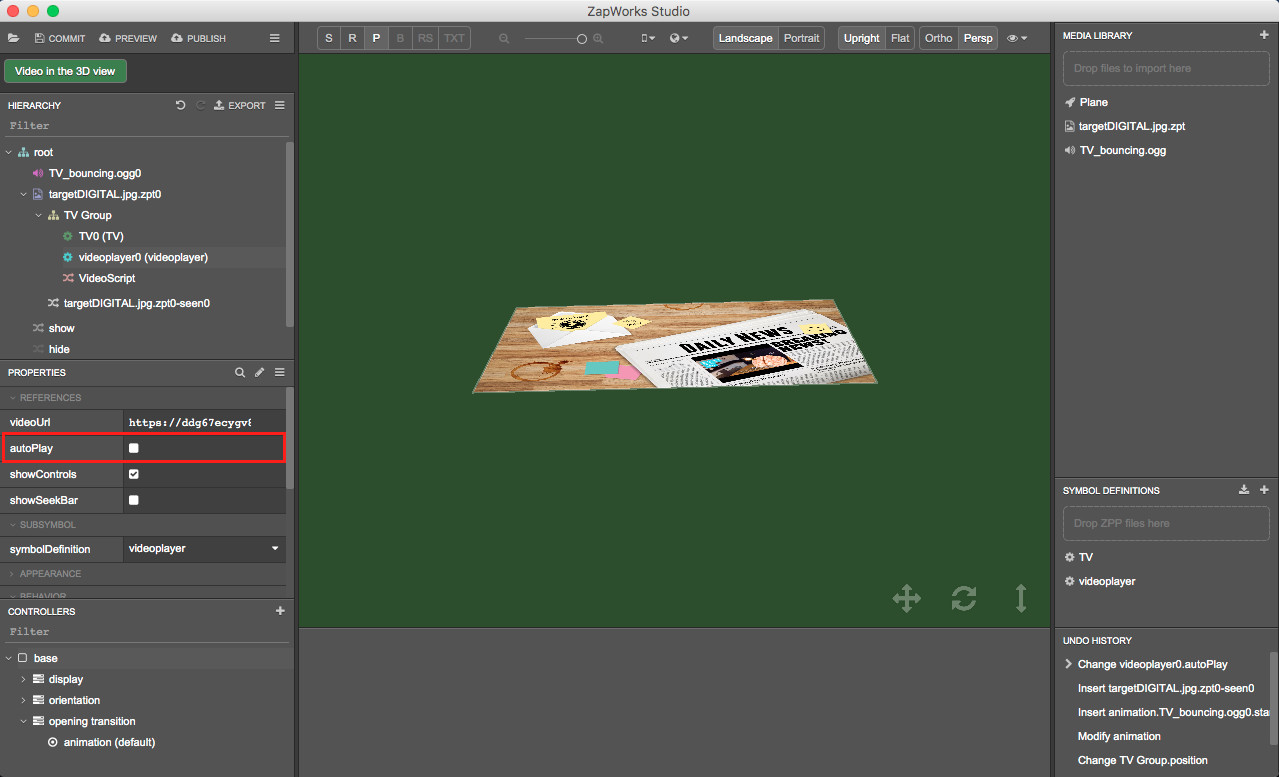
11. Uncheck autoplay on the video
In the Controllers panel, click on ‘base’. In the Hierarchy, click on the ‘videoplayer0’ node and in the Properties panel, uncheck the box next to ‘autoPlay’ in the ‘References’ section.
12. Delay the start of the video
We will now set the video to play when the ‘animation’ timeline has finished playing.
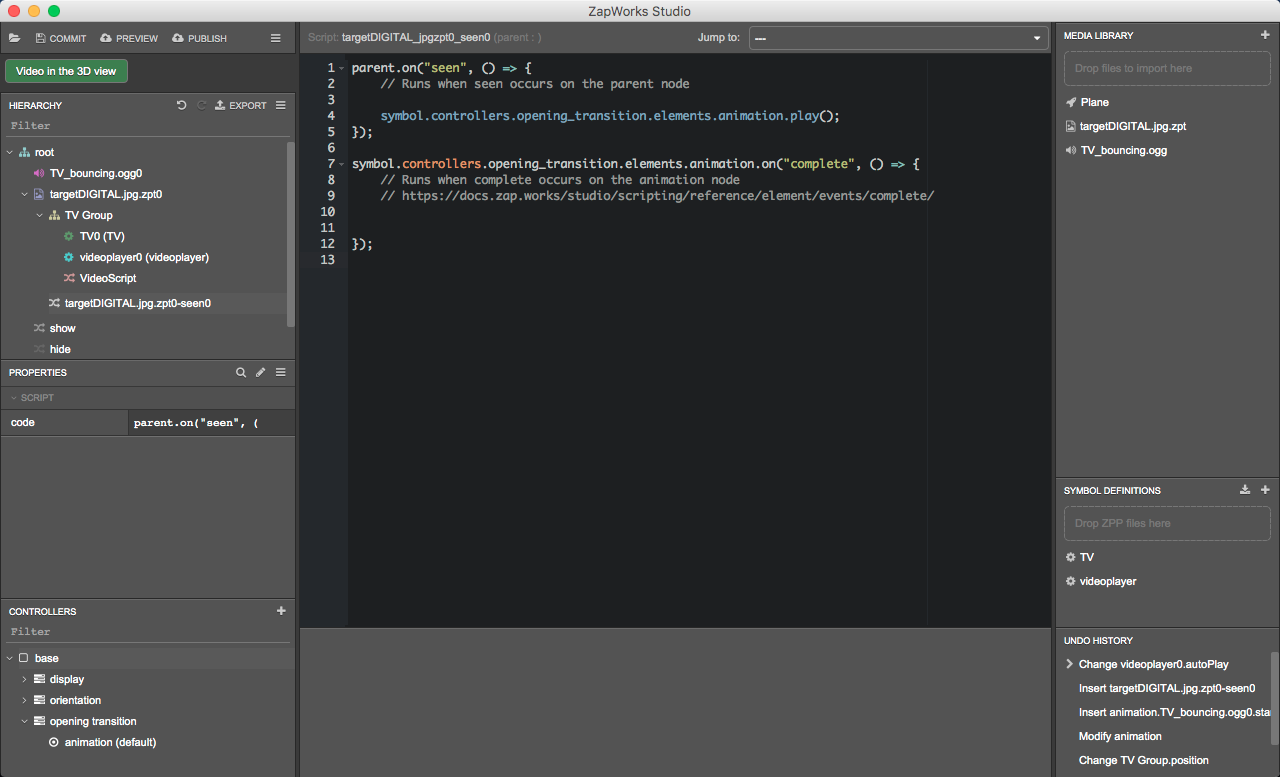
To do so, open the target image’s ‘seen’ script. In the script, under the ‘seen’ function, add a ‘complete’ event handler for the ‘animation’ timeline.
To add a timeline’s complete event handler, drag the timeline from the Controllers panel into a script and when releasing select ‘Add an event handler > complete’.
13. Insert audio node to on complete function
Drag the ‘videoplayer0’ node from the Hierarchy into the script at the top, before the function and when releasing, select ‘Insert local variable’. Within the animation timeline’s ‘on complete’ function, add: videoplayer0.nodes.control.start();

Congratulations!
The video is now set to start as soon as the opening transition has finished playing. You can preview the updated experience by clicking the ‘Preview’ button in the top left of ZapWorks Studio. Scan the temporary zapcode generated and once the experience has been loaded, place the tracking image in front of the camera of your device.
Suggested Next Steps
Section titled “Suggested Next Steps”- Think about where else you could add a transition and how you could add them to your projects
Further Reading
Section titled “Further Reading”To learn more about the concepts covered in this tutorial, please see the following pages:
- Video player symbol - More information on the video player symbol.
- Target Events - A video tutorial on target events.