Types of lights
ZapWorks Studio provides many ways for you to add lighting to your scene.
Light Types
There are 4 types of lights in Studio:
- Directional Light
- Point Light
- Spot Light
- Environment Light
Common Light Properties
Directional, point and spot lights all extend the base Z.Light class meaning they all have the following properties:
- intensity - The brightness of the light.
- lightColor - The color of the light.
- priority - The importance of the light.
Directional Light
A directional light simulates a strong distant light source emitting parallel rays in a single uniform direction.
Directional lights are often used to simulate sunlight and are especially useful if lighting an outdoor environment.
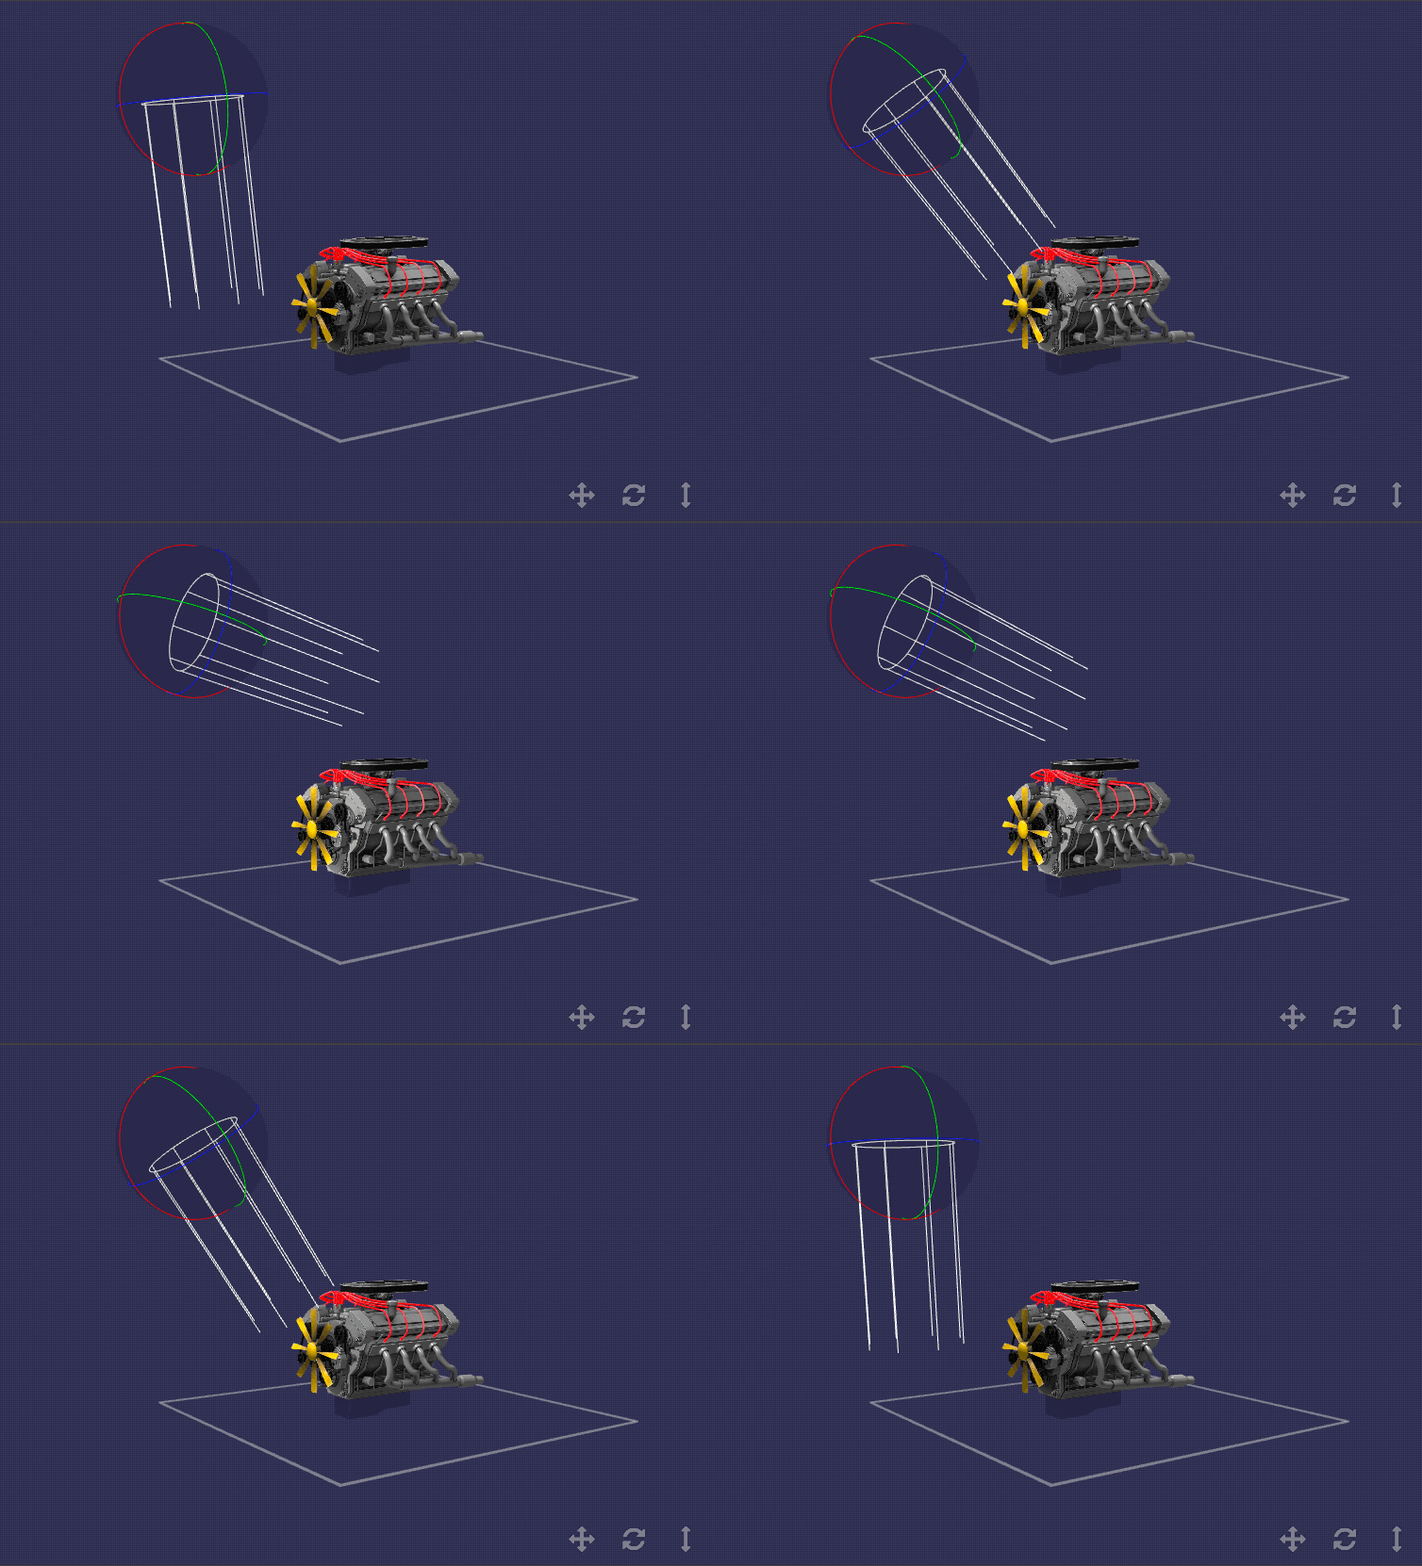
The position of a directional light in a scene does not affect lighting, just its rotation.
Point Light
A point light simulates a light source that emits equally in all directions from its origin point. The intensity of the emitted light decreases the further away from the origin point it travels, falling off entirely at the specified range.
Point lights are a great way to represent local light sources such as lamps and candles.
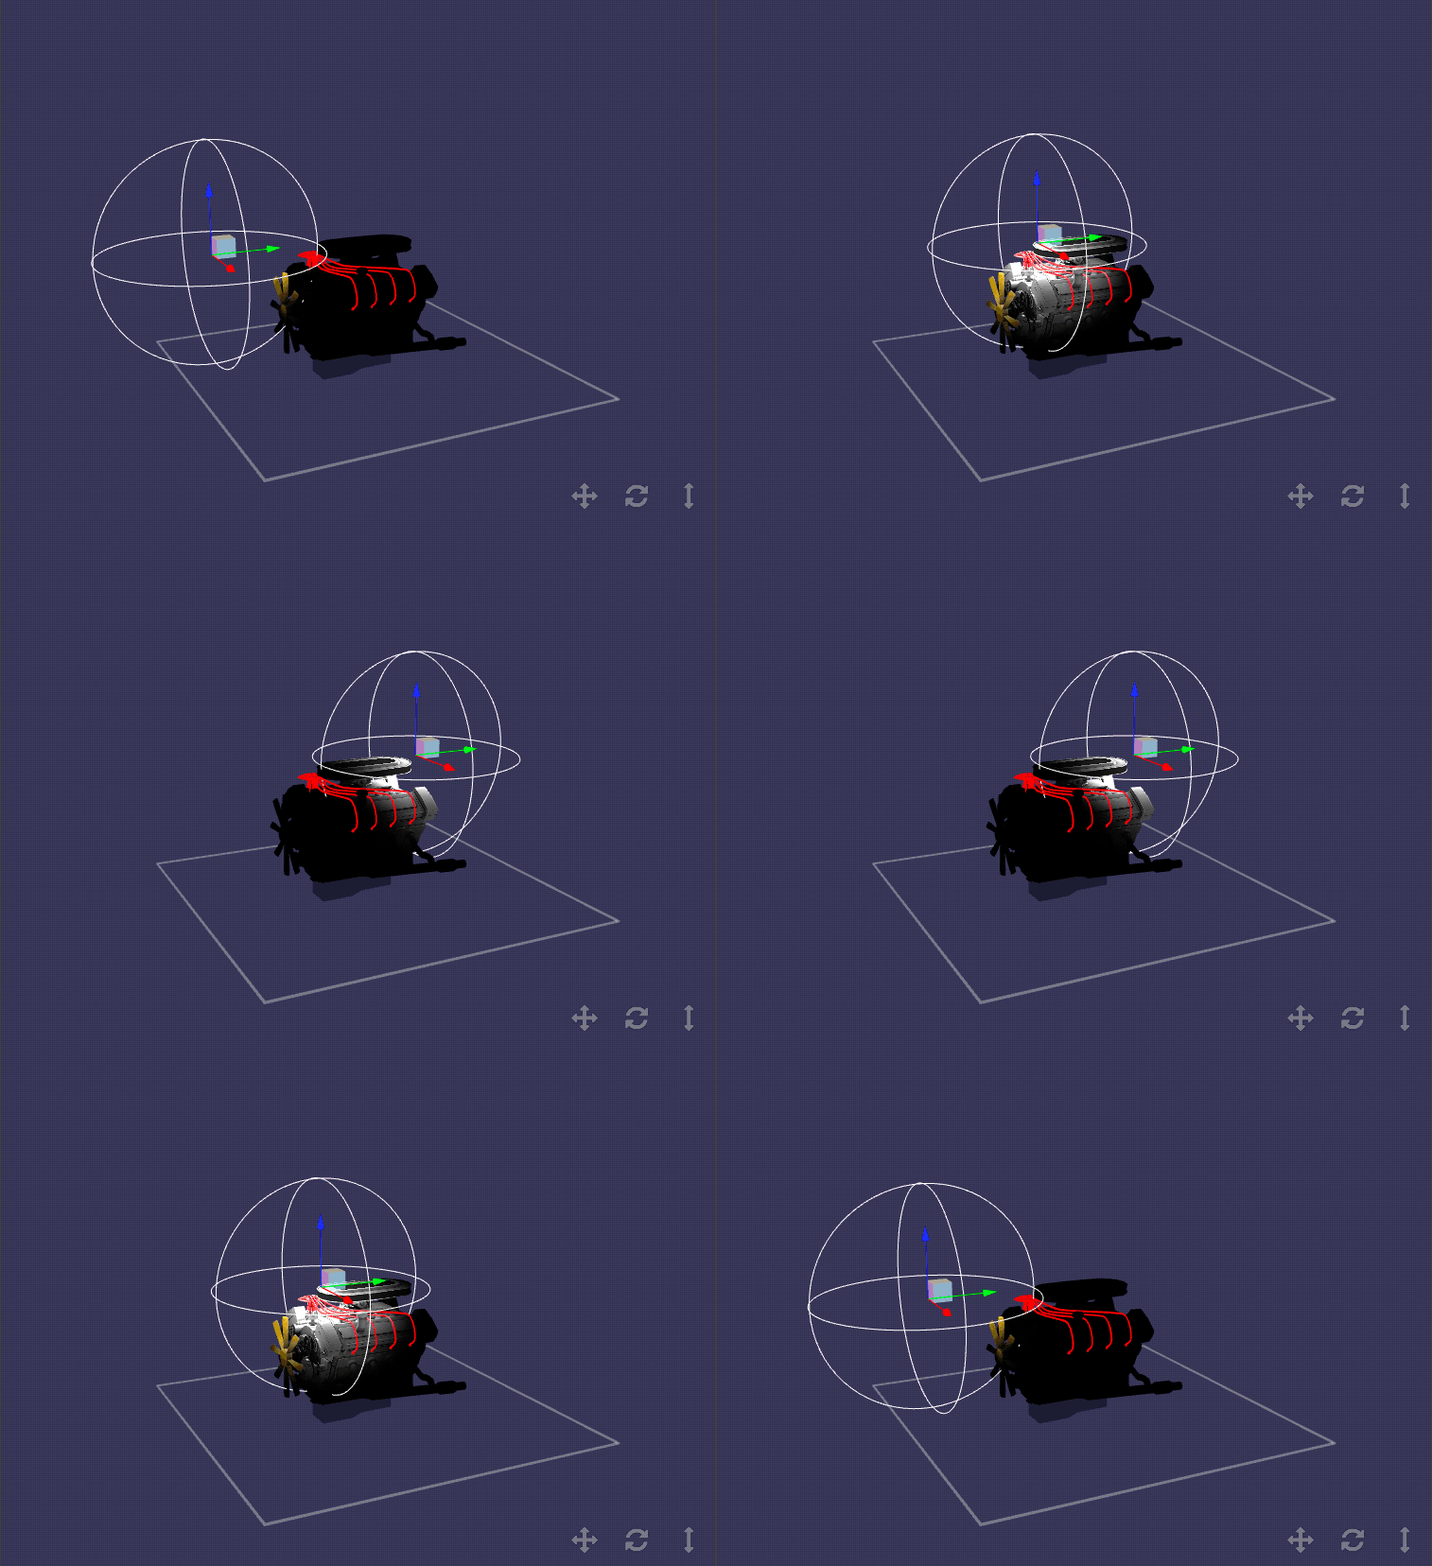
A point light's position and range determine its effect on lighting in the scene; its rotation has no impact.
Spot Light
A spot light simulates a direct light source emitting light through a cone. The angle of the cone and the range (inherited from the point light) determining the area of illumination.
Spot lights are often used to represent their real-life counterparts as well as artificial light sources such as flashlights and car headlights.
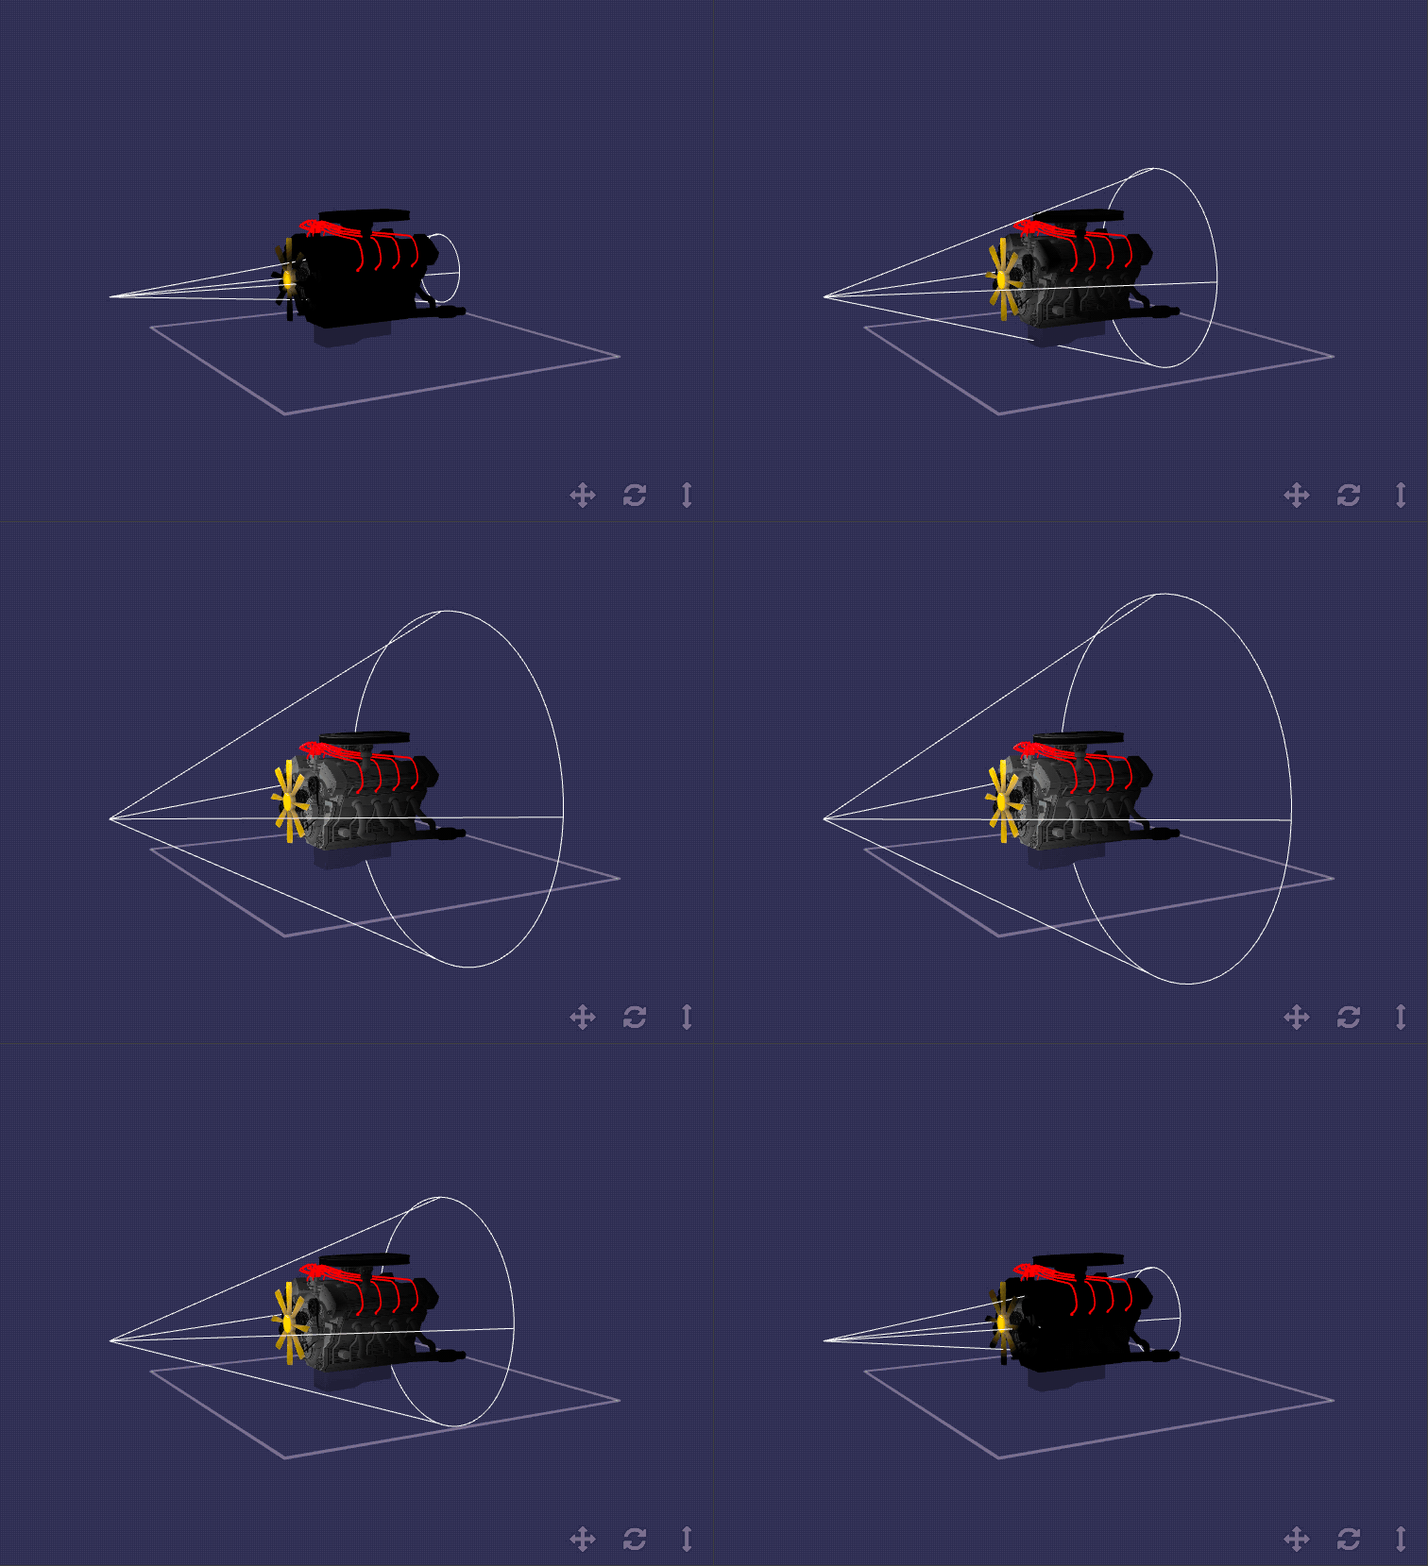
Both position and rotation affect the light emitted from a spot light.
Environment Light
An environment light applies lighting to objects in a scene as if they are placed in a specific setting defined by a cubemap.
A cubemap is a collection of six square textures mapped to the inside of an imaginary cube used to represent the reflections of an environment.
Only the rotation of an environment light affects the lighting.
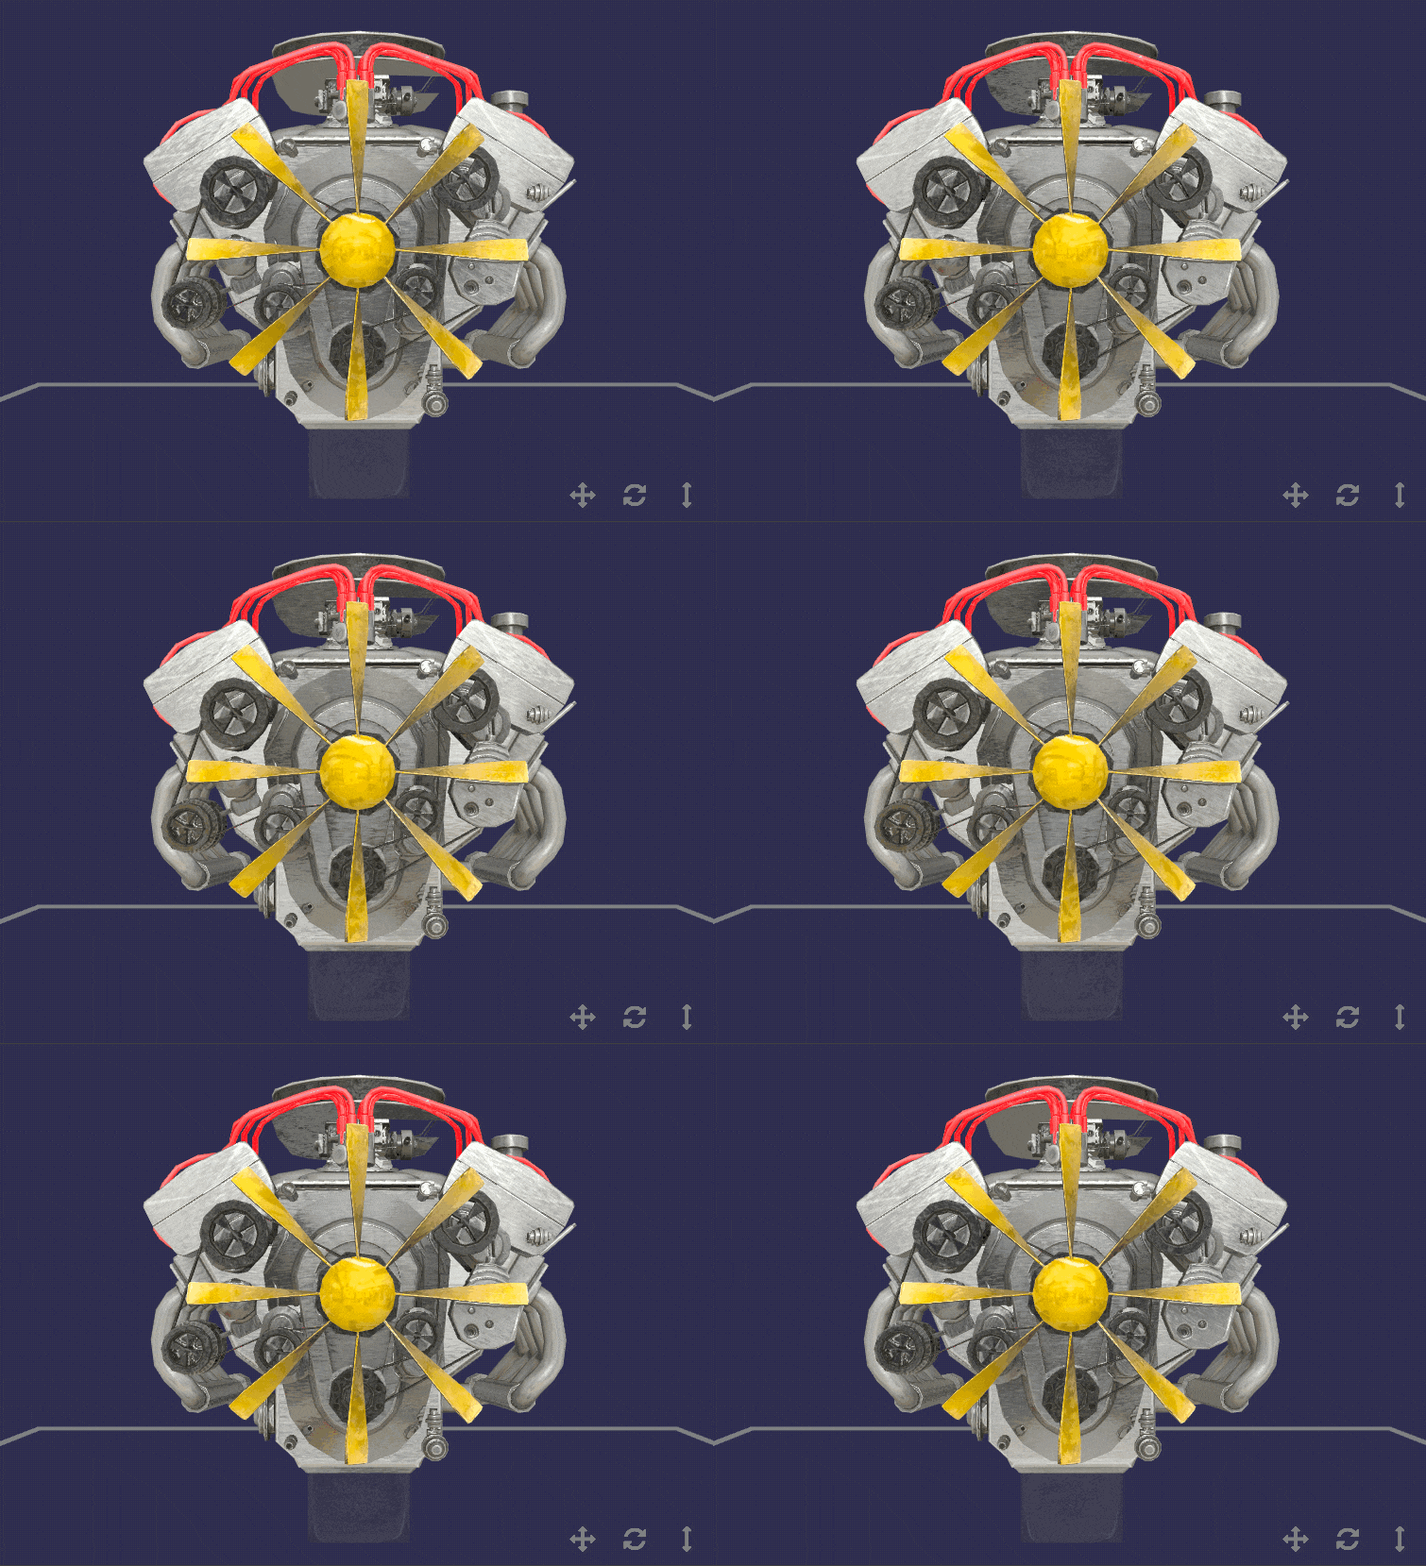
The reflection property of the material being lit needs to be greater than 0 for this light to take effect.
Using Lights
Adding Lights
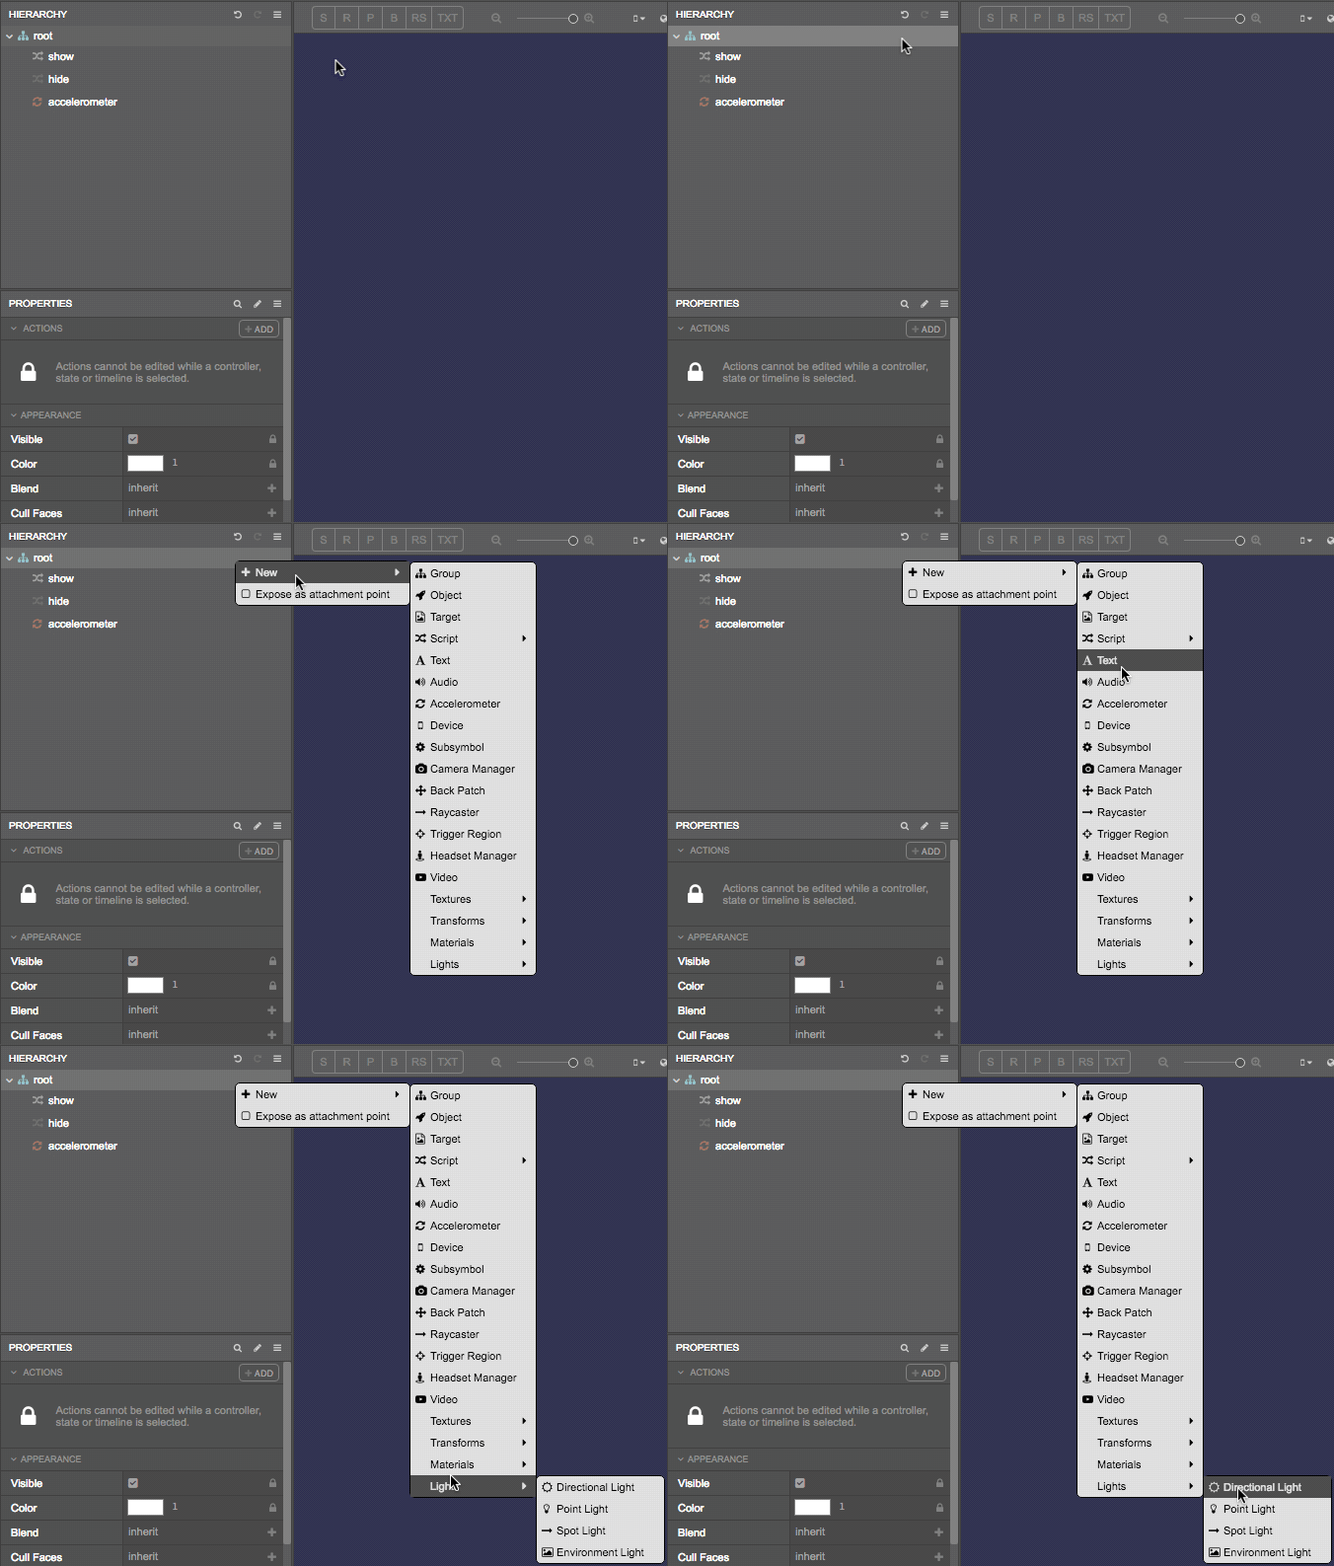
You can add a light to the Hierarchy by right-clicking on the root node (or any other group node) and selecting 'New > Lights' and then choosing one of the 4 light types.
You can also add simulated light to a scene by using the lightbulb drop-down menu to the left of the orientation switcher. The simulated light is the equivalent of a directional light pointing at the scene. The simulated light options are as follows:
| Setting | Description |
|---|---|
| Don't add simulated light | No simulated light added, only lights existing in the Hierarchy are used to light objects. |
| Add simulated light if none in Hierarchy | Simulated light is used if there are no lights in the Hierarchy, otherwise only lights existing in the Hierarchy are used to light objects. |
| Use simulated light only | Simulated light is used regardless of lights in the Hierarchy, which are ignored. |
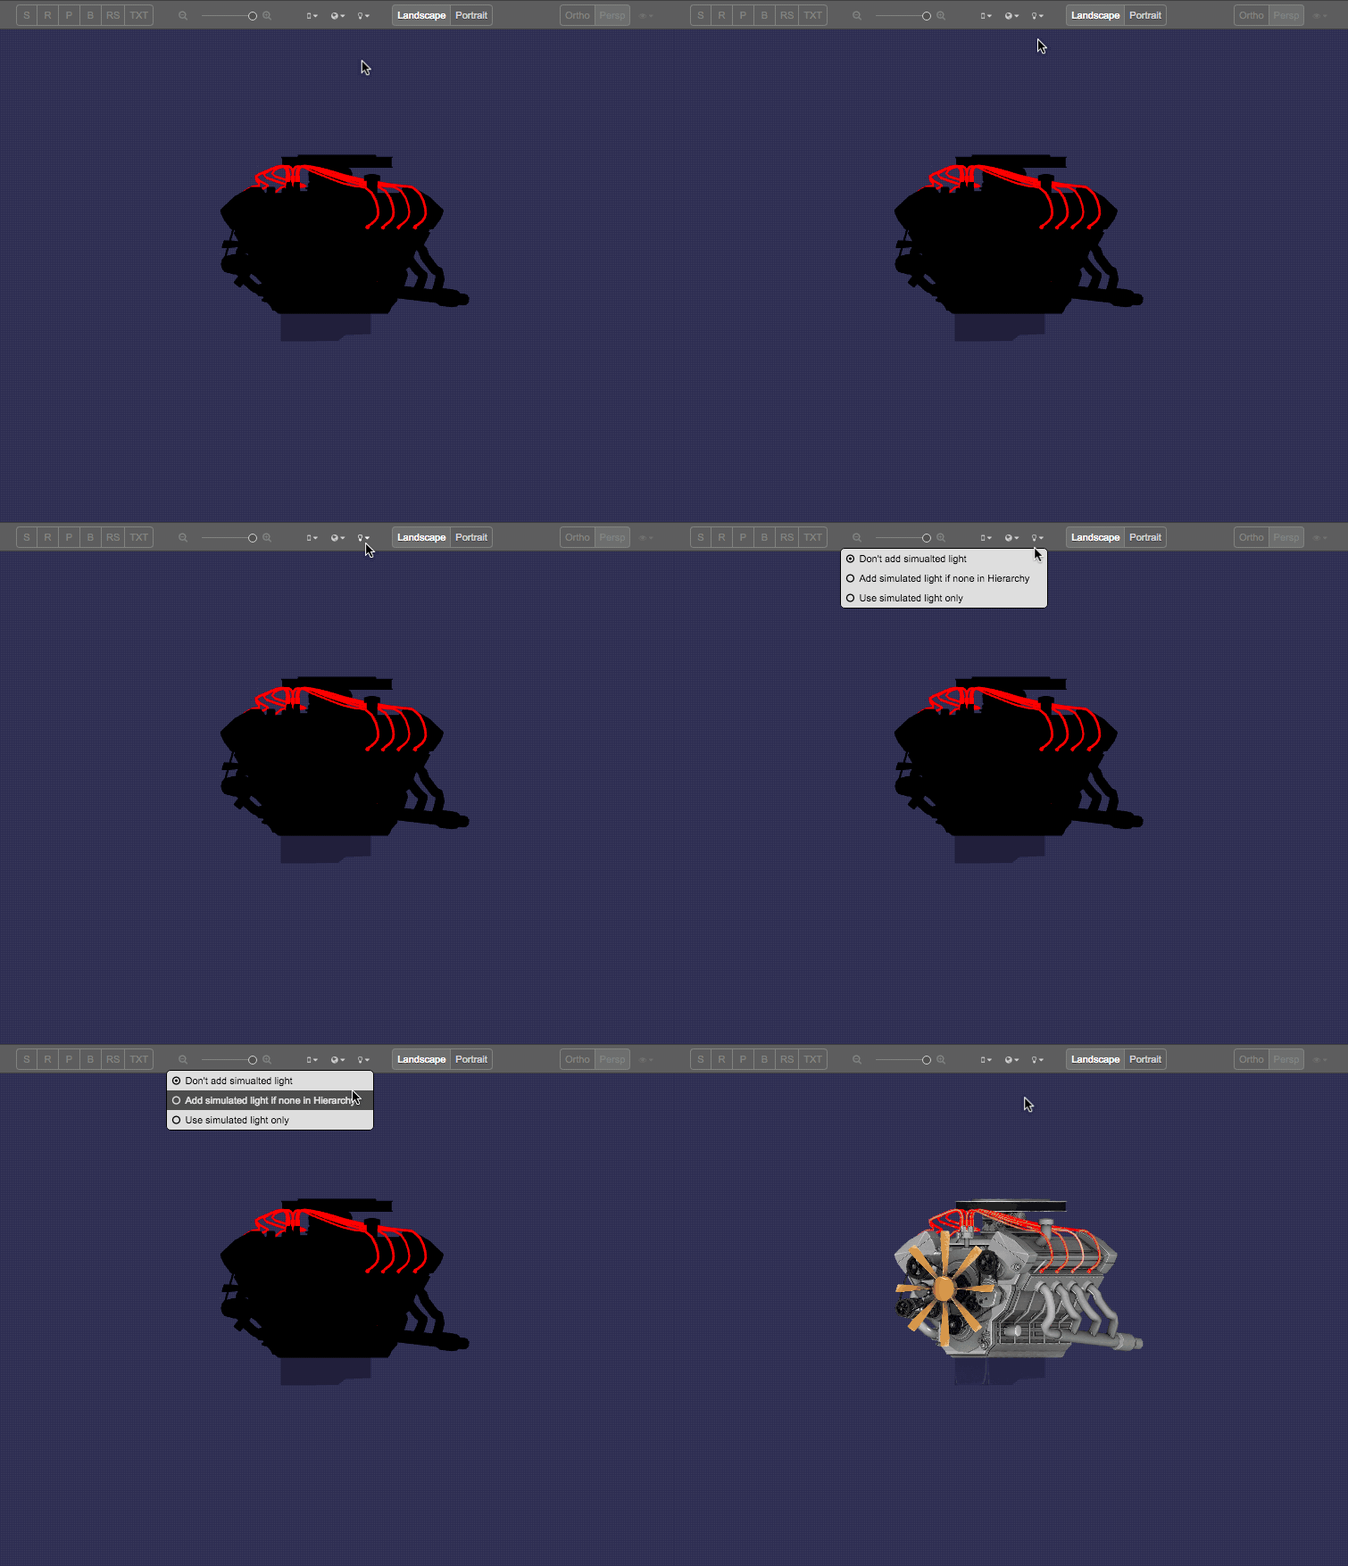
The default setting is 'Don't add simulated light'.
Adding objects that react to light
Only objects using the Z.StandardLightingMaterial and Z.ToonMaterial will react to light. For more information on the materials that support lighting, please see the Lighting Materials article.
Light Priority
A Light can act as either a pixel or vertex light depending on the priority you set it at, the priority of other lights in the scene, and potentially the brightness or distance from the object being lit.
Pixel lights are calculated per pixel, resulting in a more accurate color outcome, but more expensive to calculate.
Vertex lights are calculated per vertex, and the final color is interpolated per pixel. They are faster but not as accurate.
The Z.LightPriority, set by the priority property of a light node, determines if the light is treated as a pixel or vertex light.
If a light's priority is set to important and the number of existing important lights in a scene is less than the numPixelLights value of a lit object's material, that light will act as a pixel light for that object; otherwise, it will act as a vertex light.
If a light's priority is set to unimportant that light will act as a vertex light.
If a light's priority is set to auto and the number of existing important lights in a scene is less than the numPixelLights value of a lit object's material and the light is either the brightest Z.DirectionalLight (based on the intensity of the light) or the nearest Z.PointLight or Z.SpotLight (compared by the node distance) that light will act as a pixel light for that object; otherwise, it will act as a vertex light.
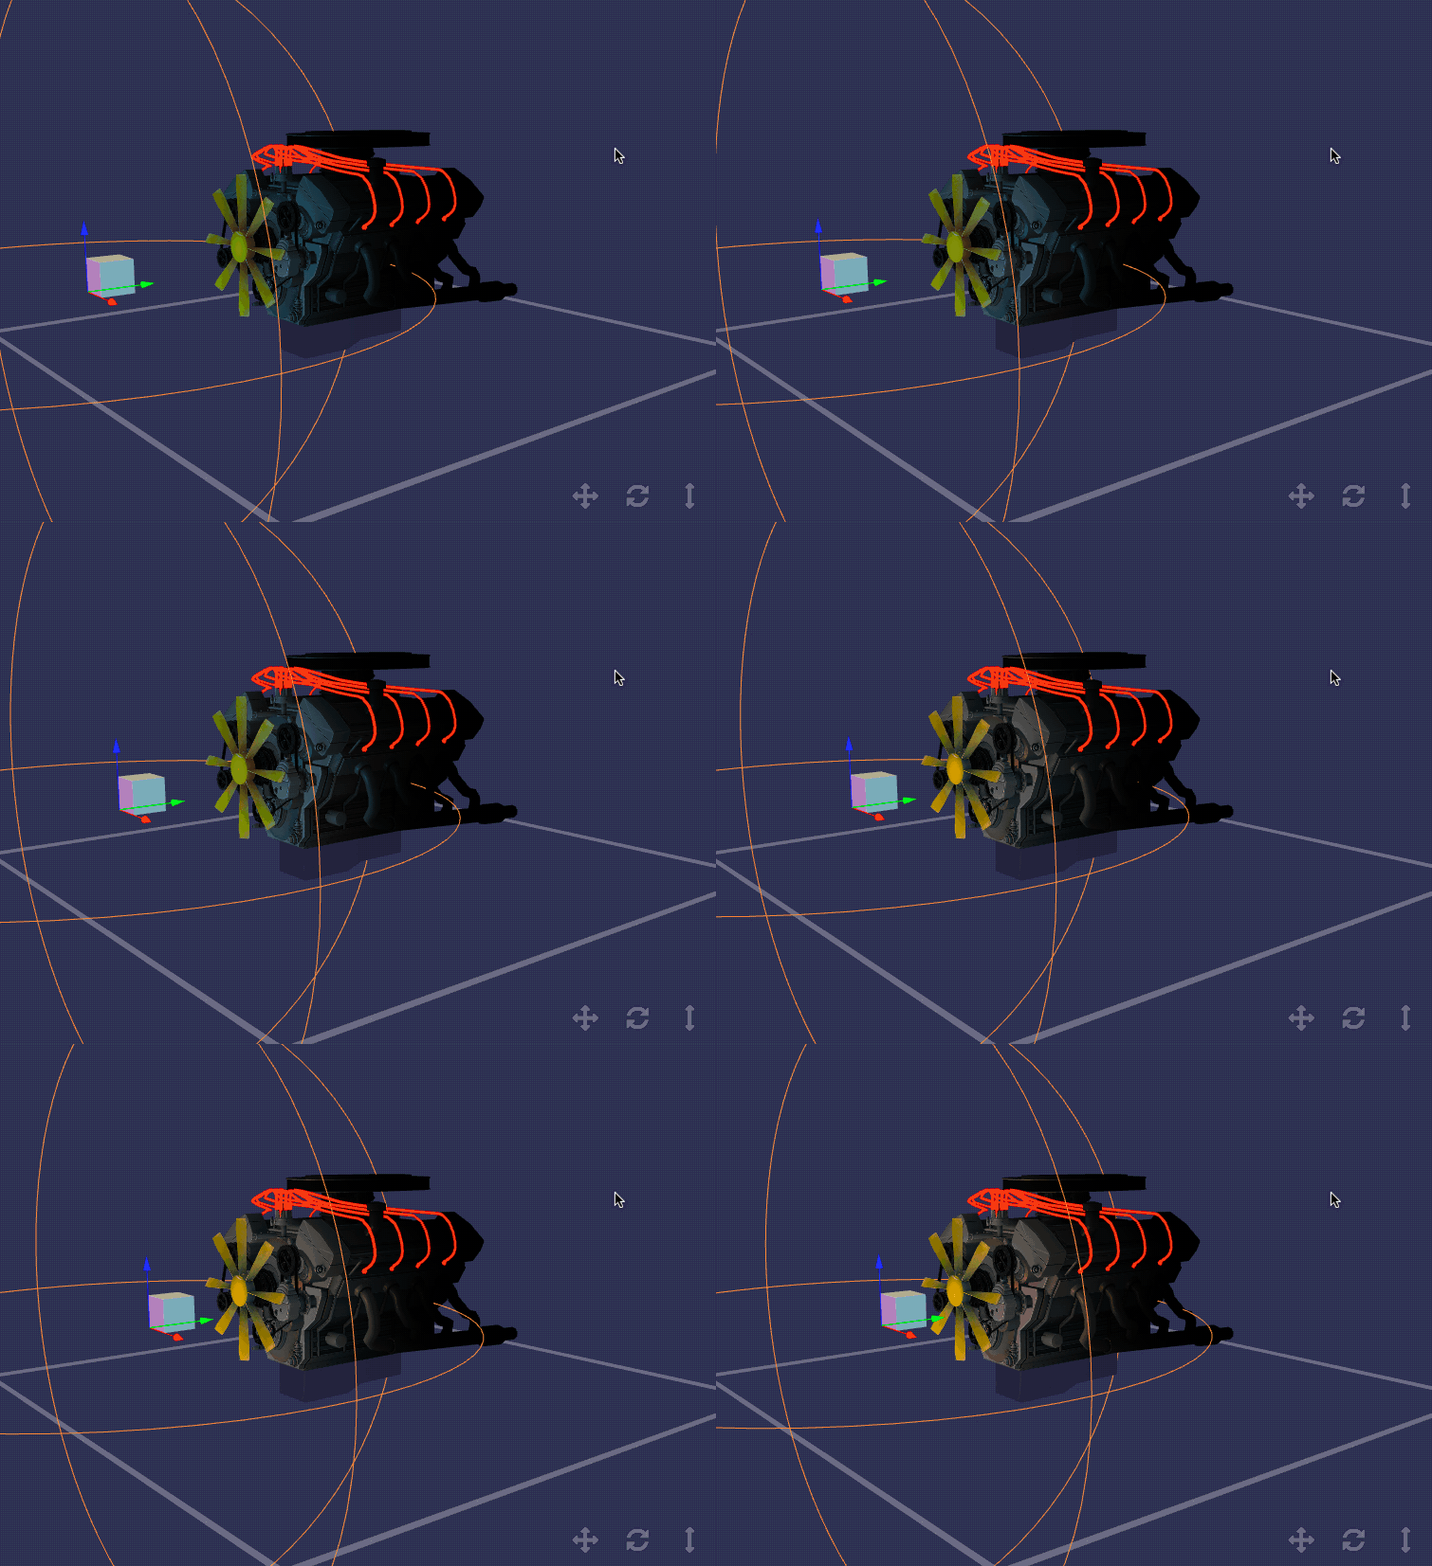
The default priority for a light is auto.
Next Steps
The next article discusses lighting materials - the materials that make it possible for objects to react to light.