3D Model Tracked to Face
Studio is being deprecated, please head over to the documentation page for Mattercraft, our most advanced 3D tool for the web, where you can find the most recent information and tutorials.
This example project demonstrates a 3D model tracked to a Facial Attachment Point in a Face Group.
You can find this example project within the New Project modal in ZapWorks Studio.
Scan the zapcode below to preview the experience.

Editing the project
Section titled “Editing the project”Follow the steps below to customise the template:
When launched the experience is changed to the front facing camera. To edit this, select the root node in the Hierarchy and change or remove the on show action.
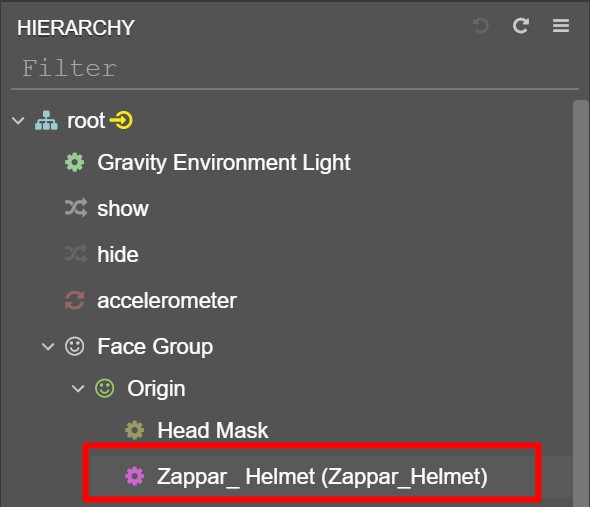
- Delete the Zappar_Helmet node from the Origin in the Face Group and delete the subsymbol from the symbol definitions.

- Import your 3D model into ZapWorks Studio.
- Drag the resulting symbol into the desired Face Group node in the Hierarchy.
Right clicking on the Face Group node in the Hierarchy allows many more attachment point locations to be added to the face! An article explaining the different attachment point positions can be found here - Face Tracking.
- Preview the experience and watch your 3D model track to your face.