Publishing
Once you’ve tested your Unity project made using the Zappar package, you have a number of options for publishing and hosting:
- Using ZapWork’s integrated hosting (WebGL)
- Self-hosting on servers and a domain that you manage (WebGL)
- Publishing to an app store (Native app)
If building for WebGL, we highly recommend hosting with ZapWorks. It is the simplest option and you gain access to analytics, triggers and version control.
Building your Project
Section titled “Building your Project”Before having the ability to publish your developed project, you’ll first need to build it to the platform of your choice. To do this:
- Go to
File->Build Settingsin the main Unity toolbar. - Switch the platform to your desired choice.
- Click
Build.
Native App
If you are targeting and building for a native application then you will have a resulting app build folder that you can use to publish your project using the standard app deployment process.
WebGL
If you are targeting and building for WebGL, then you will have a resulting build folder that contains an index.html file along with other website build files. Continue reading this article to learn more about the different publishing and hosting methods for WebGL builds.
ZapWorks Hosting
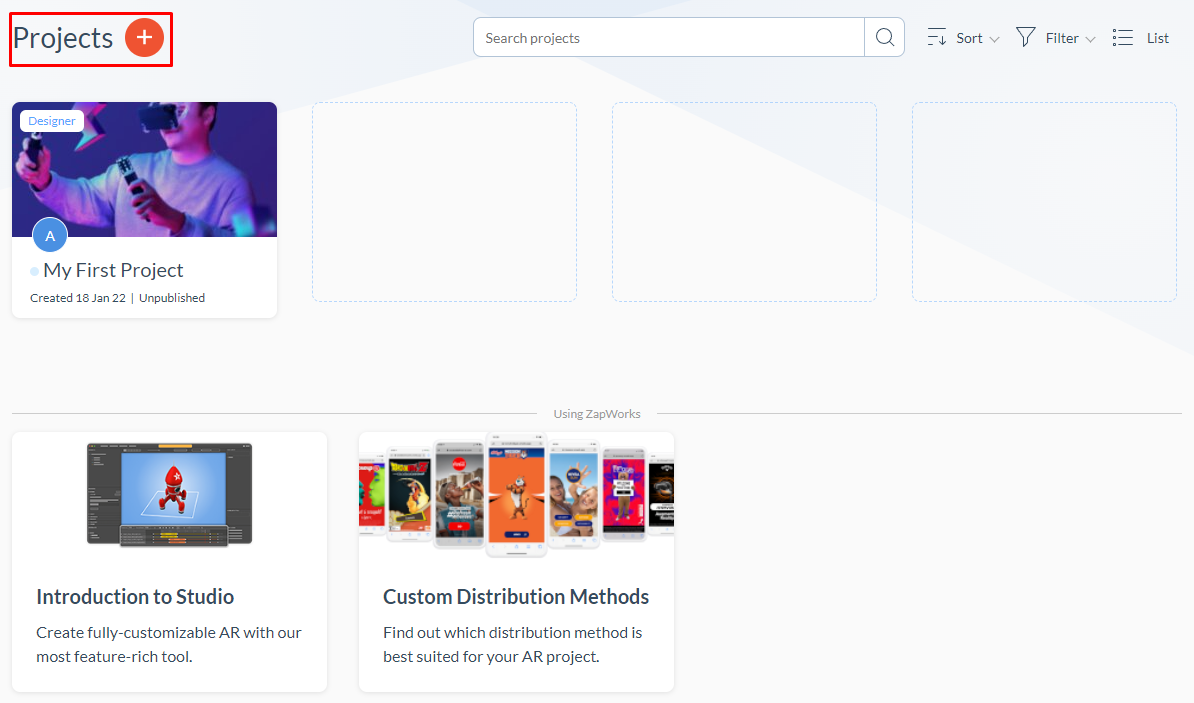
Section titled “ZapWorks Hosting”ZapWorks provides an easy-to-use and robust hosting solution for your AR experiences as part of your subscription. To get started, head over to your workspace.
Once you’ve logged in, you can create a new “Universal AR -> Unity” project using the NEW PROJECT (+) button.

Having created a Unity project, head over to the Experience tab where you can either:
- upload and publish a ZIP folder of your website.
- find instructions for using the ZapWorks command-line toolzapworks-cli to complete the upload and publish.
Uploading a ZIP folder to ZapWorks

If you decide to upload a compressed .ZIP archive folder of your website directly to your ZapWorks project you are required to add a version name when uploading to keep track of changes and versions of your experience.
Uploading your experience will add it to the project versions list. From here you can see the user, time and version, along with a download link of the .zip archive.
Uploading and publishing will make the current version of the experience live, allowing it to be accessed and launched by one of the chosen triggers. Click here to learn which trigger is best for your project.
Please make sure that the
index.htmlfile is in the root structure of your ZIP folder. If the ZIP folder automatically creates a folder in the root, you’ll need to move all the files up to the main root directory for the files to be accessed correctly.
Command-Line Tool
The command-line interface (CLI) utility allows a range of tasks to be performed using the terminal. To learn more about the installation and usage of the CLI, we’d recommend first reading the ZapWorks CLI article.
To upload your experience from the CLI:
zapworks upload --version < e.g. 1.0.0 > --project < zw - project - id > <dir>To publish your experience from the CLI:
zapworks publish --version < e.g. 1.0.0 > --project < zw - project - id >