Camera Setup
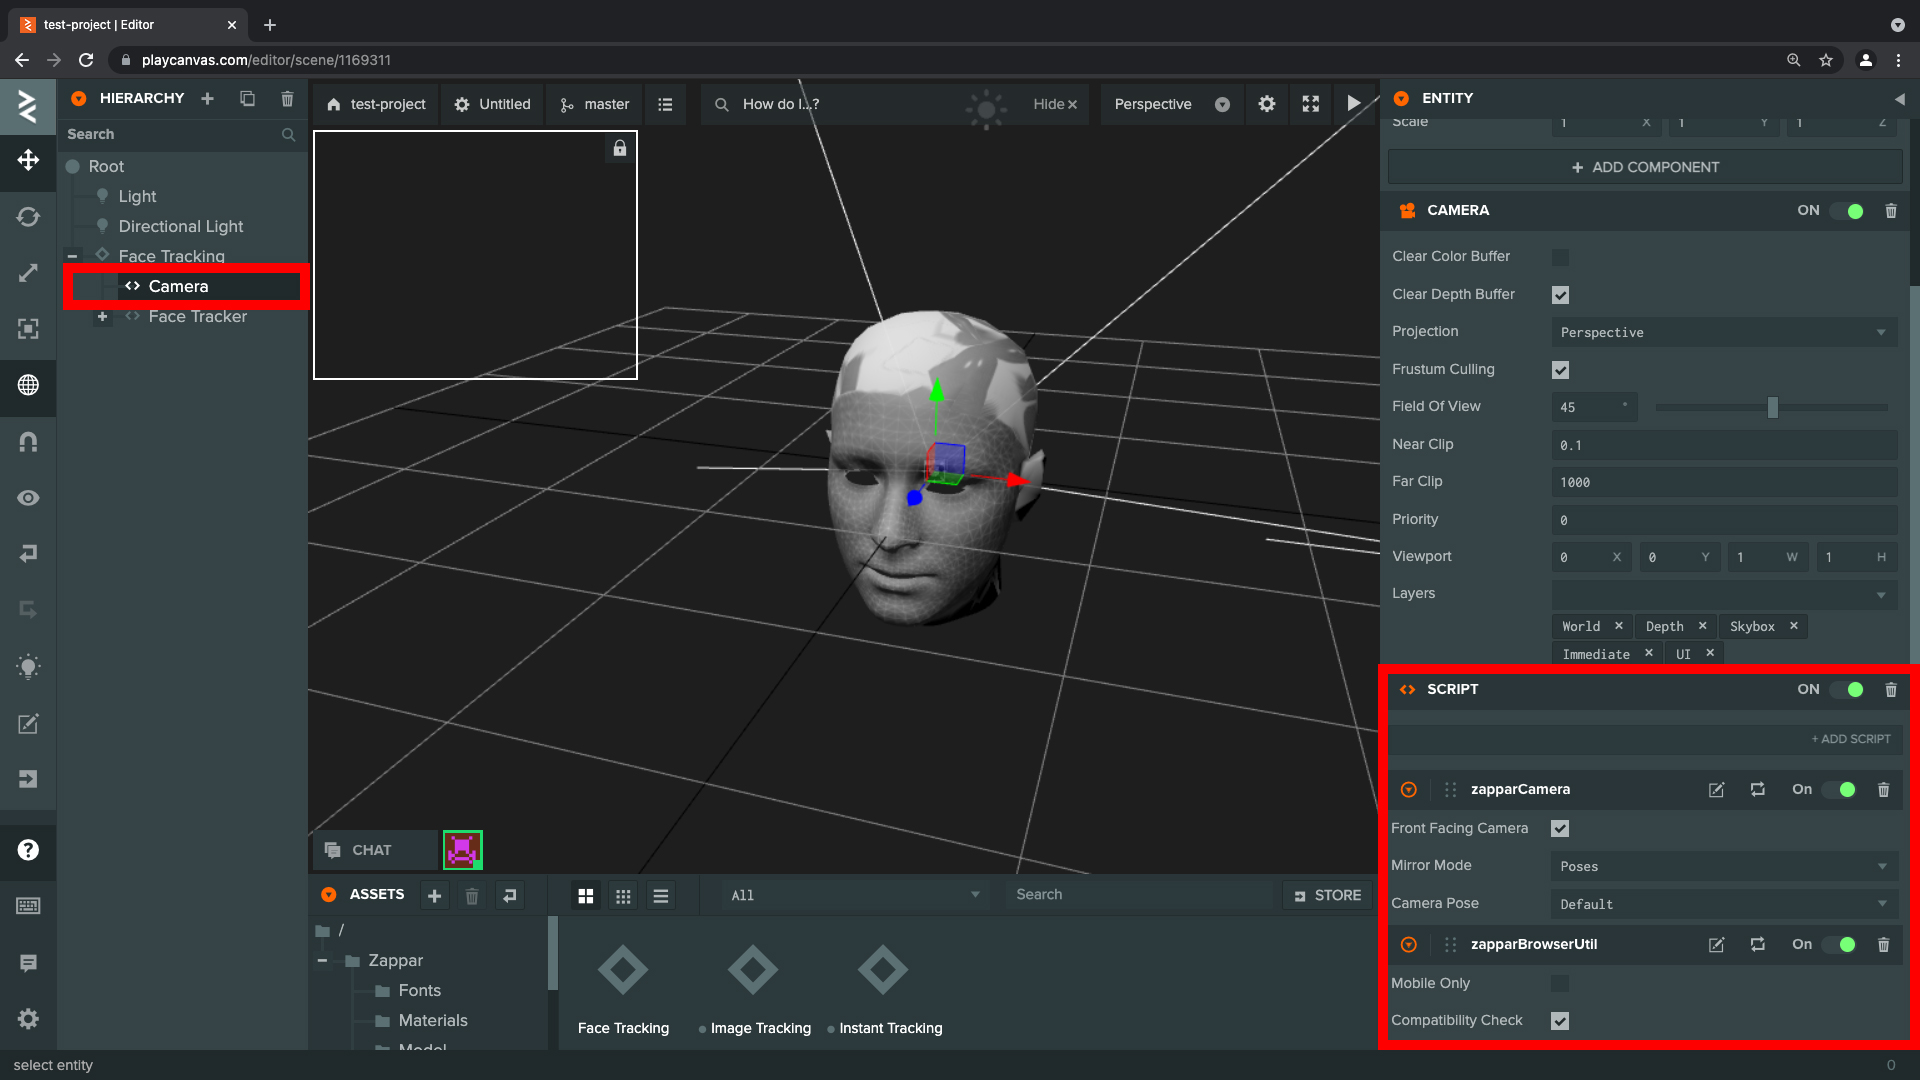
When you add a tracking template to your scene, the tracker group will already contain a camera component ready for you.
Please remember to remove any other cameras you may have, or to mark the Zappar Camera as your primary/active camera.
The Zappar Camera has the following changes:
- Its camera parameters (e.g. focal length) will be set automatically by the Zappar library to match those of the physical camera on your device
- The physical camera feed will be drawn as a background to your scene
- By default, the position of the camera is the origin of your scene, pointing down the Z axis. Objects that you track, e.g. the user’s face, will move around in your scene so that they appear in the correct location to the (stationary) camera.
Customising the Camera
Section titled “Customising the Camera”The camera object is already prepared for you with the most appropriate set up for each tracking type, however, it does have a few options and features you may like to change.
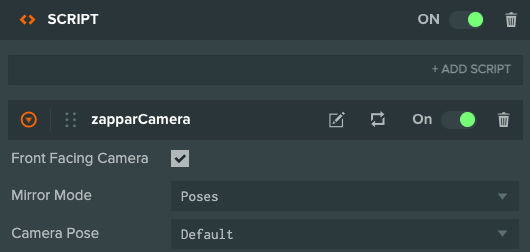
Camera options
Section titled “Camera options”FrontFacing Camera: this causes the Zappar library to display the ‘selfie’ camera to the user (rather than the rear-facing camera). This is useful for face filter experiences.MirrorMode: these options can be used to automatically mirror the camera background and 3D content. Users expect the content/image of user-facing cameras to be mirrored.Content Pose: if this is set to an instance of one of the tracking templates, that instance will become the origin of your scene. In this mode the camera will move around that instance in 3D space (instead of remaining at the origin).
Mirror Mode
Section titled “Mirror Mode”Poses: this mode mirrors the background camera texture and ensures content still appears correctly tracked. In this mode your content itself isn’t flipped, so any text in your tracked content doesn’t appear mirrored. This is the default mode for the user-facing camera.CSS: in this mode, the Zappar camera applies ascaleX(-1)CSS transform to your whole canvas. This way both the camera and your content appear mirrored.None: no mirroring is performed. This is the default mode for the rear-facing camera.
Realtime Camera-based Reflections
Section titled “Realtime Camera-based Reflections”The SDK provides an automatically generated environment map that’s useful if you’re using materials that support reflections (e.g. StandardMaterial). The map uses the camera feed to create an approximate environment that can add some realism to your scene.
To get started, enable the Real Time Environment Map entity in the hierarchy:

And then simply tag any materials with the reflective tag:
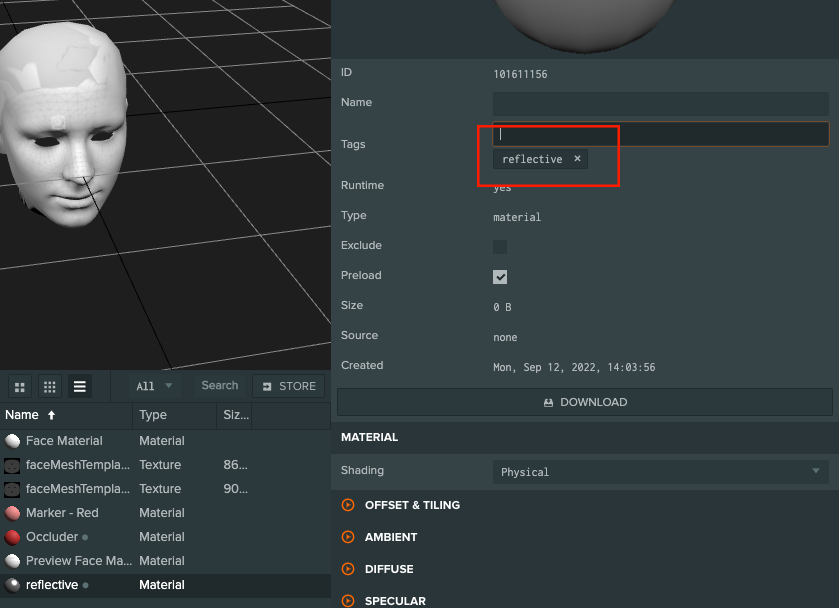
Any materials using this tag will automatically update their
cubeMapproperty. You can modify this behavior inside theZappar/scripts/cubemapRenderer.jsscript.
Camera Pose
Section titled “Camera Pose”The Zappar library provides multiple modes for the camera to move around in the PlayCanvas scene. You can set this mode with the poseMode parameter of your camera object. There are the following options:
Default: in this mode the camera stays at the origin of the scene, pointing down the negative Z axis. Any tracked anchors will move around in your scene as the user moves the physical camera and real-world tracked objects.Attitude: the camera stays at the origin of the scene, but rotates as the user rotates the physical device. When the Zappar library initializes, the negative Z axis of world space points forward in front of the user.AnchorOrigin: the origin of the scene is the center of the anchor specified by the camera’sposeAnchorOriginparameter. In this case the camera moves and rotates in world space around the anchor at the origin.
The correct choice of camera pose with depend on your given use case and content. Here are some examples you might like to consider when choosing which is best for you:
- To have a light that always shines down from above the user, regardless of the angle of the device or anchors, use
Attitudeand place a light shining down the negative Y axis is world space. - In an application with a physics simulation of stacked blocks, and with gravity pointing down the negative Y axis of world space, using
AnchorOriginwould allow the blocks to rest on a tracked image regardless of how the image is held by the user, while usingAttitudewould allow the user to tip the blocks off the image by tilting it.
Events
Section titled “Events”The camera emits an event when a user accepts or declines camera permissions. You may listen for the event like this:
this.app.on('zappar:camera', (ev) => { if(ev.message === 'permission_granted'){ console.log(ev.granted); // 'true' if permission was granted. }});##Front/Rear Camera Toggle
You can switch between user and rear facing cameras using the following event:
const userFacing = true;this.app.fire('zappar:camera', {message : 'flip', userFacing})This code would usually be found in a button click handler.