User Input and Controls
There are a variety of methods to control user input within WebXR experiences, depending on the supported device.
Pointer Emulation
Section titled “Pointer Emulation”When building non-XR interactive projects in Mattercraft, it’s common to use the browser events associated with the mouse or finger touch (e.g click, pointerup, pointerdown) to respond to user interaction.
Since browsers don’t generate these events during XR sessions, the XRManager component provides Pointer Emulation. Where XR input events (such as the movement and button presses of handheld controllers) are translated into pointer events based on the direction of the underlying input device. The XR Manager component handles the properties of this feature.
This allows you to build experiences using Mattercraft’s pointer events and have users point at and click on objects with their controllers or hands. The exact mechanism of this user interaction varies depending on the type of device they’re using, and the types of input supported by that device.
| Device Type | Pointing Mechanism | Clicking Mechanism |
|---|---|---|
| Tracked Controllers (e.g., Meta Quest, Magic Leap) | Moving Controllers | Pressing Controller Trigger |
| Hand Tracking (e.g., Meta Quest) | Moving Hands | Pinching Gesture |
| Headsets without Controllers (e.g., Google Cardboard VR) | Turning Head (Gaze) | Tapping on Screen |
| Handheld AR (e.g., Google Chrome AR) | - | Tapping on Screen |
Pointer emulation varies by device type and input support, translating XR input events into pointer events.
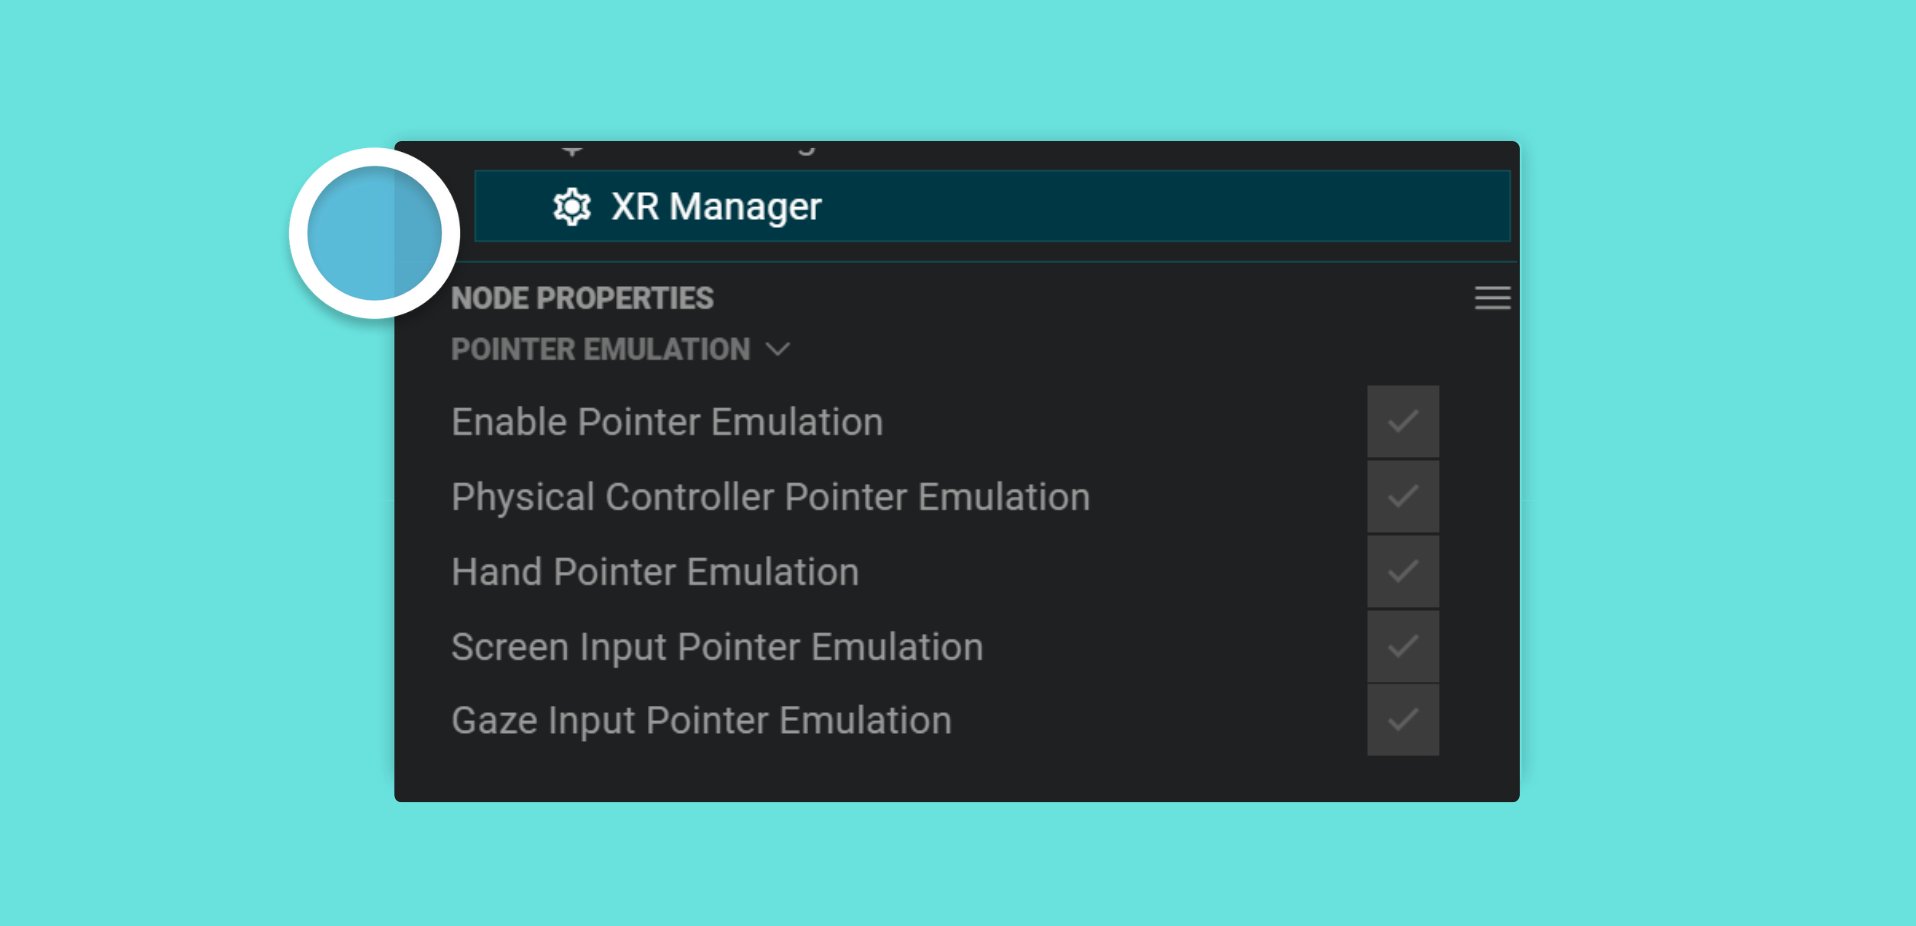
By default, the XRManager component enables pointer emulation for all of these input types, however it’s possible to configure this, and to completely disable pointer emulation, by setting properties on the component.
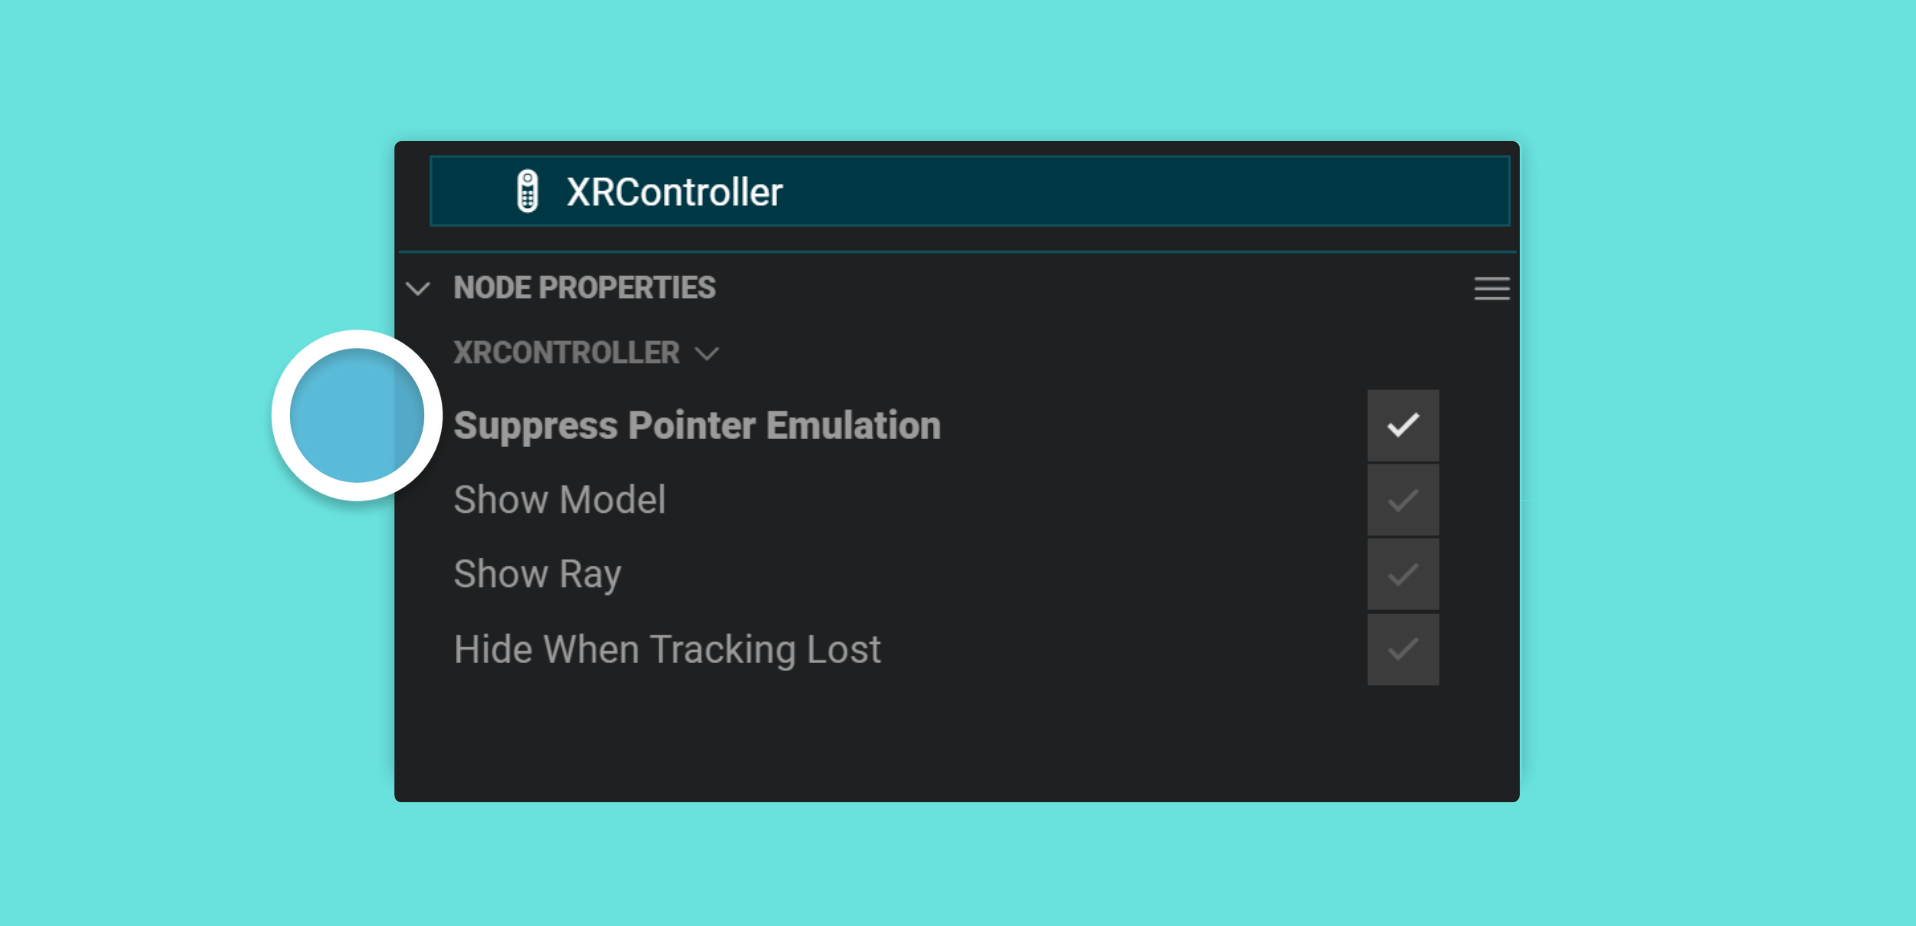
In some instances you may wish a specific controller not have an emulated pointer - for example if the user is holding an object or tool with that controller - and you can do this by setting the suppressPointerEmulation of the associated XRController component to true.
Tracked Controllers and Hands
Section titled “Tracked Controllers and Hands”Many headsets support one or two controllers. These are typically held by users in their hands, have a tracked location in 3D space, and feature one or more buttons. The XRController component lets you work with these controllers in the following ways:
| Feature | Description |
|---|---|
| 3D Representation | Visual representation in space |
| Pointing Direction | Shows a line indicating pointing direction |
| Event Response | Responds to button presses and tracking changes |
| Content Attachment | Attach 3D content to controllers |
| Hand Tracking Support | Represents hands as tracked controllers |
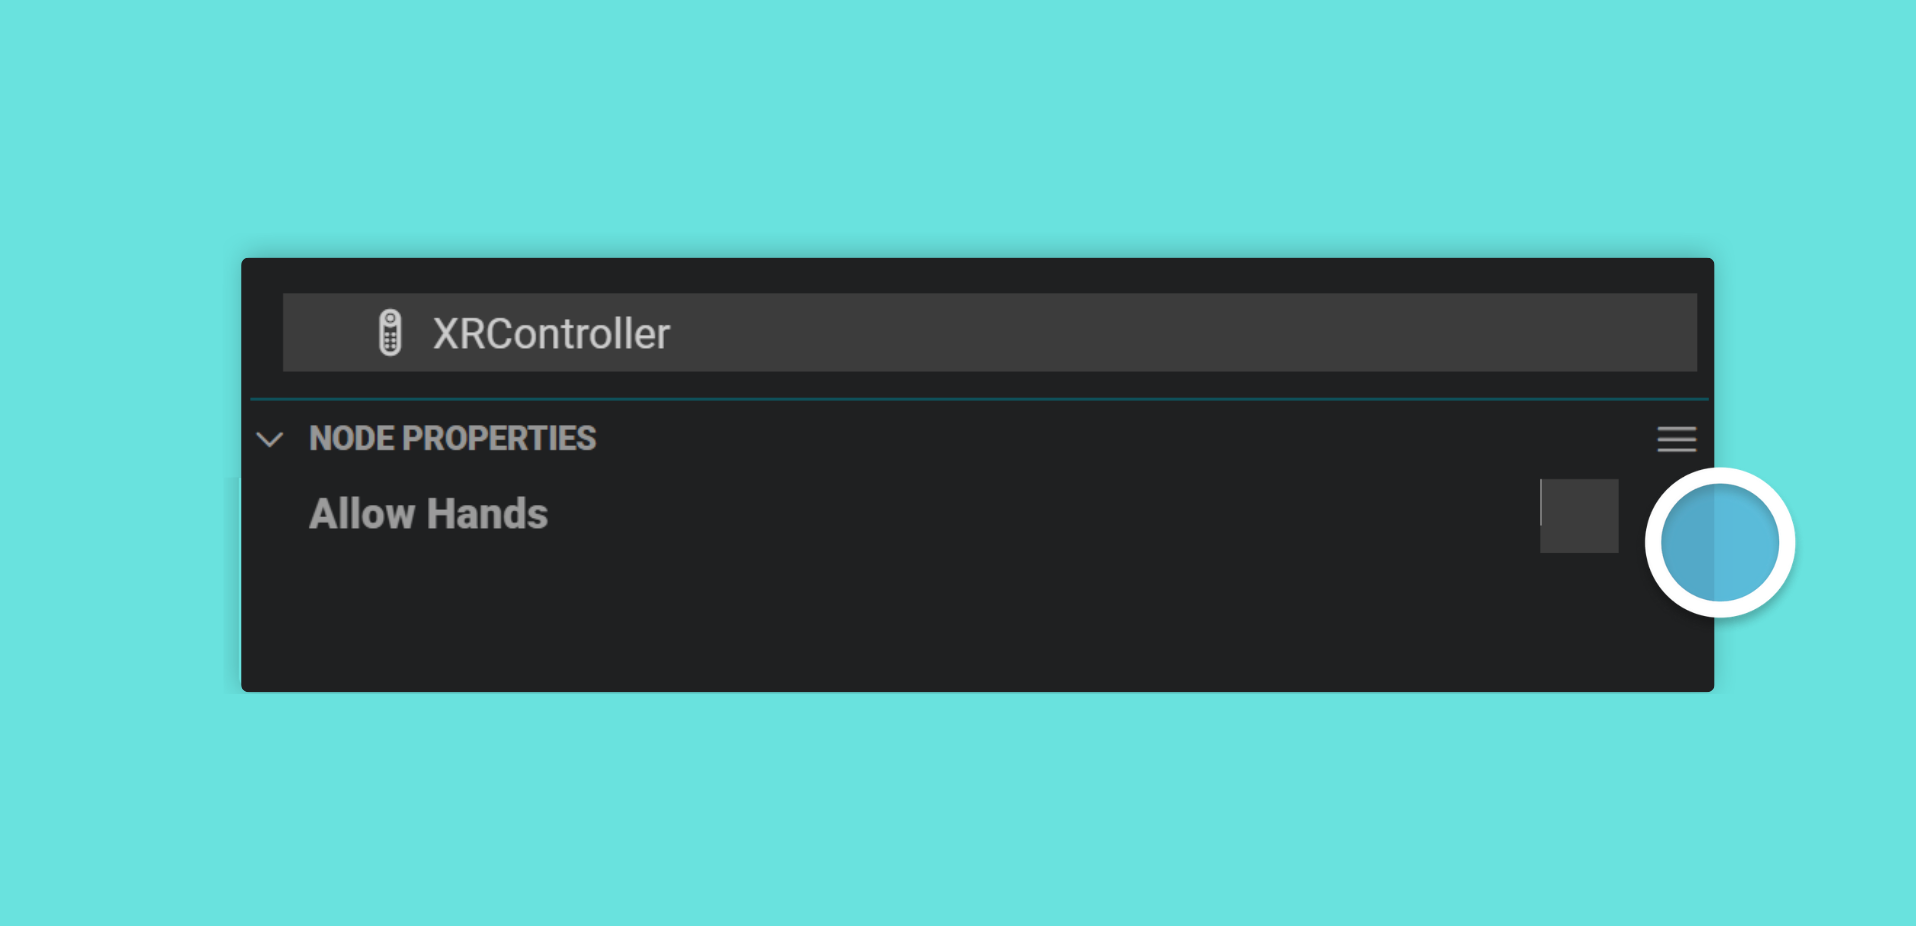
Some devices that support hand tracking (such as the Meta Quest) represent the user’s hands as tracked controllers. The XRController component works just the same for these cases, it just shows a 3D jointed hand rather than a 3D model of the controller. If you’d like your XRController to only work with actual tracked controllers, set its allowHands property to false.
Controller Binding
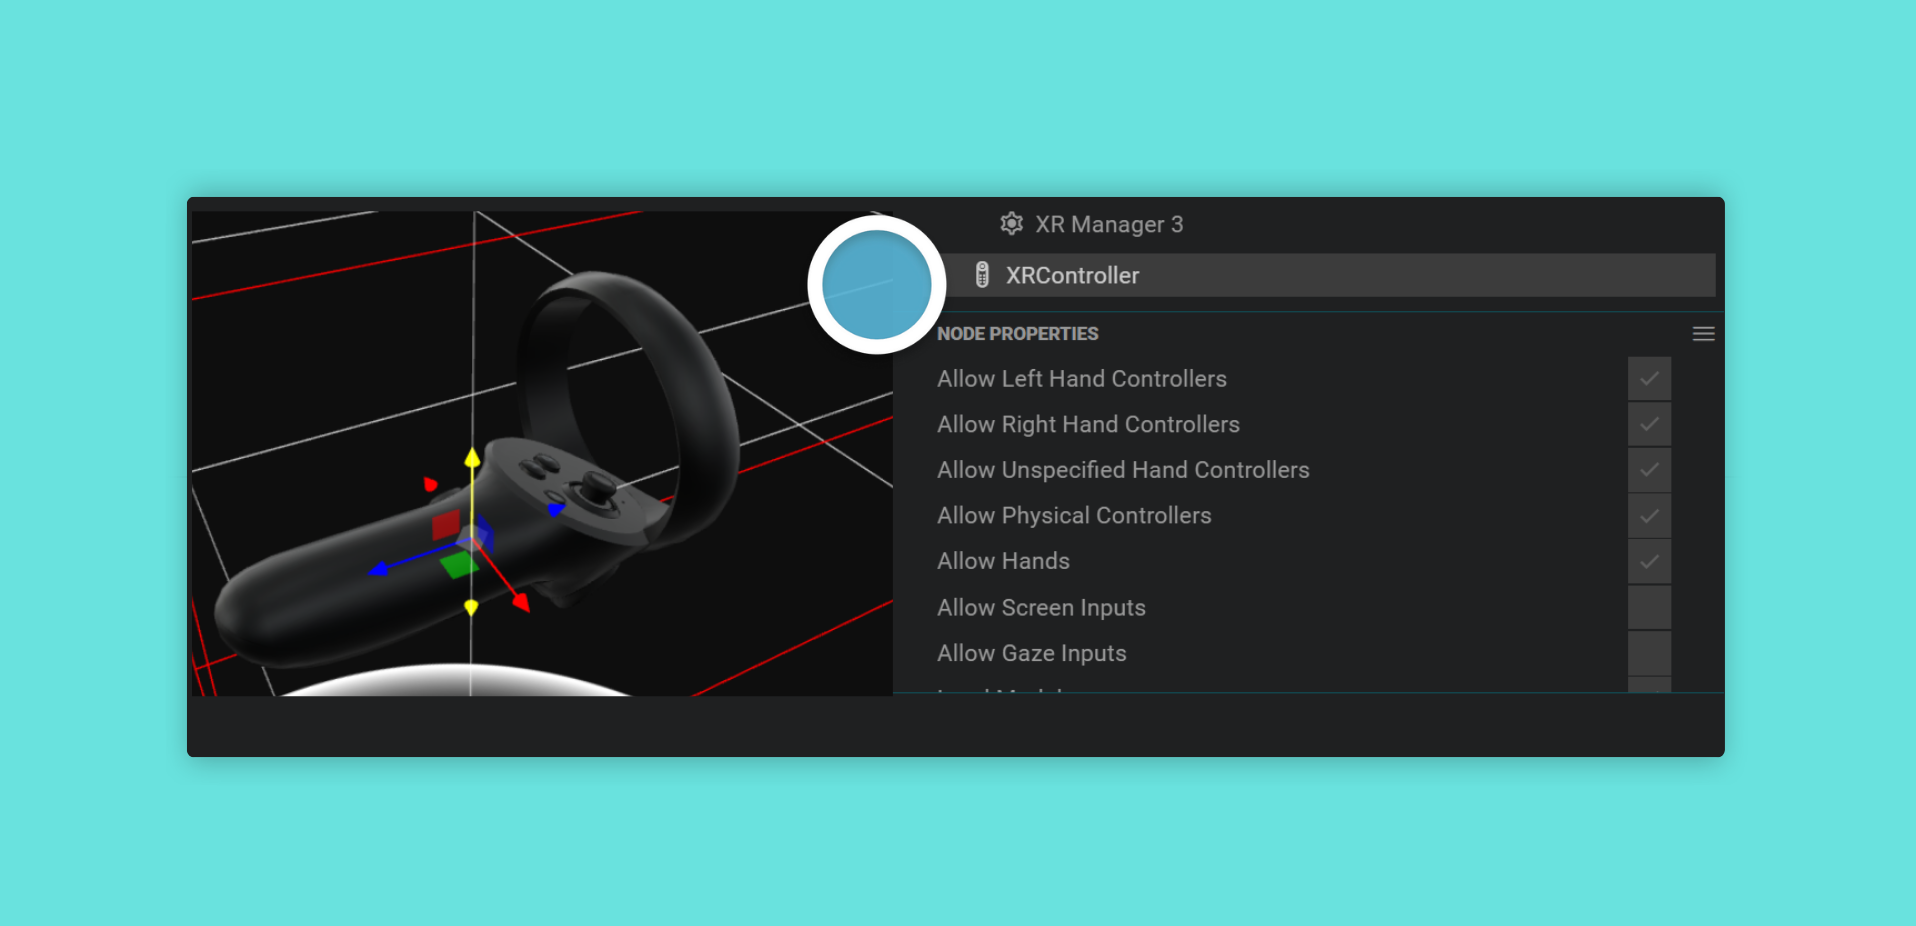
Section titled “Controller Binding”Since the various headsets each support different numbers and types of controllers, every XRController instance provides a number of properties that let you configure which underlying input device it is paired (or bound) to. An XRController will bind to the first input device it finds that matches the values of its allow properties.

In general there are two types of constraint: handedness, which is if the contoller is for the user’s left or right hand (or indeed for either hand); and device type, which allows you limit the XRController to any of physical controllers, tracked hands, screen inputs and gaze inputs.
In order to give users a consistent experience, regardless of the device they’re on, we recommend always having two XRControllers in your project - a ‘primary’ controller with allowLeftHandControllers set to false, and a ‘secondary’ controller with both allowRightHandControllers and allowUnspecifiedHandControllers set to false. This setup ensures that devices with either one or two controllers have predictable behavior.
In addition, unless you’re specifically targeting a device with two controllers, it’s best to ensure that the user experience is functional using just the ‘primary’ controller. The XR Rig components include this setup by default.
Attaching 3D Content
Section titled “Attaching 3D Content”You can attach content to an XRController by placing items as children of it in the Hierarchy. There are two 3D Space options associated with tracked controllers that dictate how these items are placed:
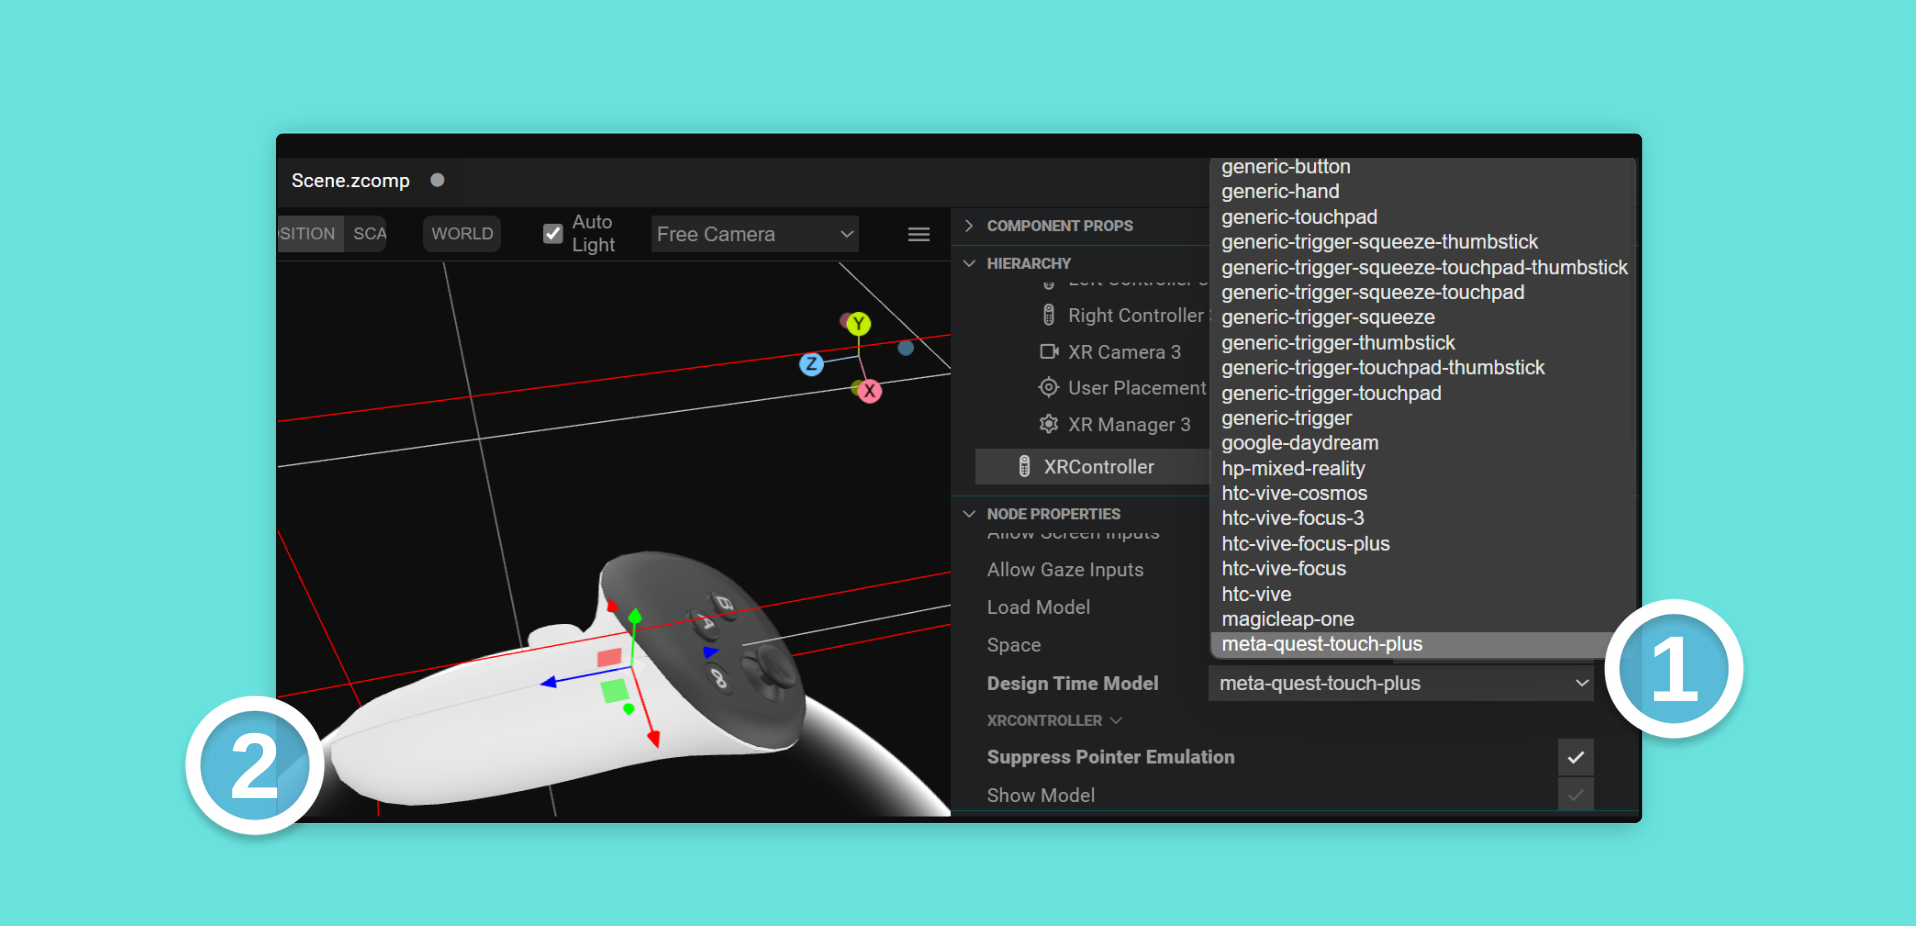
gripSpace: Where the origin appears in a location corresponding to the user ‘holding’ an object, andtargetRaySpace: Where the -Z axis is aligned with the direction the controller is pointing.
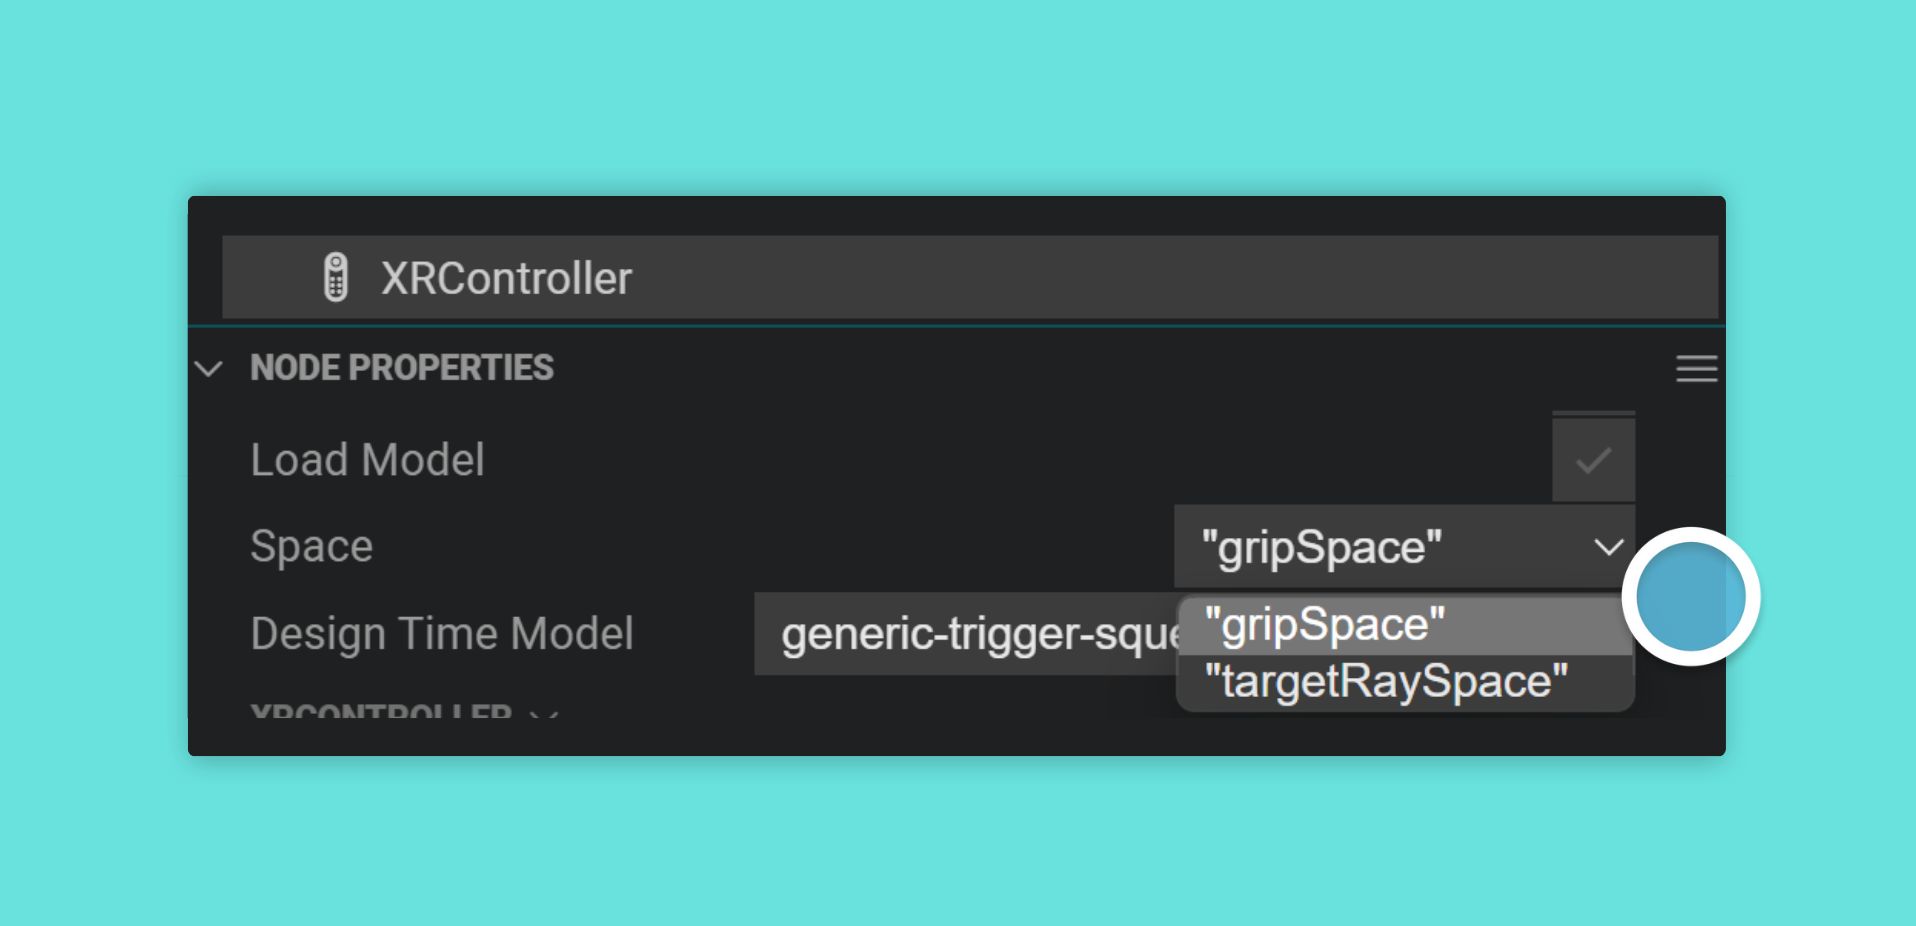
To help position content in the correct location within the editor, you can use the designTimeModel property of an XRController. Switching it to different values allows you to preview it in the editor, to see how the content will appear for different types of controllers.