Using Particles
After using a Project Template which has particles pre-installed, or Installing the Particle package yourself, you will have access to customizable particle effects.
Types of particles
Section titled “Types of particles”Mattercraft currently offers a variety of customizable default particles, as well as a base EmitterGroup component for you to create your own unique particle effects:
| Particle effect | Potential usage |
|---|---|
Sparkle | Use the sparkles effect to highlight something within your zcomponent. |
Snow | Add a snow effect to create a winter wonderland or a snowy landscape in your zcomponent. |
Rain | Use the rain effect to simulate a rainy day, or to add atmosphere to a zcomponent. |
Firework | Use a firework to create a realistic and visually striking display of fireworks in your zcomponent. |
Fire | Add a fire effect to create a realistic campfire, fireplace, or torch in your zcomponent. |
Confetti | Use confetti to celebrate a victory or highlight a special moment in your zcomponent. |
EmitterGroup | Add an EmitterGroup to create your own unique particle effects, such as smoke, clouds, petals and more. |
Adding particles to a zcomponent
Section titled “Adding particles to a zcomponent”There are two different ways to set up particles in a zcomponent - adding and customizing default particles, or adding and customizing a base EmitterGroup from the ground up.
Before adding particles, ensure the Particles package has been installed by heading to the Add-ons and Dependencies panel. You can learn how to install the Particles package by using our Installing the Particle package guide.
Default particles
- Right click (or left click on the three dots) on the root Group
- In the menu, go to New and then Particles
- Select either the
Sparkle,Snow,Rain,Firework,FireorConfettiparticle component
EmitterGroup particles
- Right click (or left click on the three dots) on the root Group
- In the menu, go to New and then Particles
- Select the
EffectGroupparticle component - Right click (or left click on the three dots) on
EffectGroupand go to New, then Particles and click onParticleEmitter - Right click (or left click on the three dots) on
EffectGroupand go to New, then Textures and click onEmitterTexture
Customizing particles
Section titled “Customizing particles”Particle components are made up of three parts:
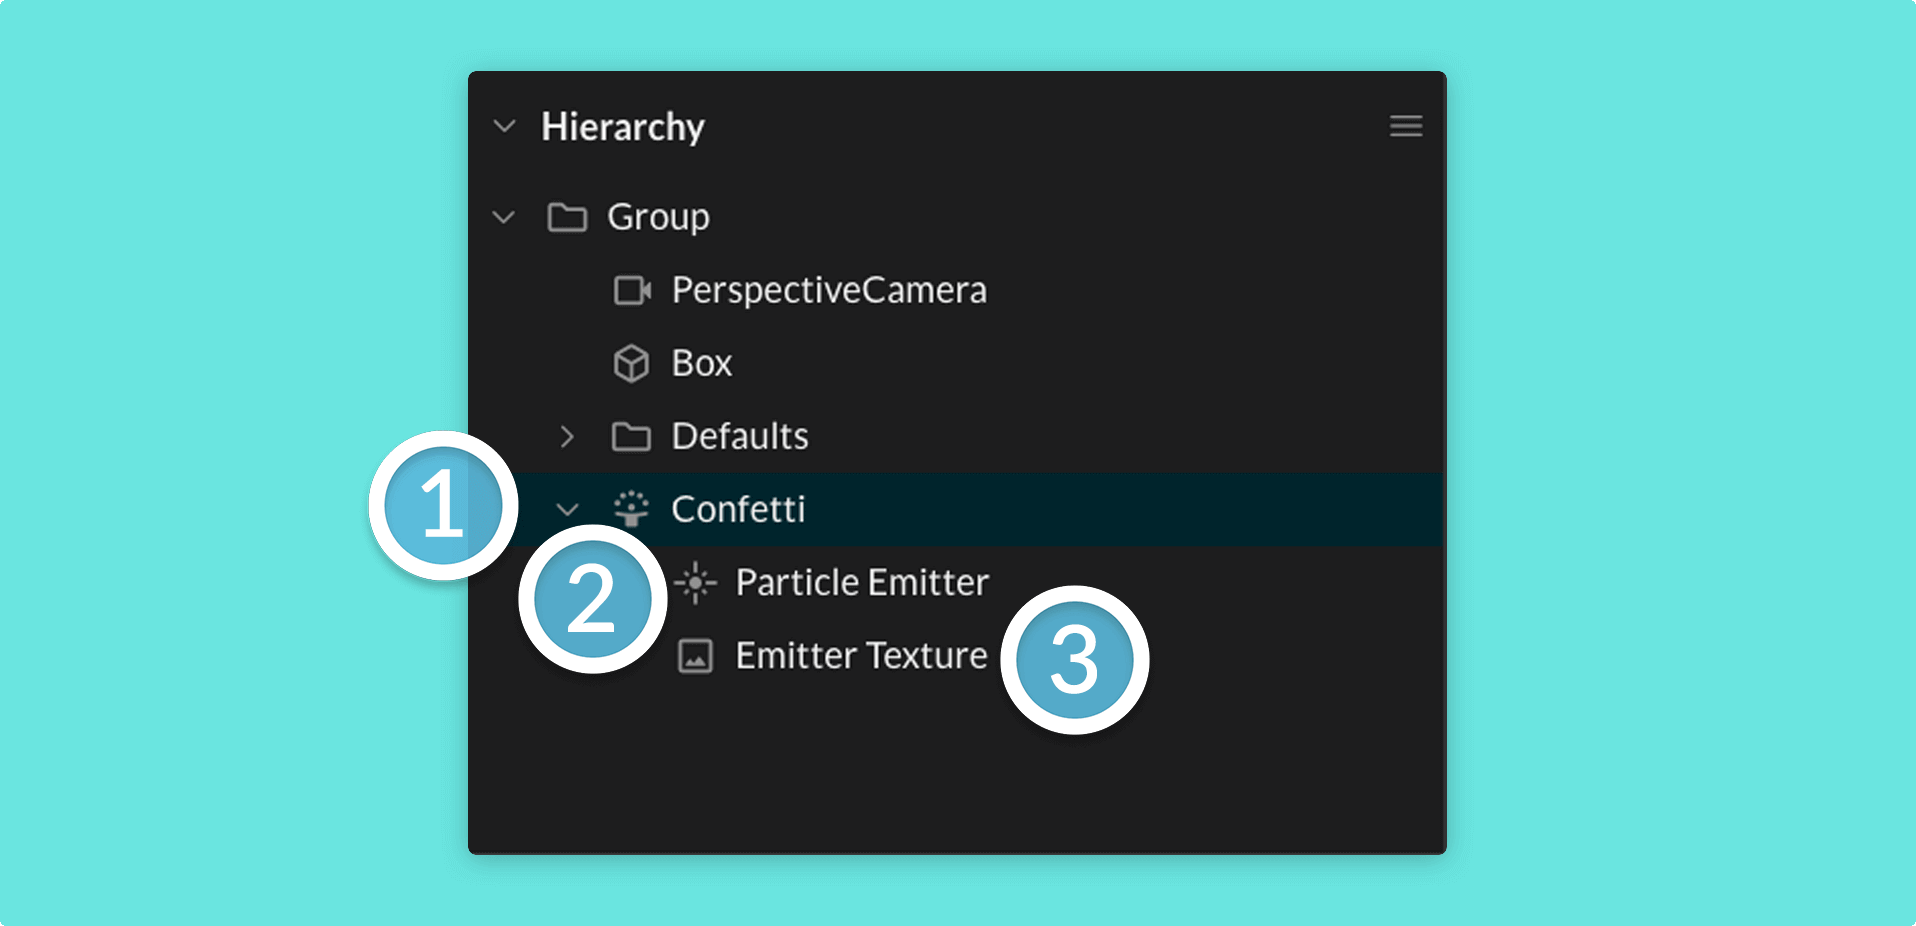
- A particle emitter group (otherwise known as an
EmitterGroup) component - A
Particle Emittercomponent - An
Emitter Texturecomponent
After adding a Particle component to your scene, you can further customize each particle component using the Node Properties panel.
Each part of a Particle component has unique properties to personalize, such as
Particle Count,Max Age ValueandVelocity Spread.
Controlling particles with Behavior Actions
Section titled “Controlling particles with Behavior Actions”You can control particles by using Mattercraft’s Animation System in conjunction with Behavior Actions.
- Create a Layer with either a State or a Timeline inside it which manipulates the particle component
- Find the a component you wish to control the particles with inside the Hierarchy panel and select it
- Head to the Behavior Actions panel and click on the + (plus) icon
- Find the Animation Actions category and select the appropriate behavior for the State or Timeline
Controlling particles with script
Section titled “Controlling particles with script”An example Custom Behavior for activating a particle emitter might look like this:
// Register that this node should be listening to an event,// in this case onPointerDown (on click or tap)this.register(this.instance.onPointerDown, evt => {
    // Activate the particle by setting    // its enable property value to true    this.zcomponent.nodes.Sparkle.enabled.value = true;
});
You can also manipulate particle node properties via script.
See Mattercraft’s full API documentation here.