Navigating the UI
Mattercraft features a rich interface made up of a number of different panels, each of which are essential when developing Mattercraft projects.
The sections below showcase the main Mattercraft UI elements, with the fundamental features highlighted.
Left Menu
Section titled “Left Menu”The Left Menu lets you switch between a variety of panels on the left-hand side of the screen.
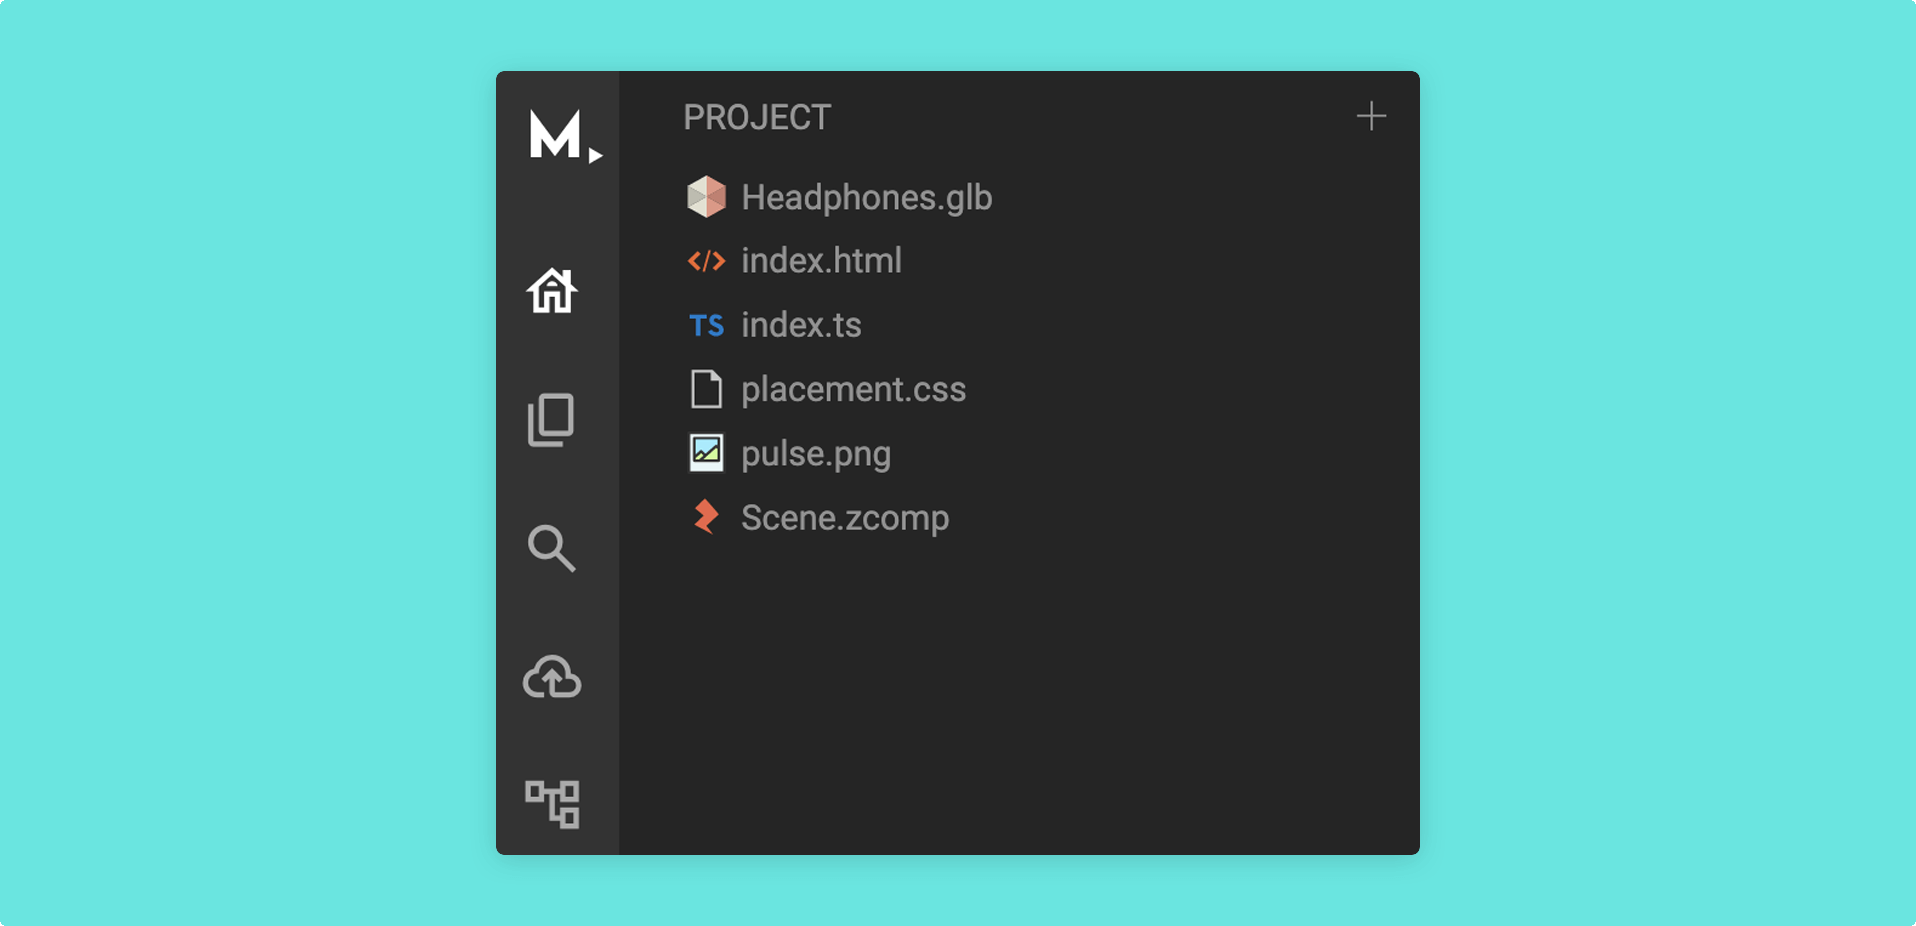
The panels you can navigate between include:
| Panel | Description |
|---|---|
| Project panel | A list of files in your project that are relevant to the creative process. |
| All Files panel | A tree of all of the files that make up your project, including those that are more technical or automatically generated by Mattercraft. |
| Search panel | Allows you to search for content inside Mattercraft specific files. |
| Publish panel | Publishes your project so anyone with the project trigger can access your project. You may also view previously published versions and set one to the version your trigger should launch into if you have more than one. |
| Dependencies panel | Enables you to add additional functionalities into your Mattercraft project such as Augmented Reality by Zappar, Google or Microsoft Clarity Analytics, Particles, Physics and more*. |
*The dependencies panel allows you to leverage any JavaScript library from the huge NPM package repository.
At the bottom of the Left Menu, you will find other helpful features in addition to the panels described above, such as:
| Feature or panel | Description |
|---|---|
| User | Shows how many people are working on this project at the same time. You may have multiple users edit a Mattercraft project at once. |
| Commit history | The Commit History lets you save versions of your project as you work on it. |
| What’s new | The What’s New section provides a list of the latest Mattercraft updates. |
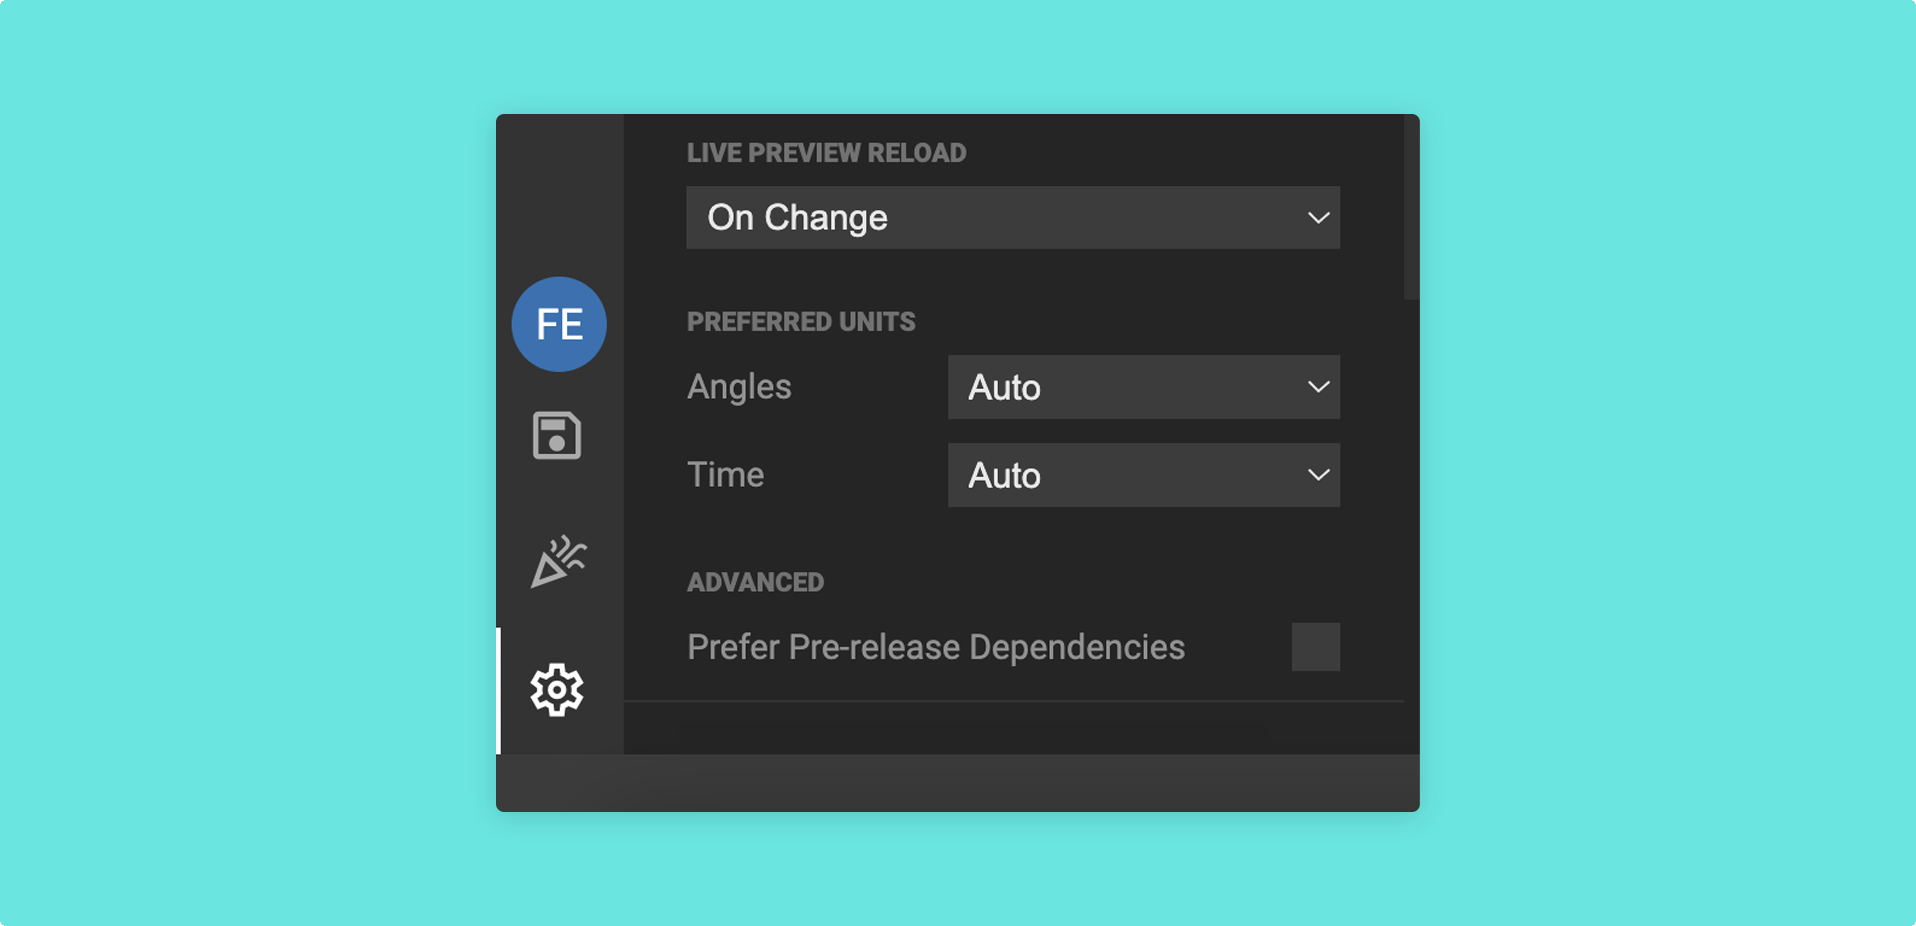
| Settings | The Settings menu enables you to edit project-related settings. |
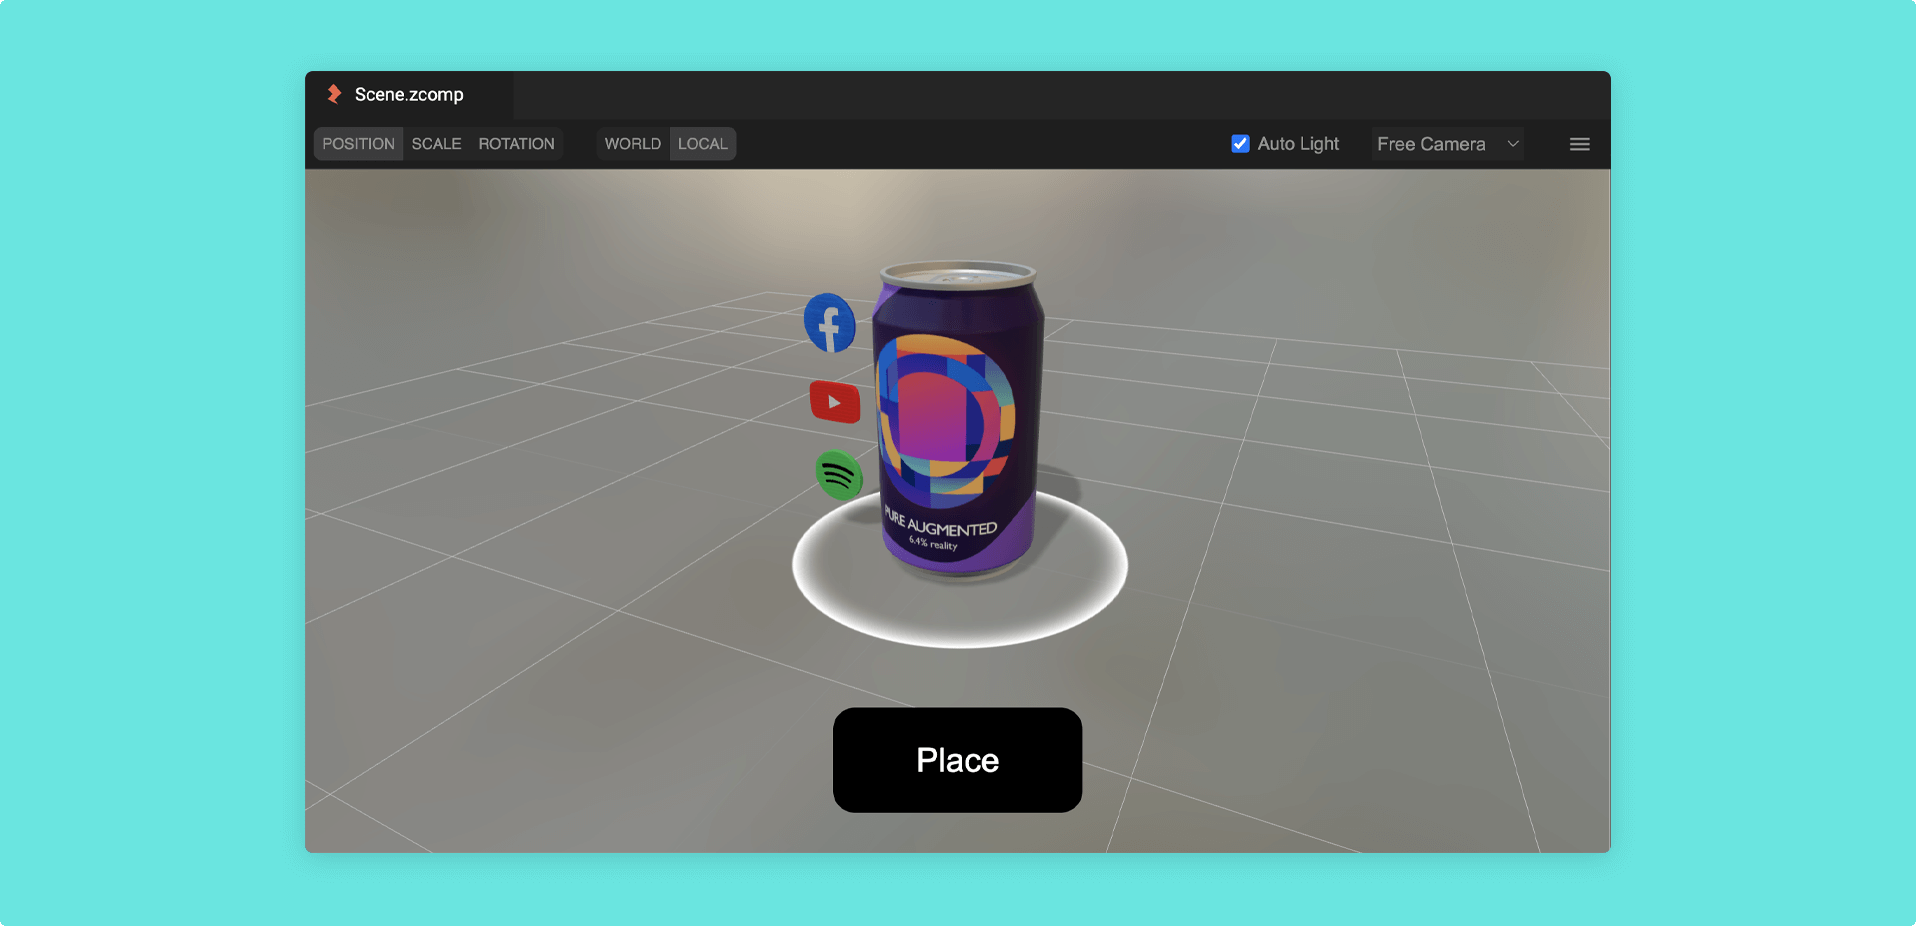
3D Viewport
Section titled “3D Viewport”The 3D viewport provides a view of your scene, where you can manage the scale, rotation, and position of your content.
Live preview button
Section titled “Live preview button”Clicking on the Live Preview button, located to the top left of the screen, will allow you to preview your project (remember to save your changes first!).
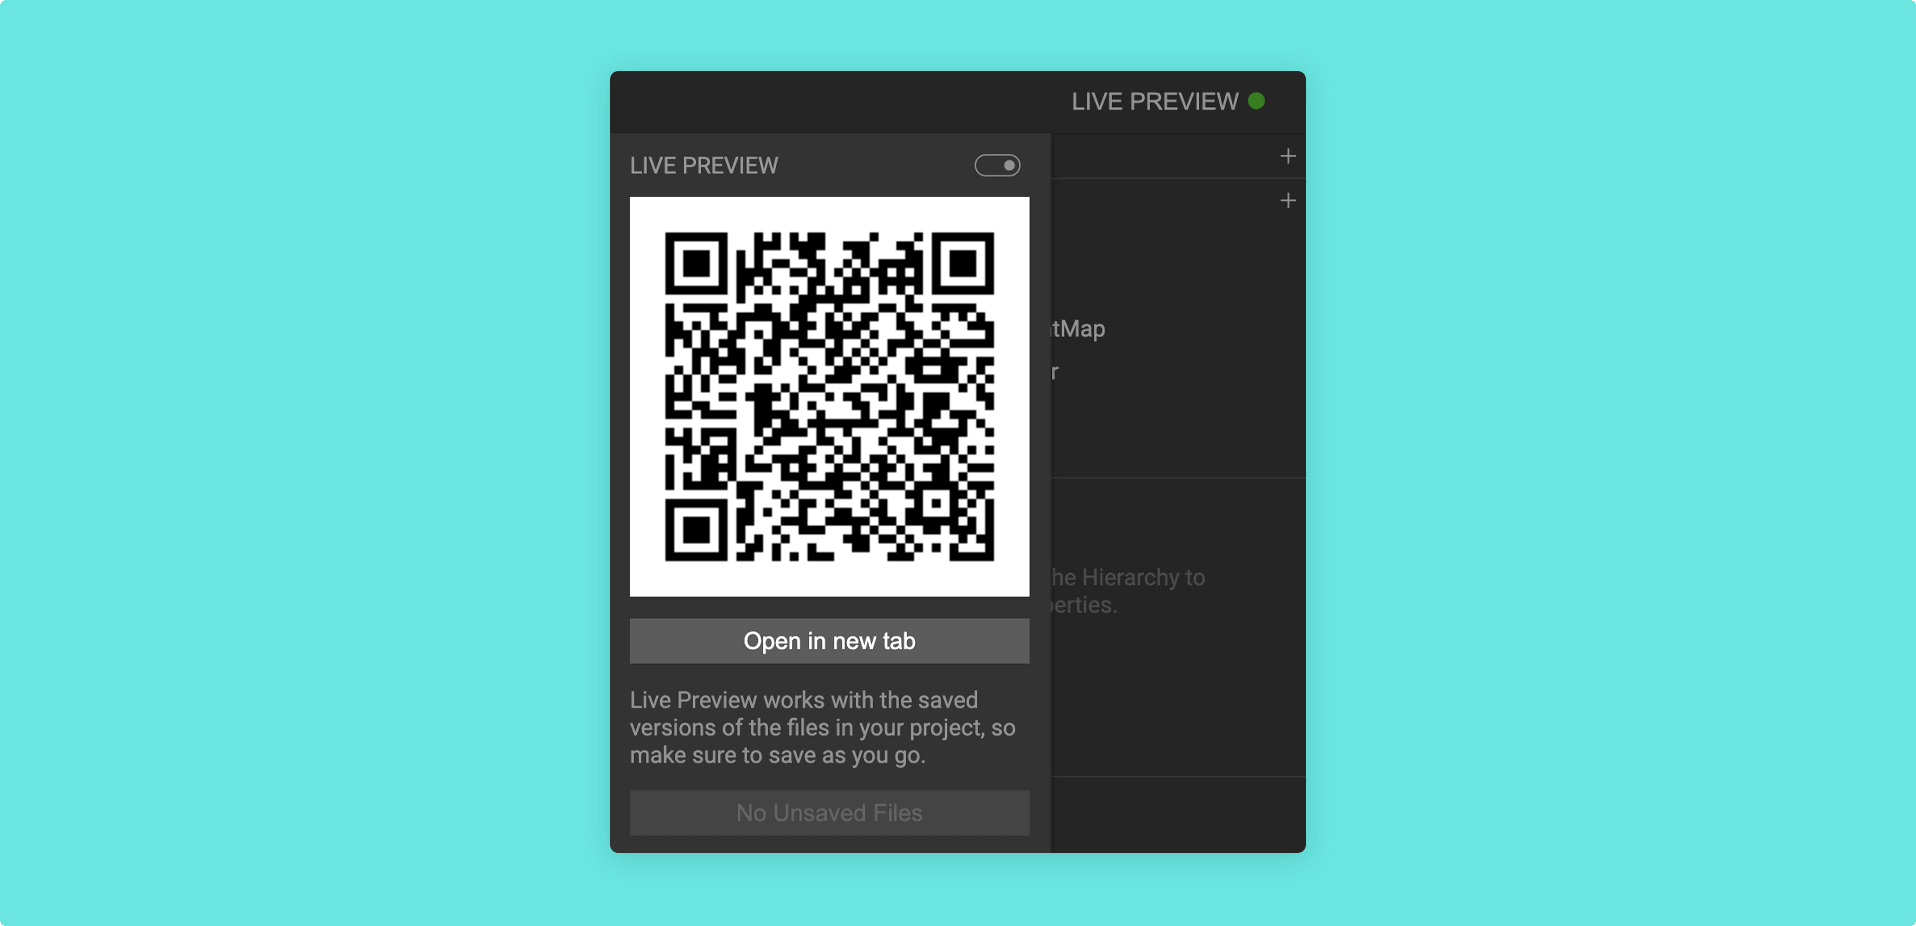
Learn how to preview and publish your Mattercraft project on our Previewing and Publishing documentation.
Hierarchy panel
Section titled “Hierarchy panel”The Hierarchy panel displays the content that makes up your scene.
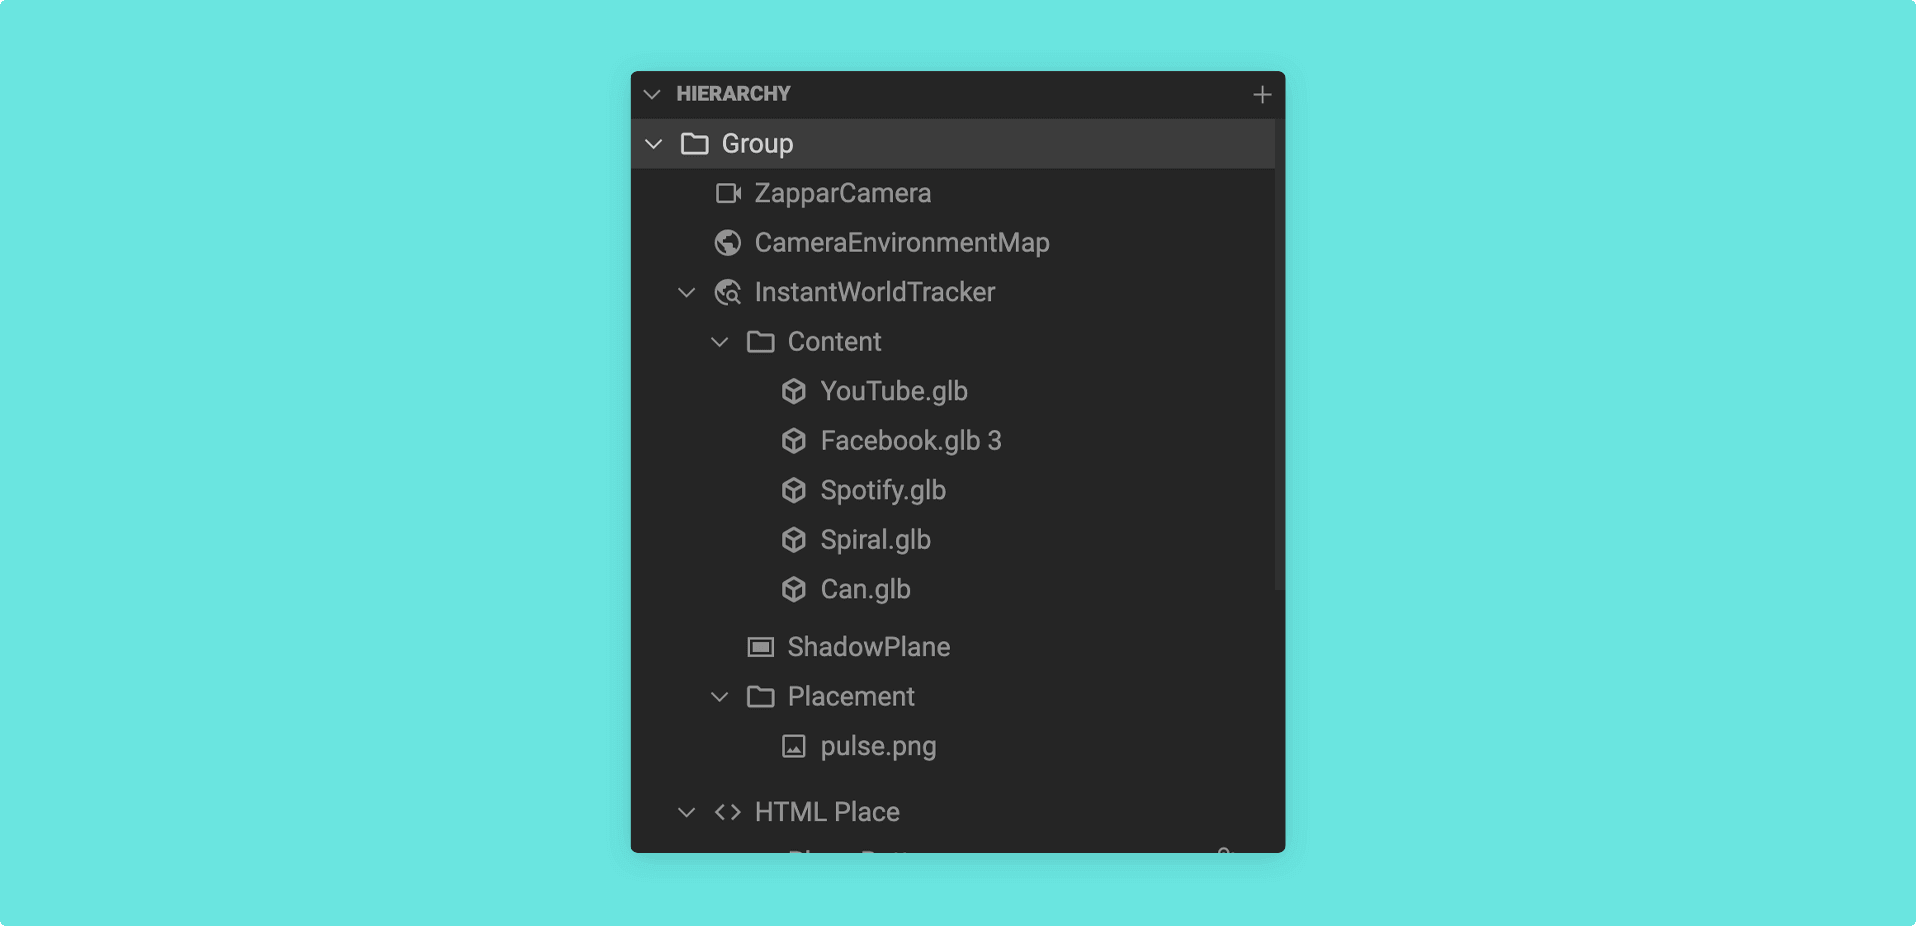
You can add content to the Hierarchy panel (and therefore the 3D viewport) by clicking and dragging assets from the Left Menu:
or by right clicking on an existing node in the Hierarchy and selecting + New, before selecting your chosen component:
Node Properties panel
Section titled “Node Properties panel”The Node Properties panel shows properties relevant to the selected node in the Hierarchy.
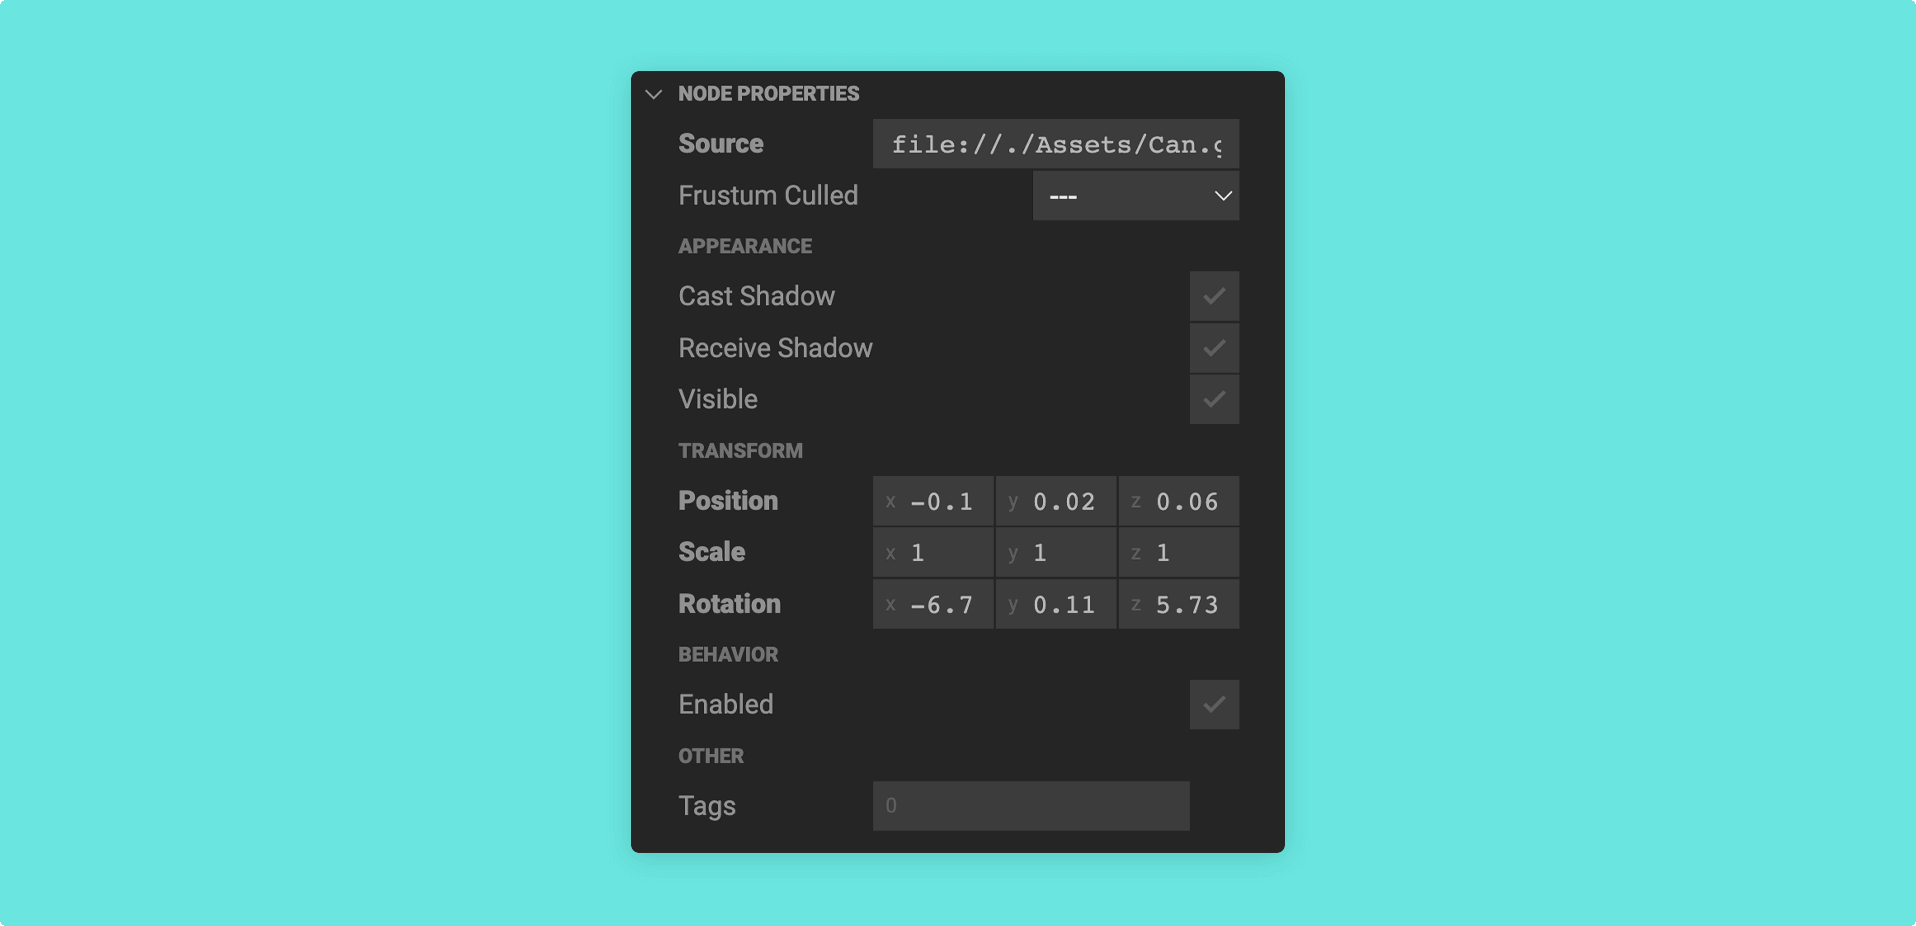
You can also use the gizmo in the 3D Viewport to adjust the
Position,ScaleandRotationproperty of a node.
Behaviors panel
Section titled “Behaviors panel”The Behaviors panel allows you to add or create custom behaviors for the selected node in the Hierarchy.
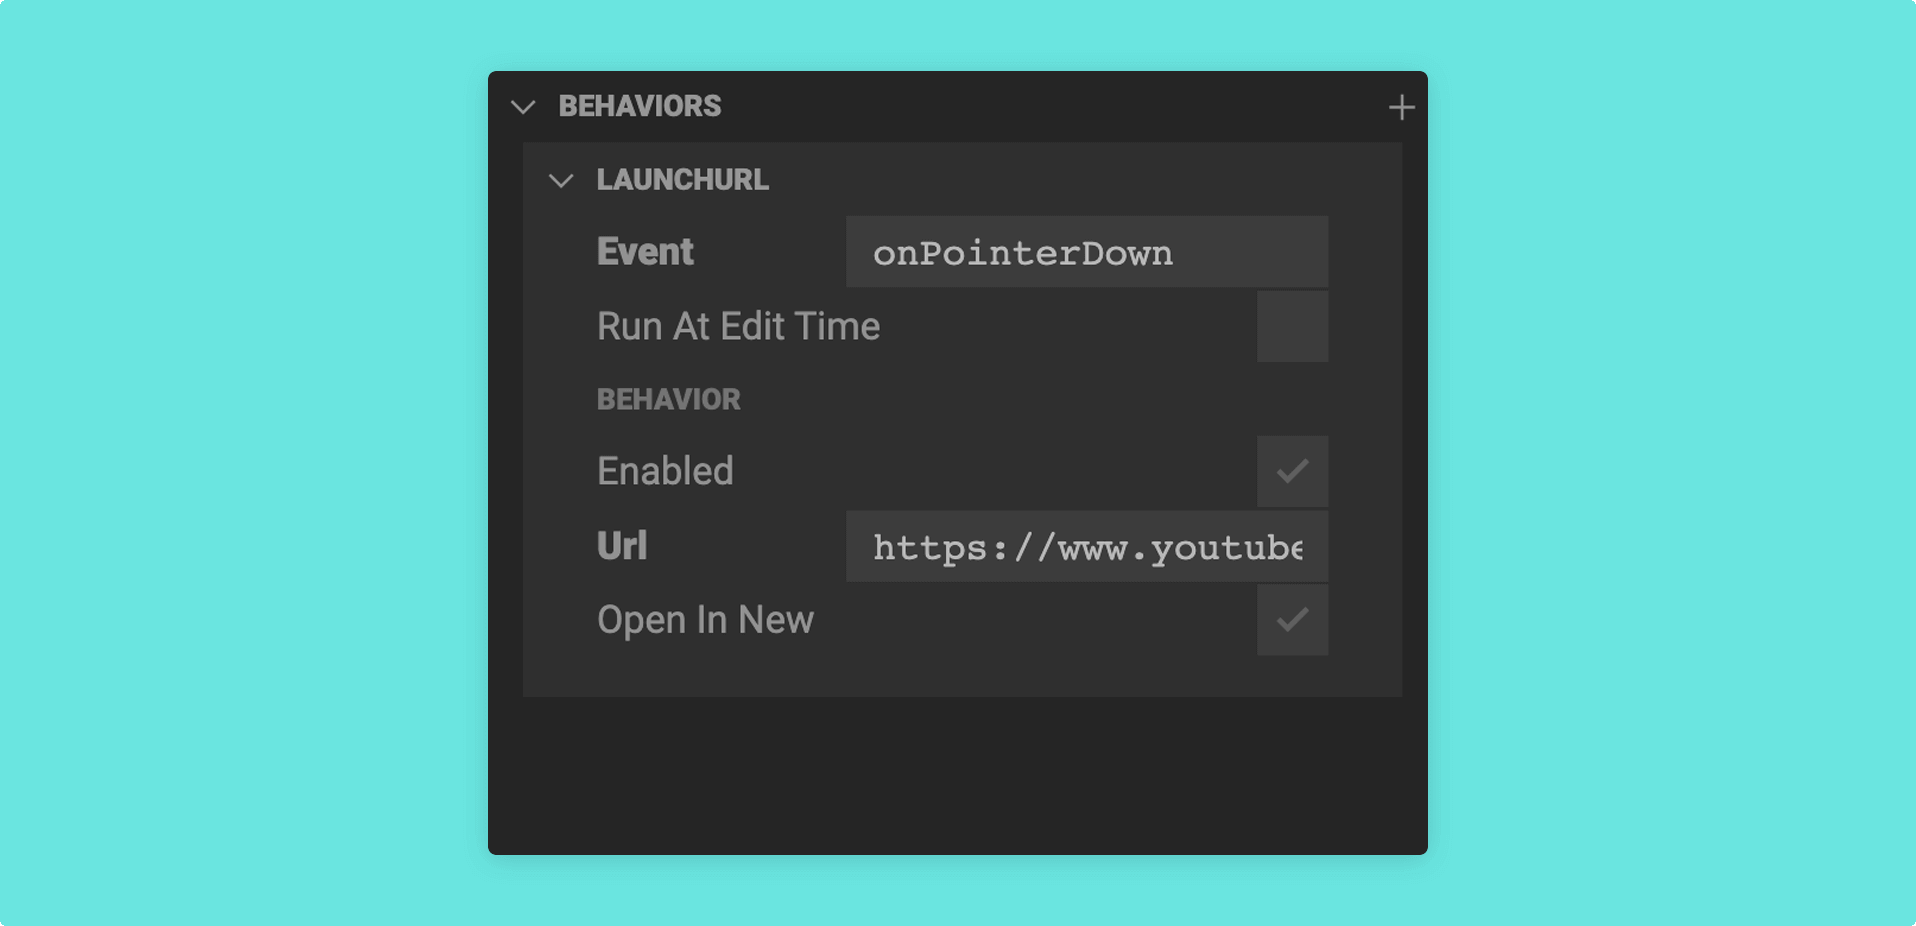
Learn how to add and create interactivity to your Mattercraft project with behaviors by taking a look at our Adding interactivity documentation.
Animations panel
Section titled “Animations panel”The Animations panel can be opened from the bottom right corner. This panel contains the characteristics of your animations; such as Layers, Timelines, and States.
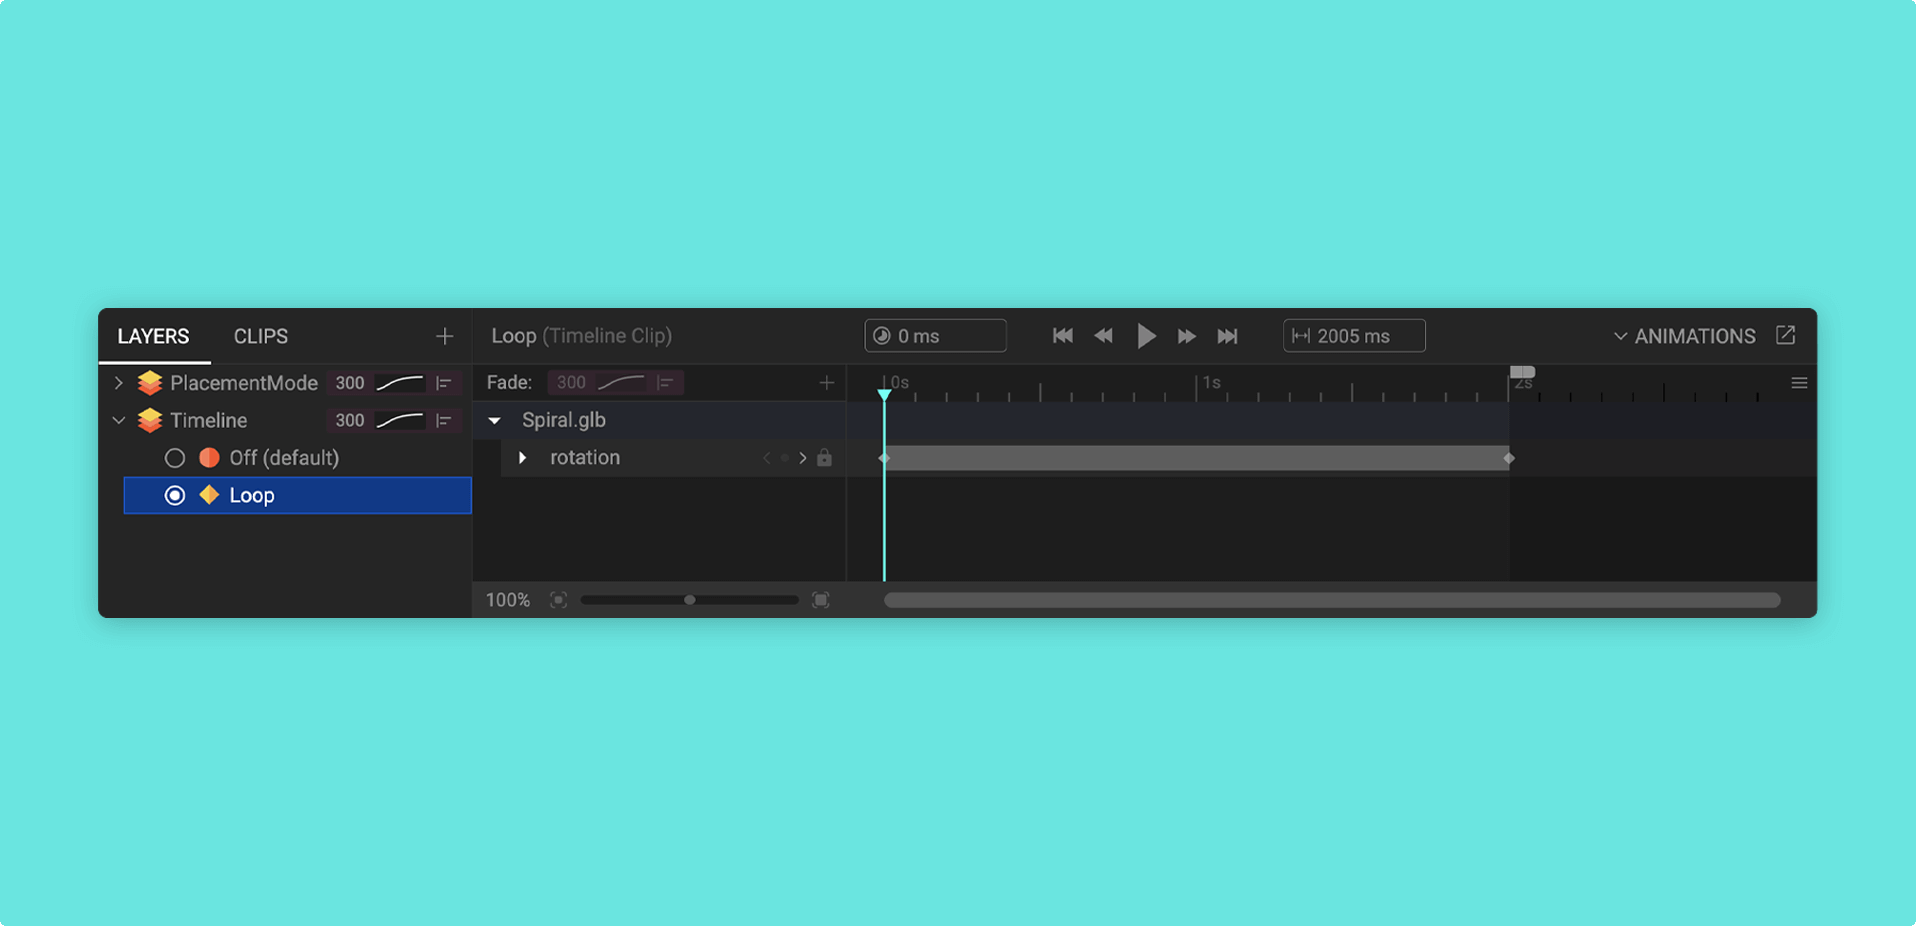
You can also launch the Animations panel in a pop-up window. This is helpful if you have a larger project with a multitude of animations.
Discover more about creating and using animations in your Mattercraft project by checking out our Animation System documentation.
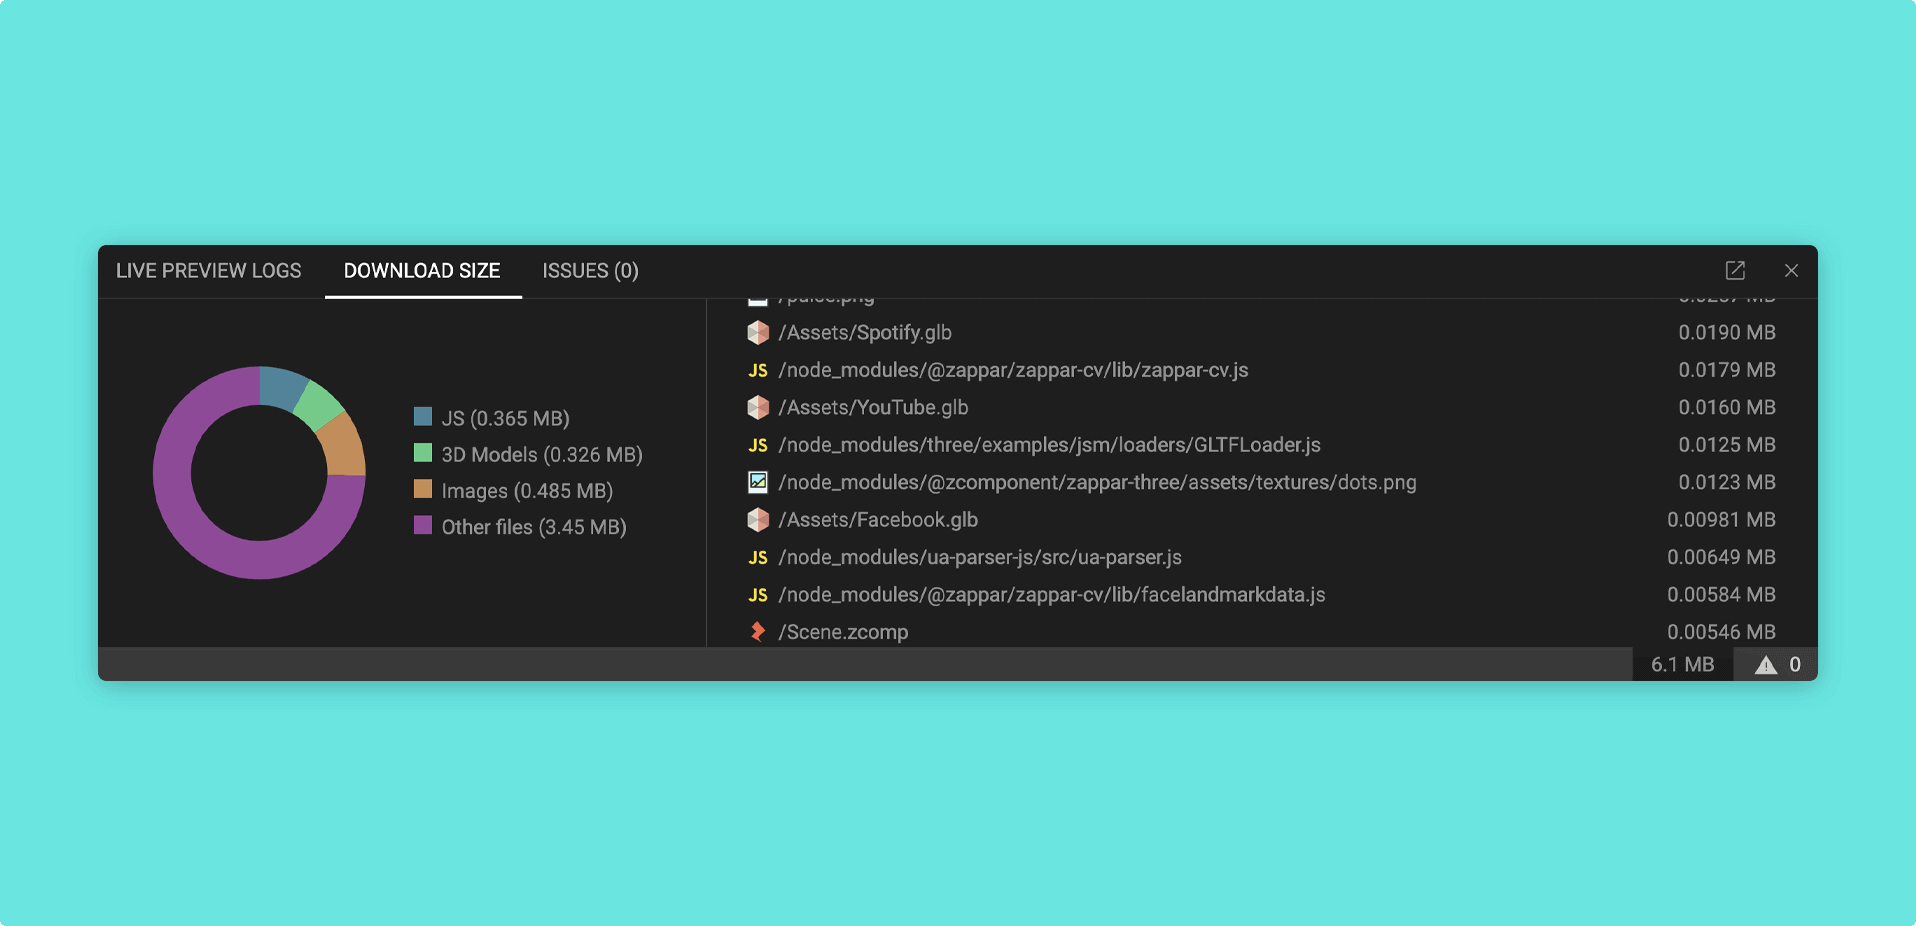
Status bar
Section titled “Status bar”The Status Bar shows you the size of your project and if any errors are present. This bar also enables you with tools to debug your project.
Continue your Mattercraft journey by reading the rest of our in-depth documentation.