Customising your Project
Self-hosting Designer projects is only available on an Enterprise plan. Please get in touch to learn more.
When self-hosting a Designer project, you have the option to restyle your project files however you like using HTML and CSS. You can also add or remove elements such as cookie consent and loading indicators.
Updating the AR content of your project should be done in the Designer tool. Click here to learn more.
To help you understand how to customise the splash page, we’ve created some examples.
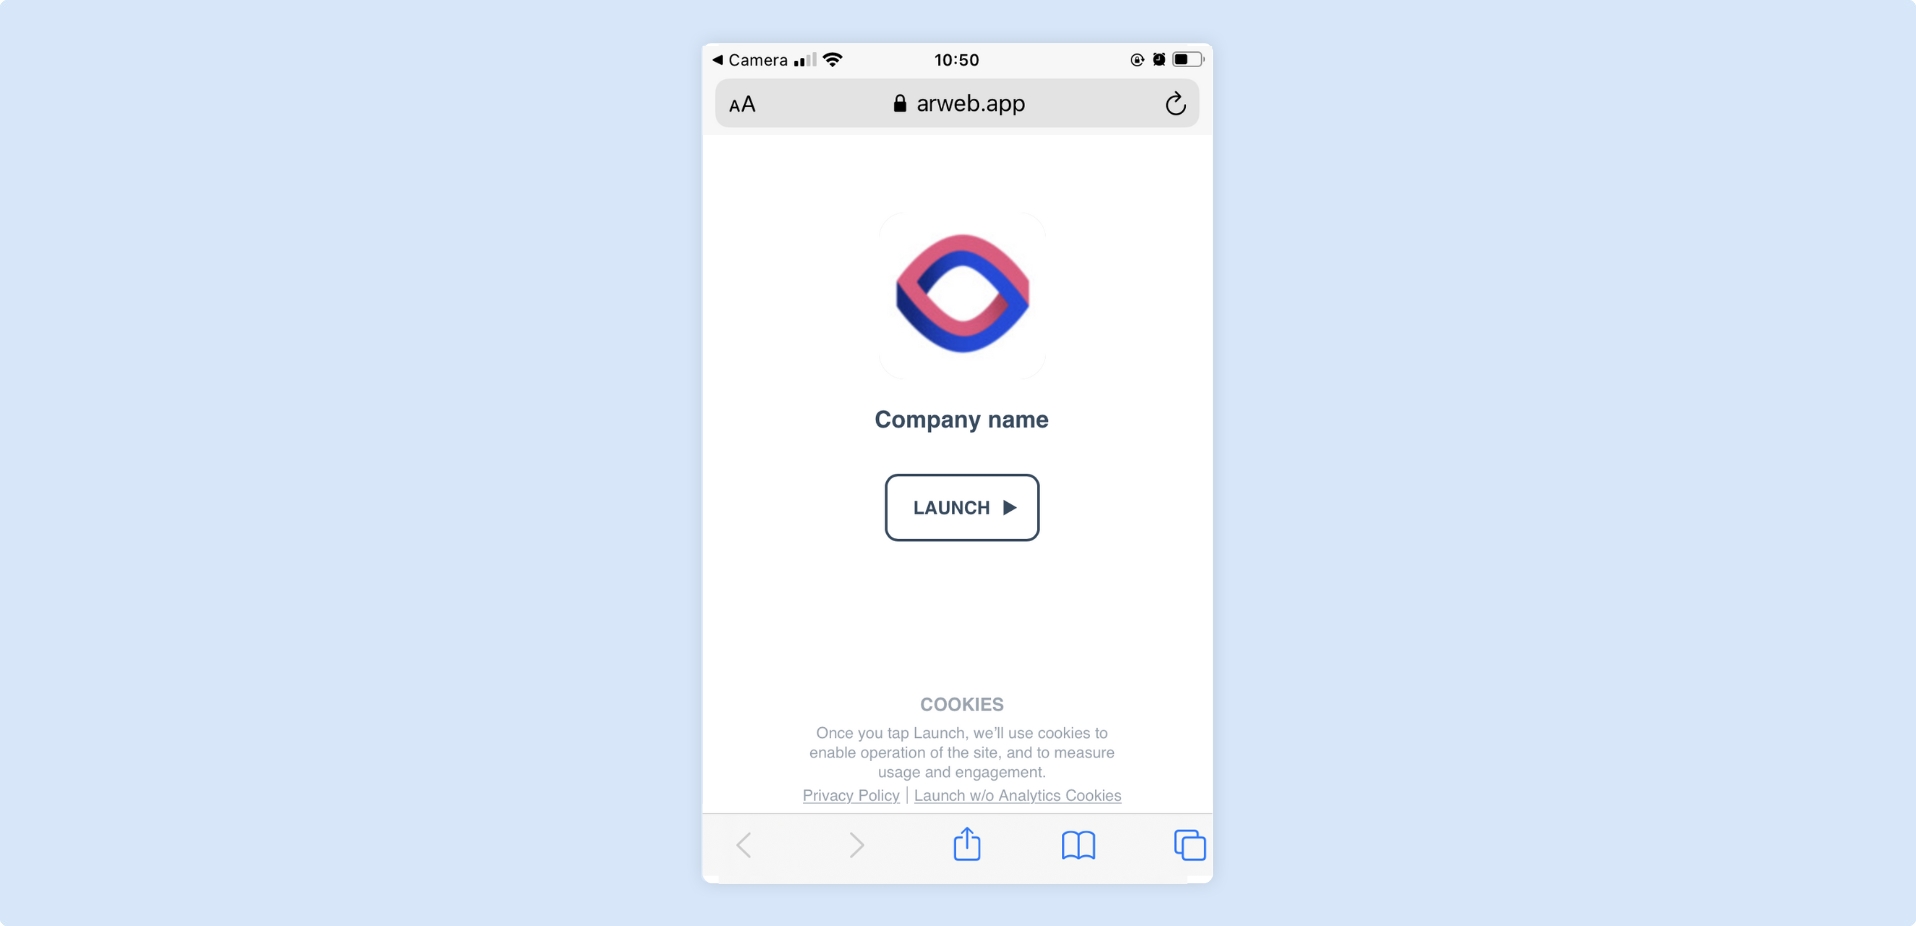
To view a simplified, scaled-back version of the splash page with no level of customisation, click here.

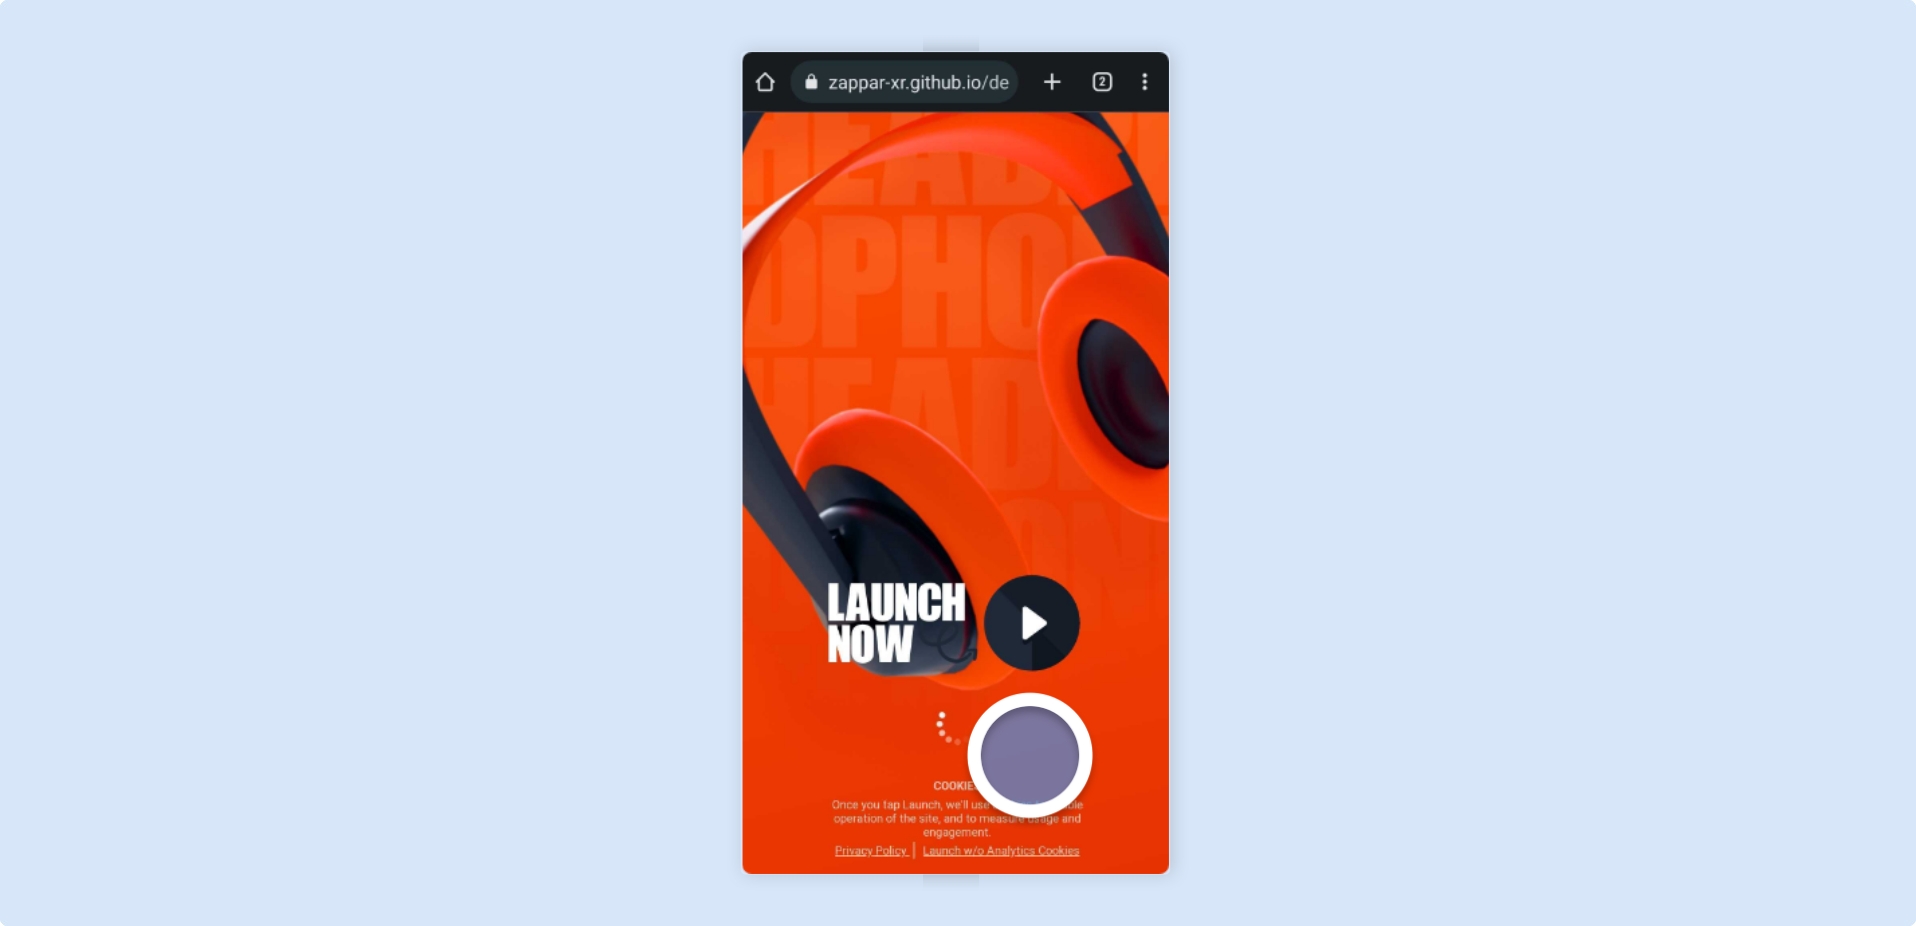
To view a fully custom example of a splash page, with custom imagery and buttons, Click here

The above examples come with completely commented code, so we recommend taking a look through these to gain inspiration and to learn how to successfully create your own custom splash page.
The
content.jsonfile contains your AR content built-in Designer. We don’t recommend editing this file unless it’s necessary to do so as small tweaks can cause errors at runtime.
The Launch Page
Section titled “The Launch Page”By default, your downloaded project will come with the Lite Branded WebAR page. When self-hosting, you have full control over how this launch page looks and feels.
To edit your launch page, simply open your index.html and/or styles.css files and make the relevant edits. You can find an example of an edited index.html here.
3rd Party Analytics
Section titled “3rd Party Analytics”To gain greater analytical data for your Designer projects, you can integrate third-party analytics tools into your splash page.
You can add in your own analytics by sourcing the tracking snippet from your provider (e.g. Google Analytics) and dropping it into the <head> of the index.html file. A suggested area for this will be signposted in the standard downloaded file.
<!doctype html><html lang="en-us"><head>  <meta charset="utf-8">  <meta http-equiv="Content-Type" content="text/html; charset=utf-8">  <meta name="viewport" content="width=device-width, user-scalable=no,minimal-ui" />
  <!-- This is where you add your analytics tag: <https://support.google.com/analytics/answer/9539598?hl=en> -->  <script async src="<https://www.googletagmanager.com/gtag/js?id=**********>"></script>  <script>  window.dataLayer = window.dataLayer || [];  function gtag(){dataLayer.push(arguments);}  gtag('js', new Date());  gtag('config', '**********');  </script>...
Note that the web app is not currently set up to accept events on objects.
You will also need to initialise your analytics tool in the Jute.init function call:
gtag('config', '**********');
You can find a commented example of this in our custom launch page project here.
If you are not using a third party analytics tool, you should take into consideration the onlyEssentialCookiesvariable.
Loading spinner
Section titled “Loading spinner”By default, the downloaded Designer project will come with a loading spinner which will be shown during the initialisation of the AR experience.
To edit the loading spinner, locate and replace the “loading-spinner” div tag in the index.html.
<div id="loading-spinner">To edit the loading helper text, locate and replace the “loading-helper” div tag in the index.html.
<div id="loading-helper">You can find an example of the customised loading spinner here.
Cookie consent
Section titled “Cookie consent”It’s a mandatory requirement for websites to ask for cookie consent upon launch. Luckily, downloaded Designer projects have cookie consent already set up. That being said, it’s easily replaceable if you want to customise or set up your own.
To edit the cookie consent, locate and replace the “cookie-notice” div tag in the index.html.
<div id="cookie-notice">You can find an example of the customised cookie consent here.