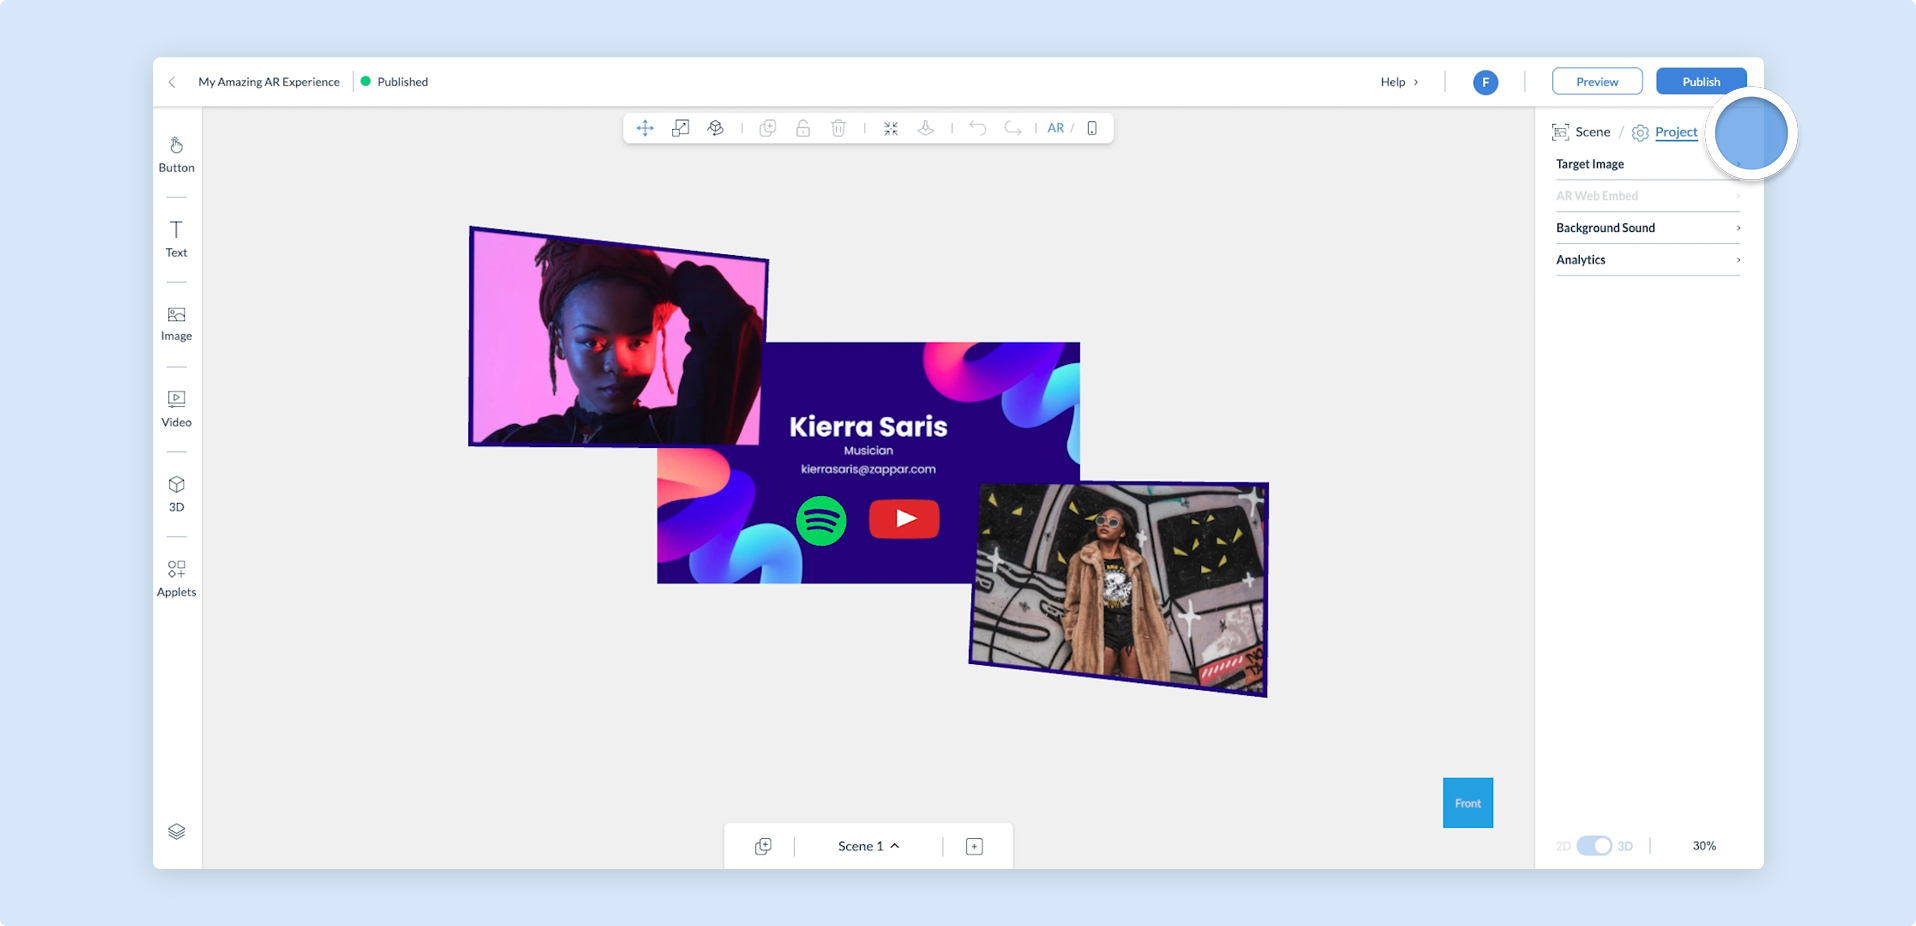
Analytics
Analytics are used to help understand whether your experience is performing as expected by displaying different data points and KPIs.
Zapworks Analytics shows this on a project and workspace basis, and has a visual statistics dashboard on all supported workspaces. In some cases however, you may want to integrate third party analytics into a project for more bespoke reporting.
This section showcases and explains how to set up supported third party analytics within a Zapworks Designer experience.
Setting up analytics in Zapworks Designer will inject the relevant analytics code into your project.
Setting up analytics with Zapworks Designer
Section titled “Setting up analytics with Zapworks Designer”To set up analytics for your Zapworks Designer project, you must have a tracking ID. Please see the specific guides above to learn how to find your project’s tracking ID.
Setting up analytics: Step-by-step
Section titled “Setting up analytics: Step-by-step”- Open your project in Zapworks Designer and find the Project Properties panel to the right of the canvas.
- Click on the Analytics menu option.
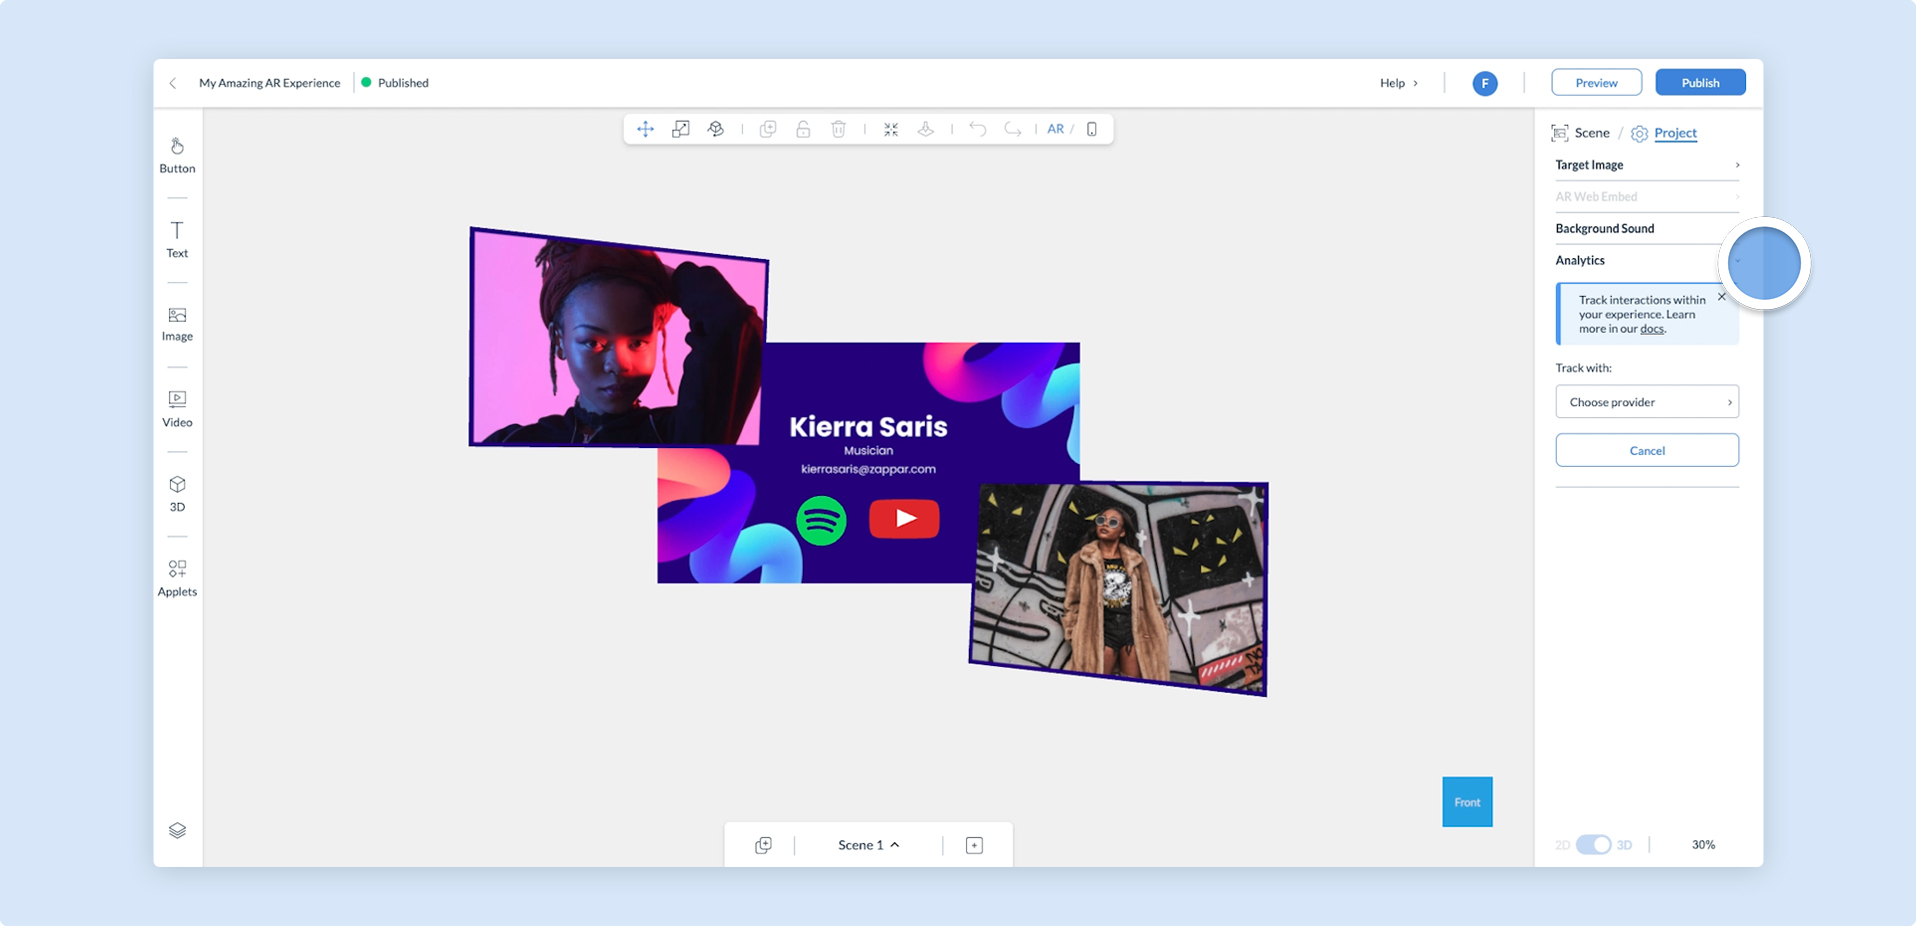
- Click on the Choose provider drop-down and select your provider of choice.
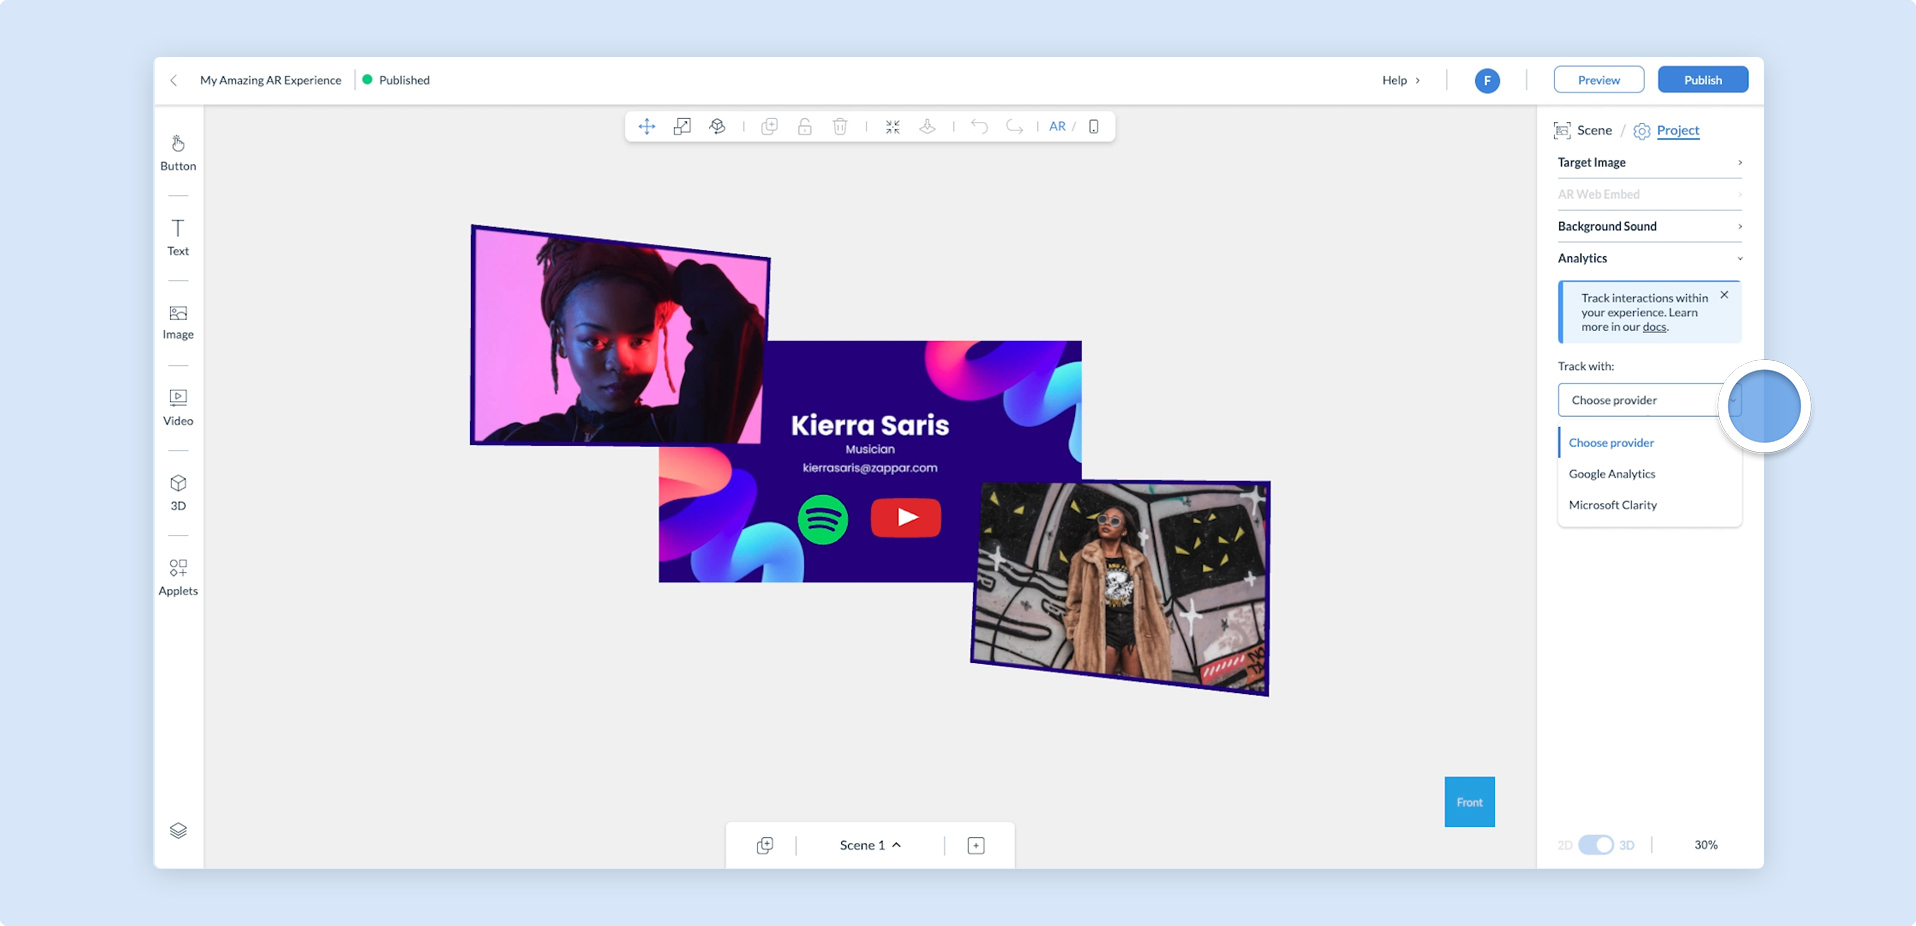
- Enter the relevant tracking ID and click Save.
![]()
You may add more than one analytics provider to your project.
- Click on Publish in the top right of the navigation to publish your project and start sending analytics to your chosen provider(s).
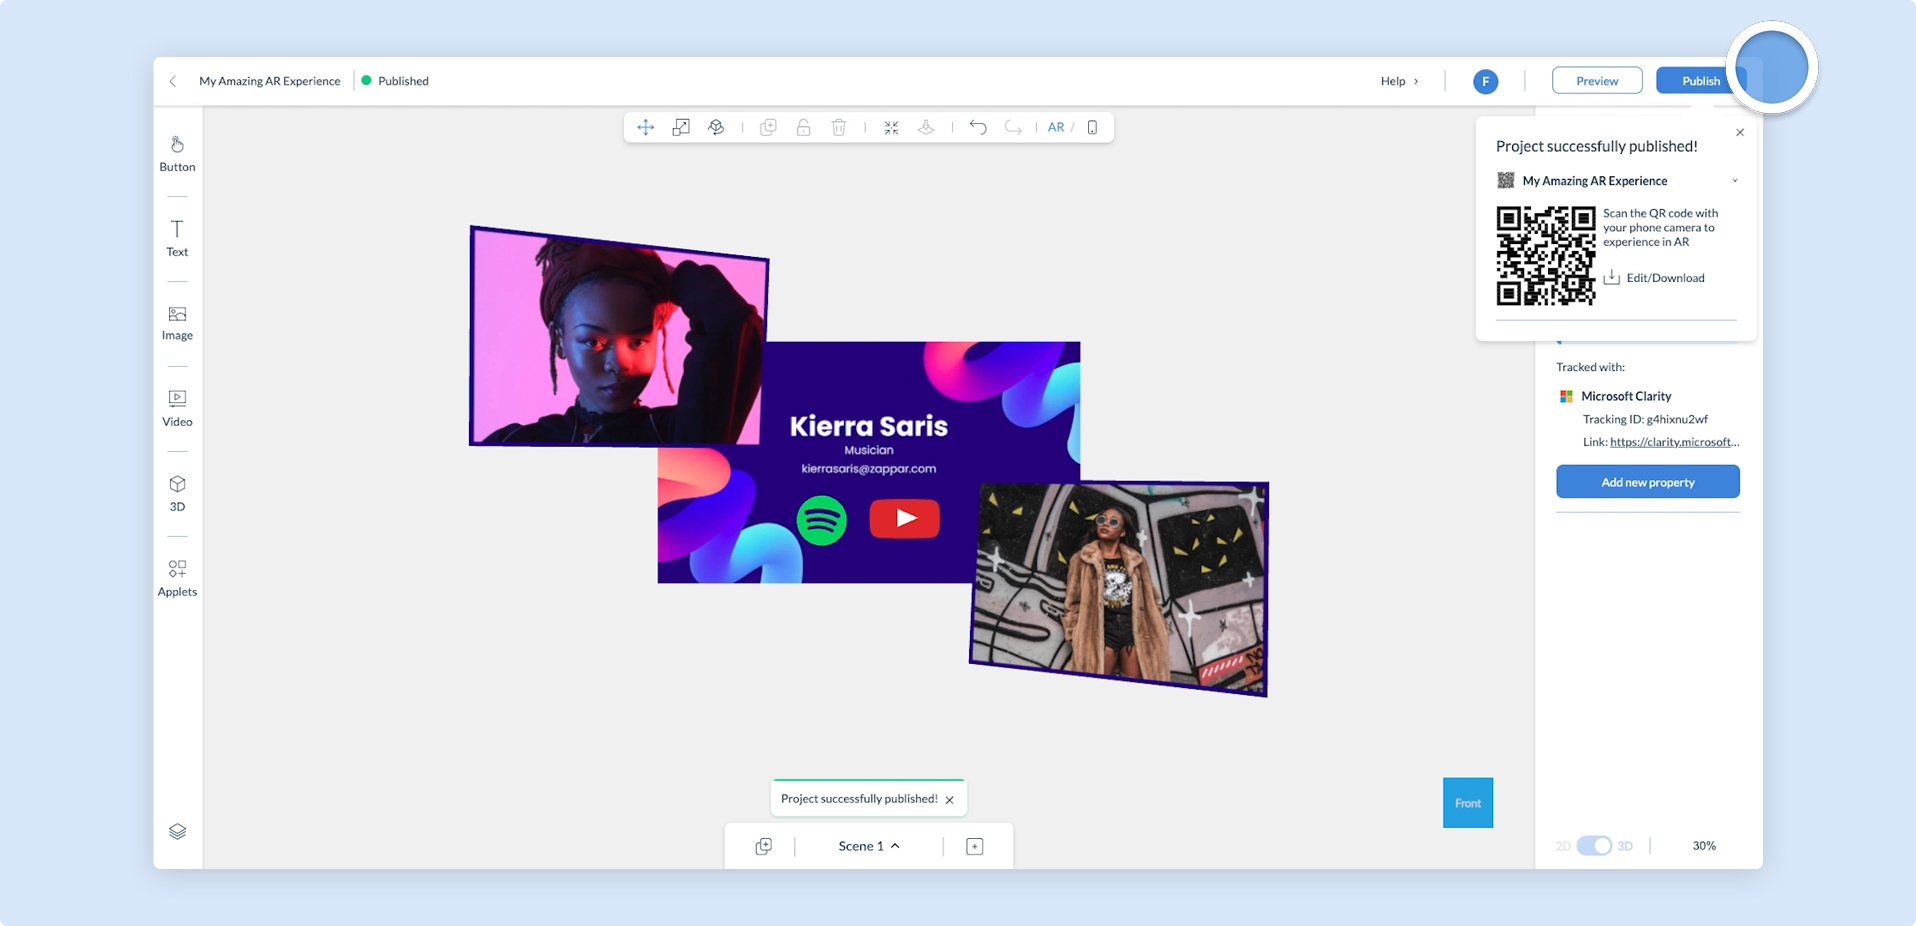
Analytics will not be logged when you preview your experience. To start logging data, your project must first be published.