Previewing and Publishing
Throughout development in Designer you’ll want to test your experience on a mobile device. We recommend testing regularly to catch any bugs or issues that you might have accidentally added to your experience.
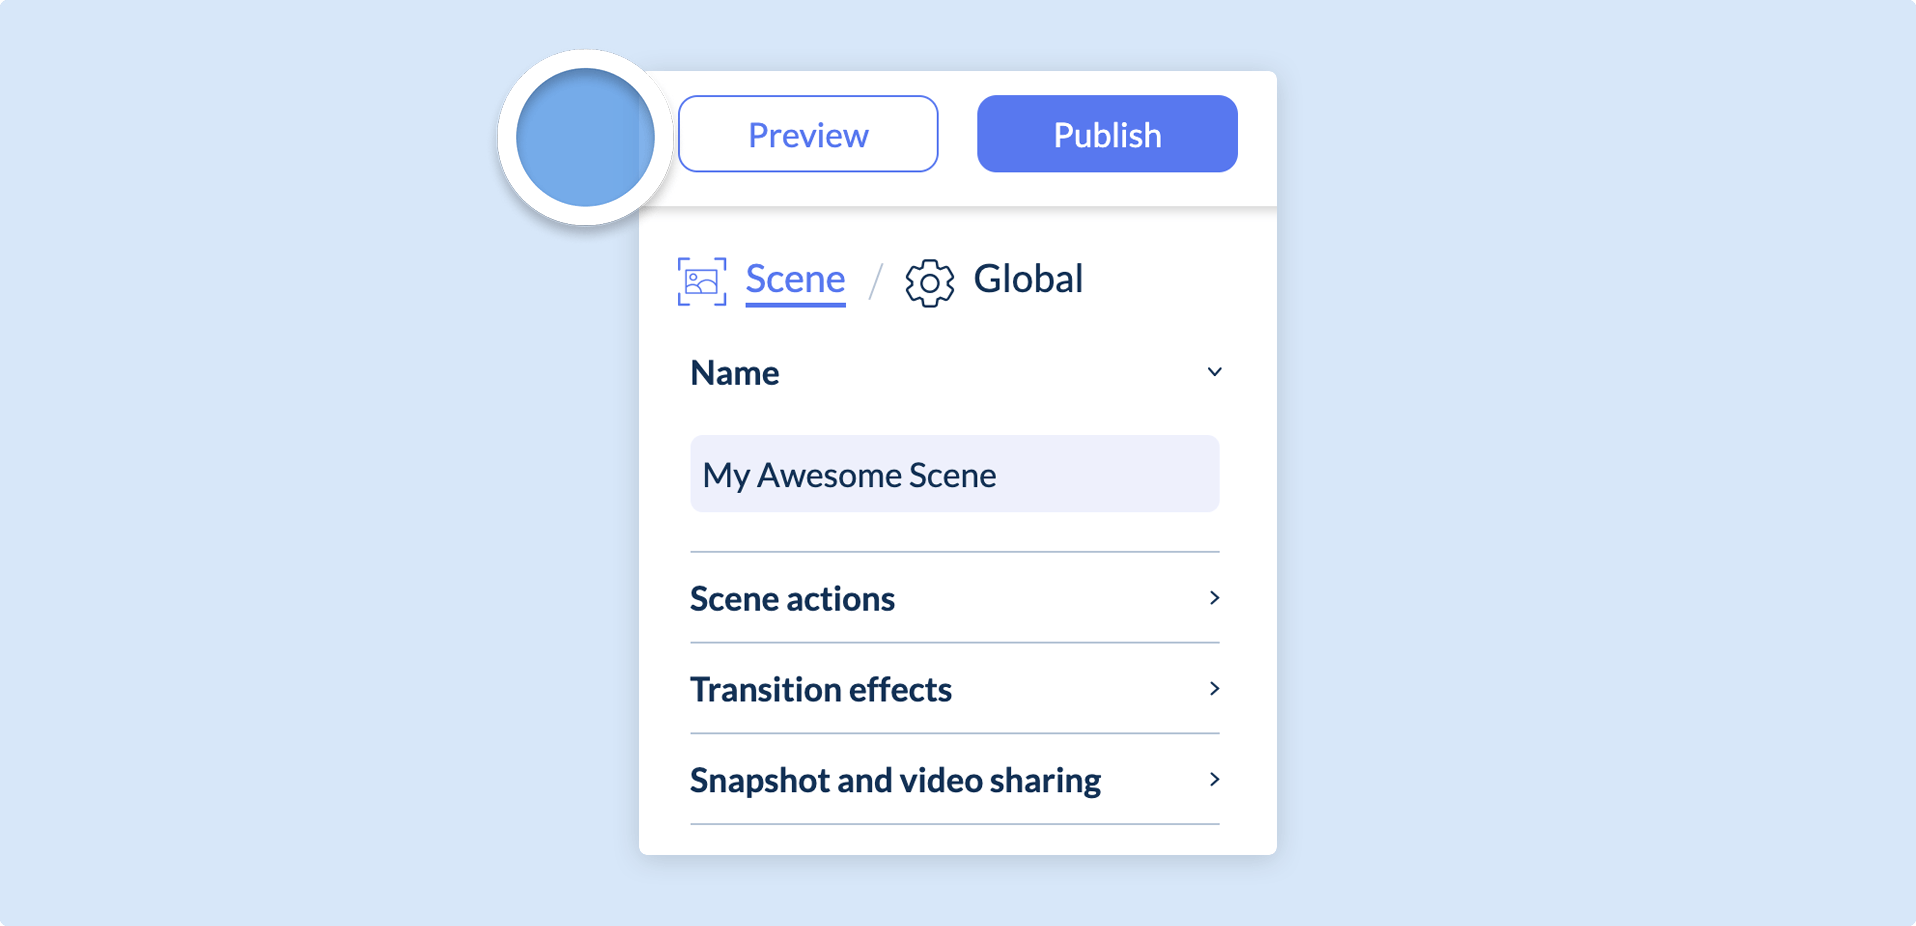
In the top-right hand corner of Designer there are two buttons: Preview and Publish.
Previewing
Section titled “Previewing”When you Preview your experience, you will be provided with a test QR code. Scanning the test QR code using a QR code scanner (built in to most native camera applications) will launch a preview of your experience. This is a reflection of what users will see when they scan your QR code trigger.
Image-Tracking
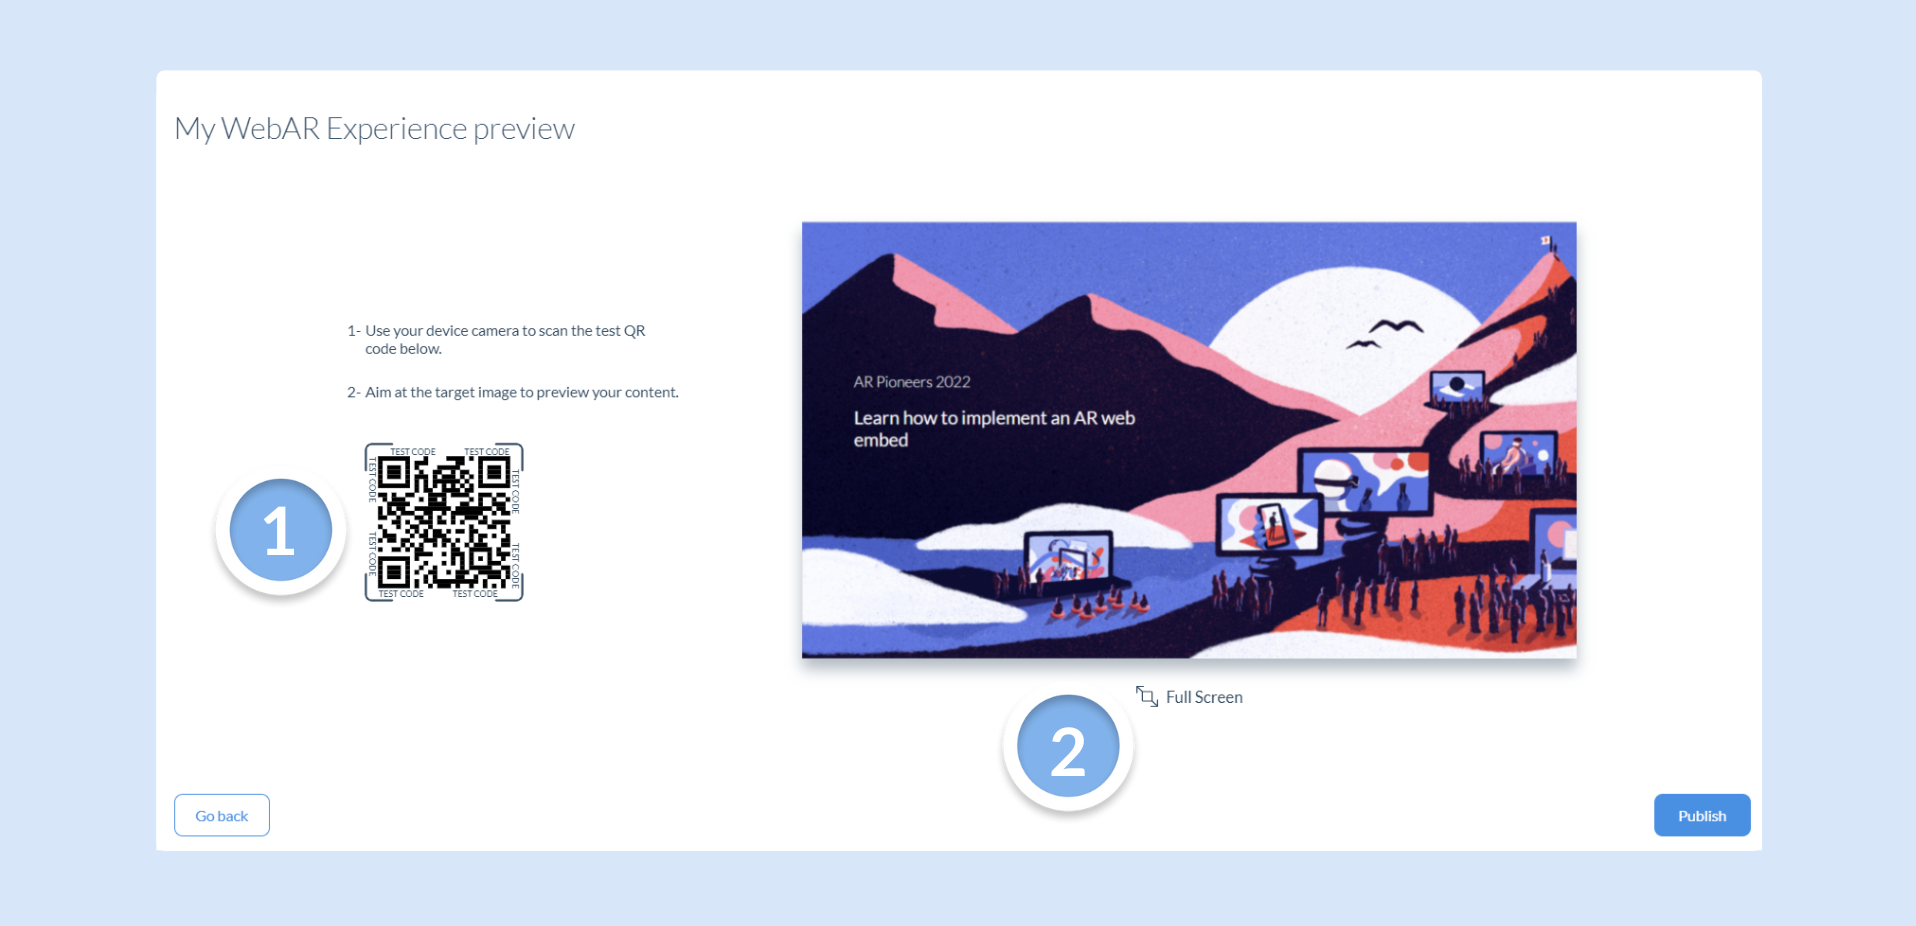
Clicking the Preview button will open a Preview Modal where a test QR code and the target image you uploaded will be displayed.
World-Tracking & Face-Tracking
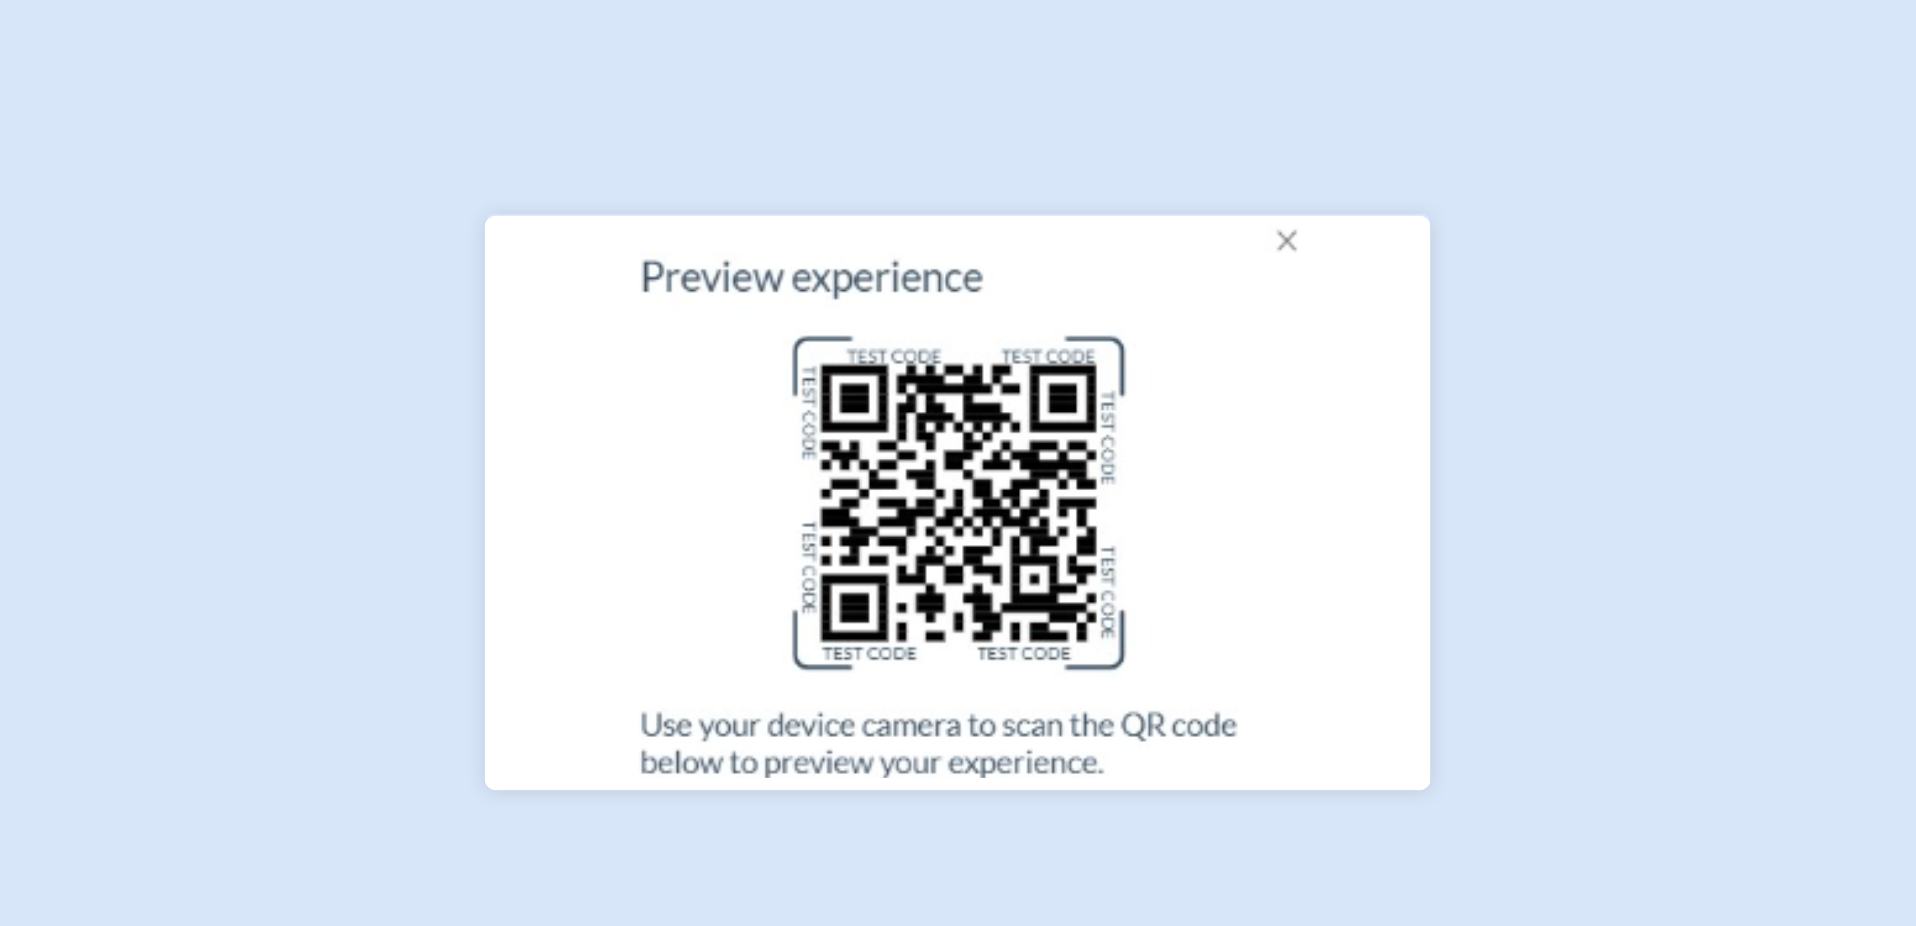
Clicking the Preview button will open a Preview Modal where a test QR code will be displayed.
Scans of preview experiences are purely for testing purposes and do not count to CPV or analytics.
The test QR code should not be used on your target image or print material as it’s only active for 5 minutes. Please use the trigger assigned to your project.
Publishing
Section titled “Publishing”When you have tested your experience and are happy to distribute it, you can click the Publish button. This will deploy your experience to your QR code trigger and a modal will appear with the final QR code that you can download.
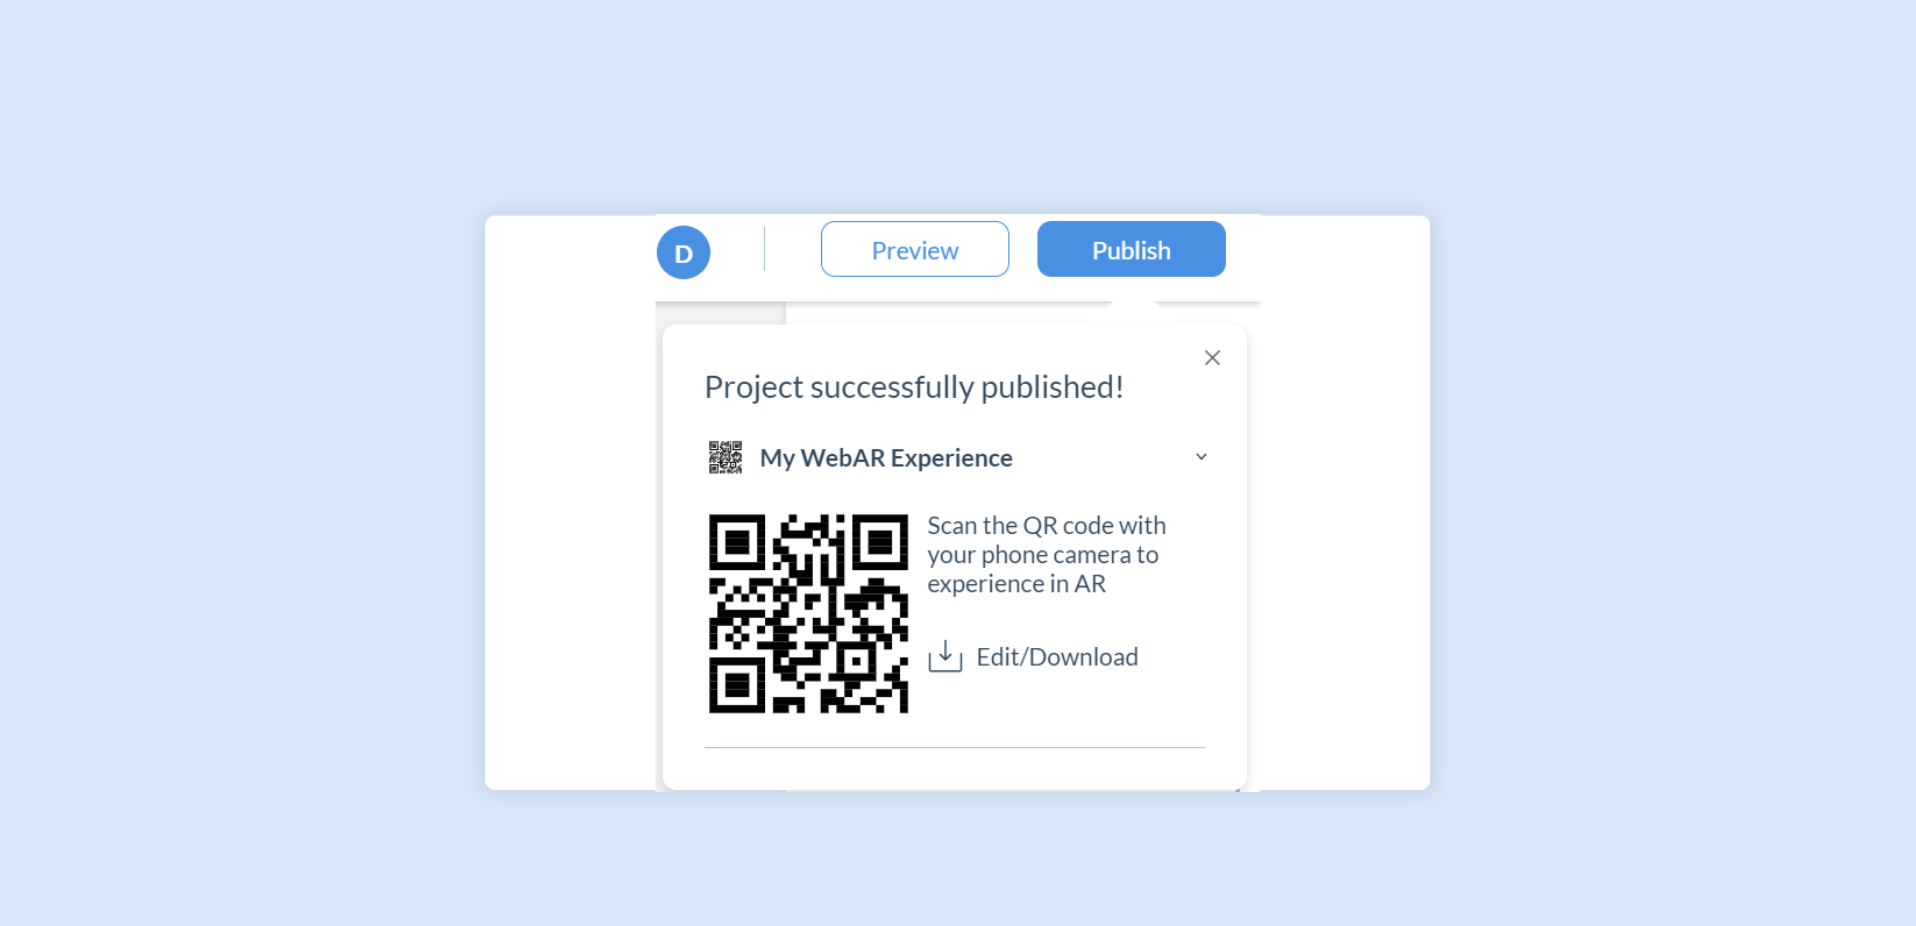
The published QR code can also be downloaded from your project dashboard and then shared alone or alongside a target image, if applicable, enabling users to scan and launch the experience.
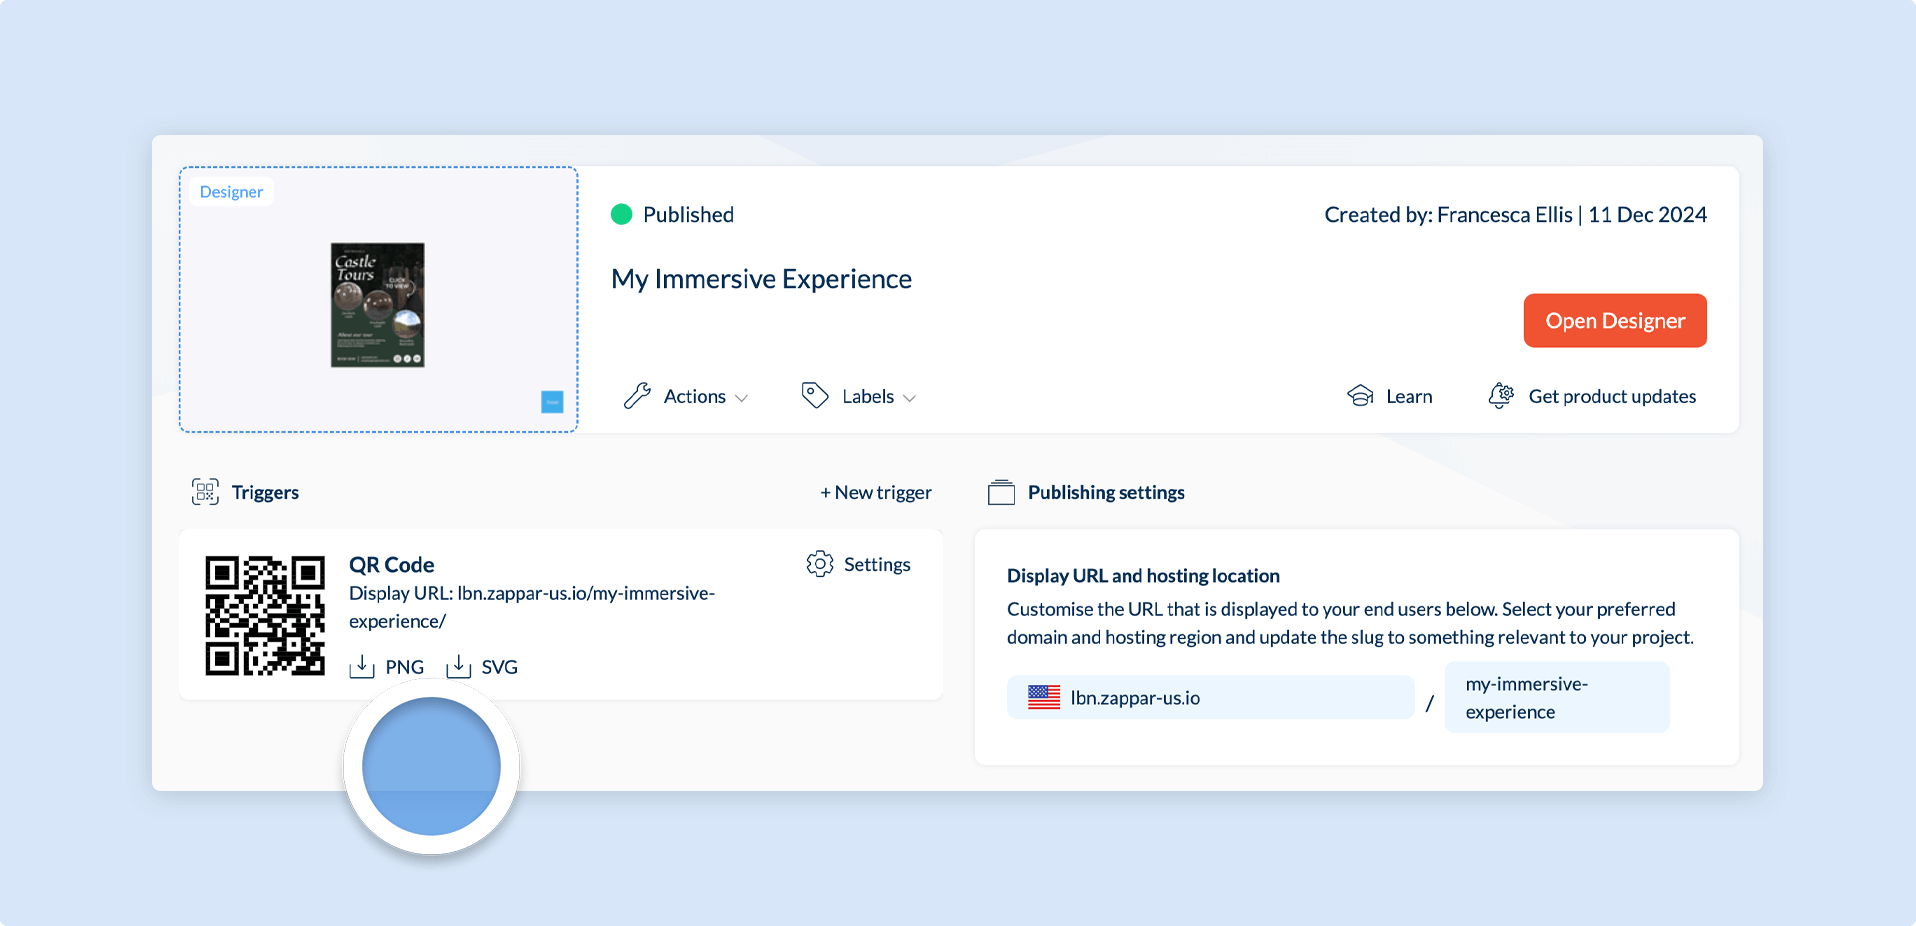
For Image Tracked experiences, it is recommended that you add the QR code to your target image. To find what makes a good tracking image, check out this article
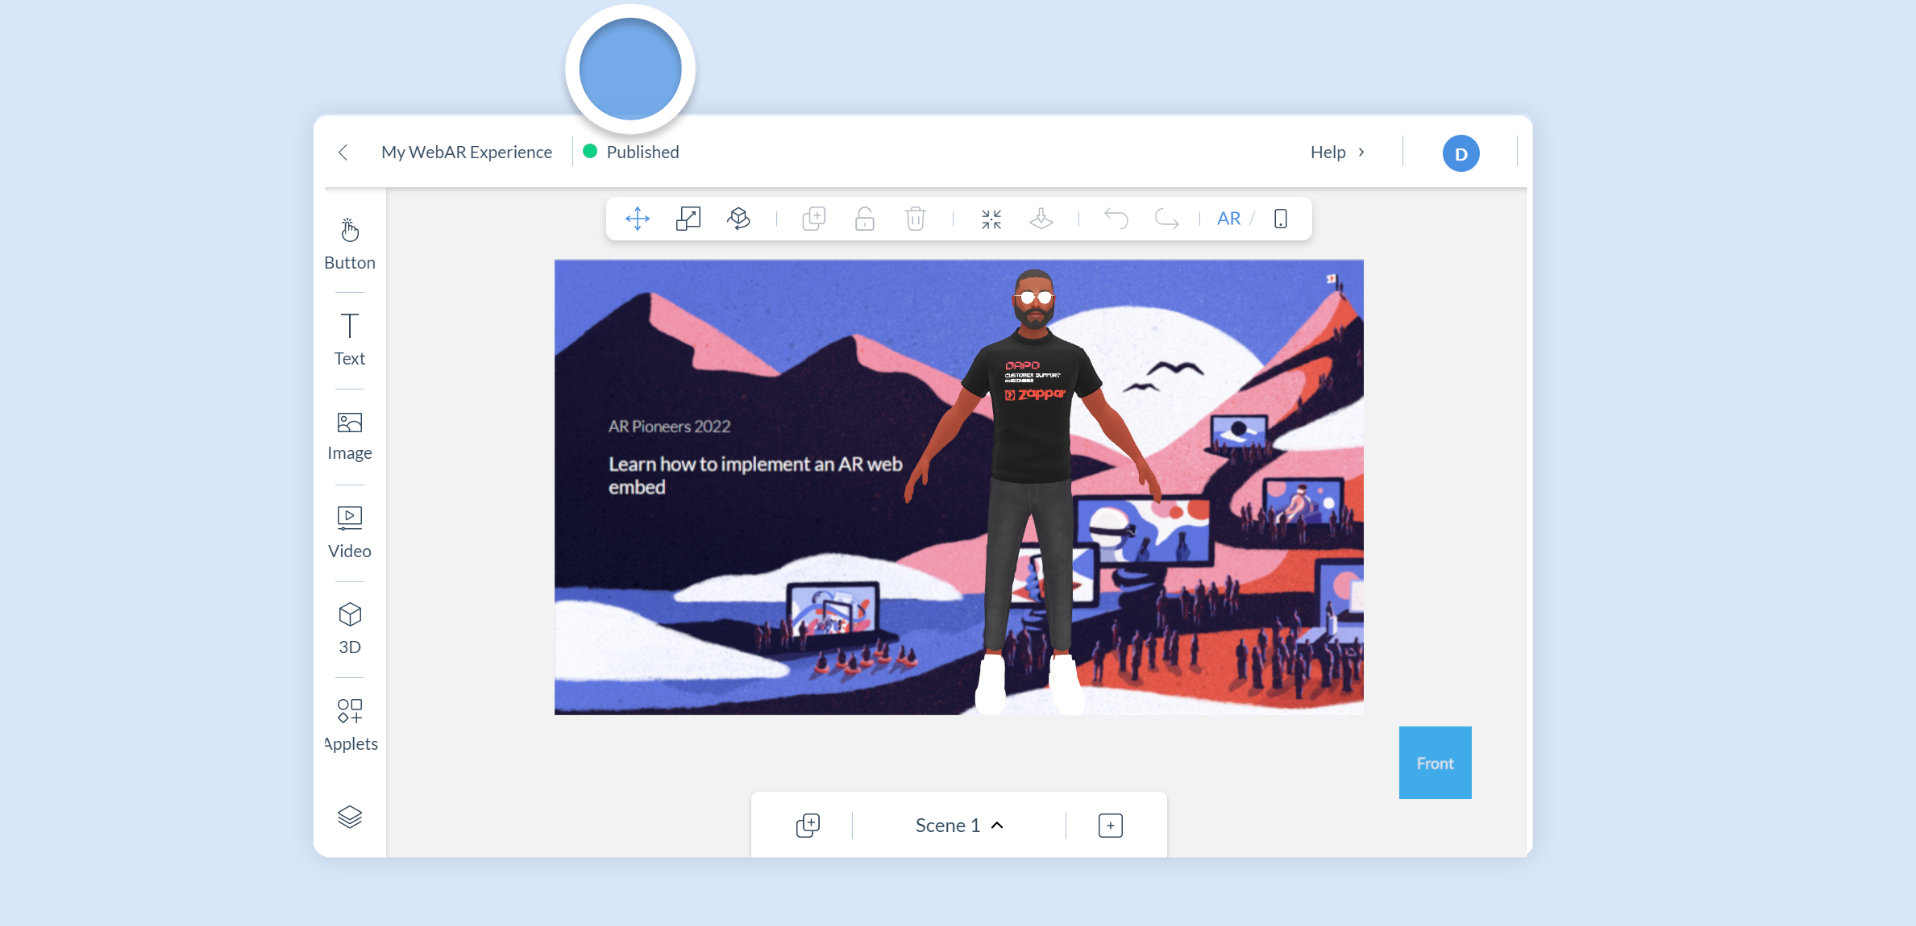
To check if the experience has been published successfully, you can find a green ‘Published’ indicator at the top left of the Action Bar.
Distribution Methods
Section titled “Distribution Methods”All Designer experiences will launch into a WebAR splash screen via an internet browser which will prompt users to enable permissions when the launch button is tapped. This splash screen can be either default branded, lightly customised, or a fully custom solution.
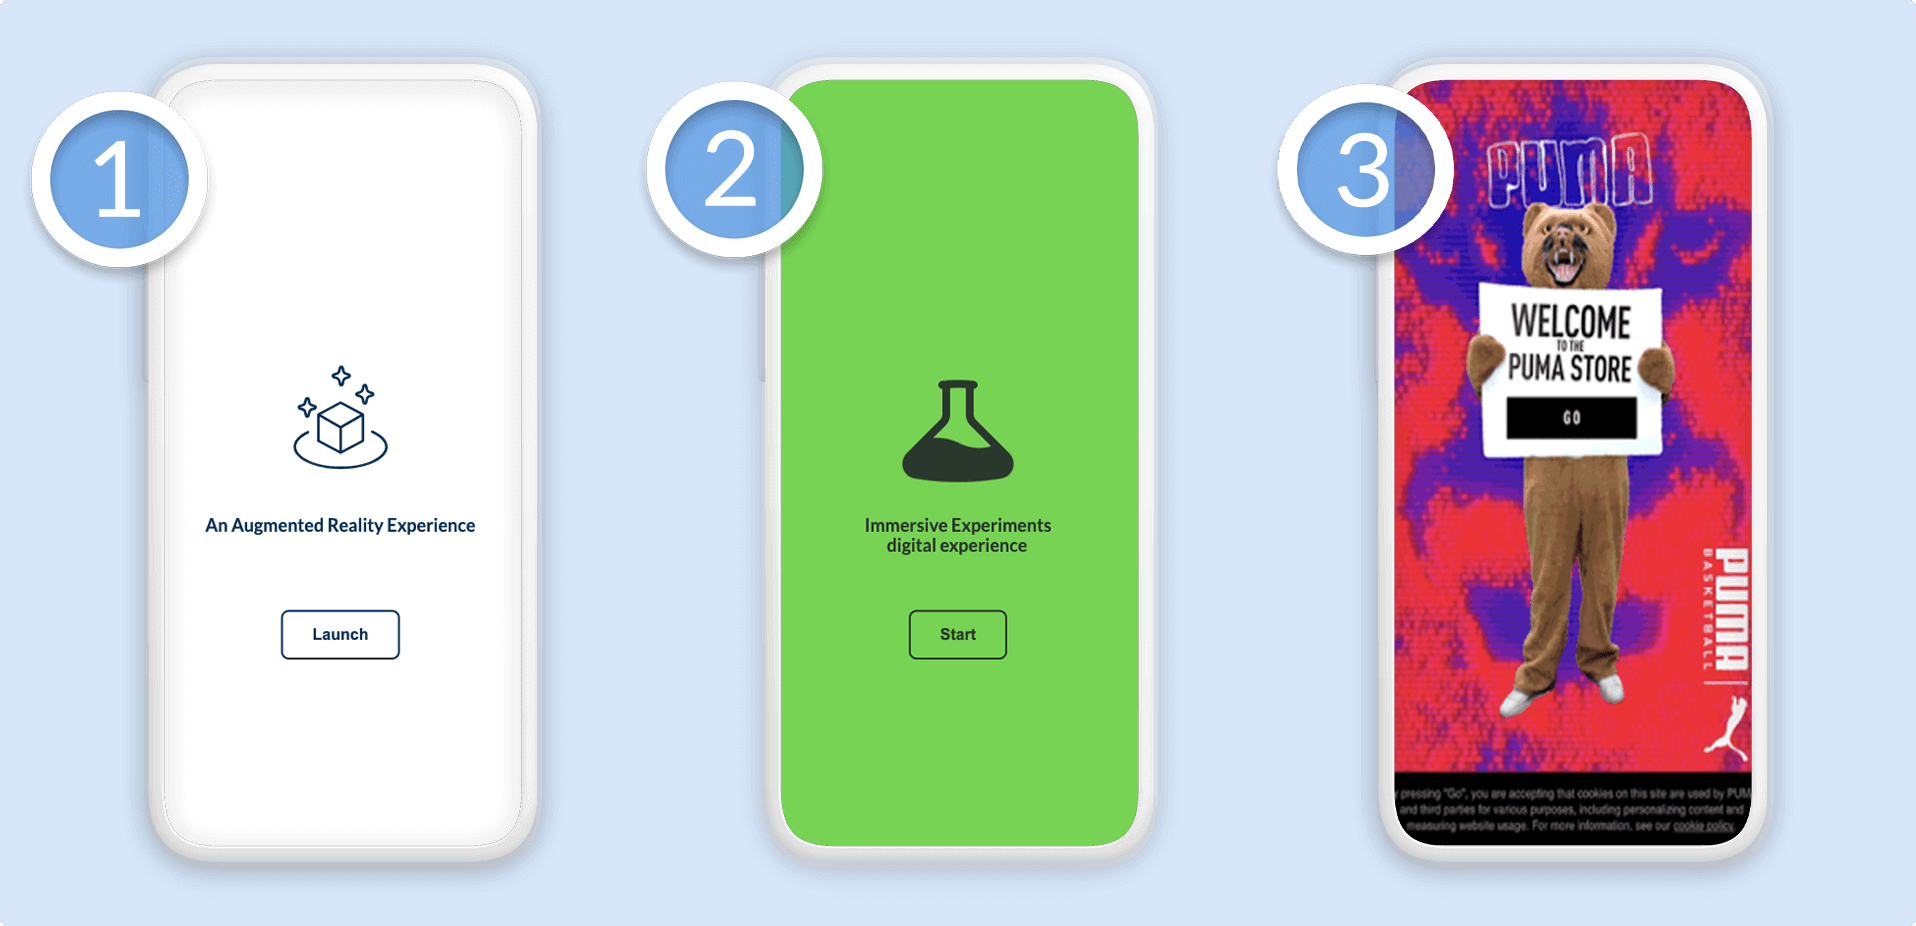
Customize the Launch Screen
To learn how to configure your splash screen for your Zapworks Designer experience, head over to our dedicated Customize the Launch Screen article.
Enhanced WebAR Distribution
The Enhanced WebAR Distribution is available as an add on to your subscription.
Enterprise users can can request a call with a member of the Account Management team to run through the features of this distribution method by clicking here.