Transition Effects
Transition Effects define the animation of a component entering and leaving the scene. They can be assigned to all Designer components, including buttons, text, images, videos, 3D components and Applets. Transition effects can also be assigned to a scene, causing the effect to occur on all content in that scene simultaneously.
Assigning a Transition Effect
Section titled “Assigning a Transition Effect”To assign a transition effect to a component, select it in the canvas and drop-down the Transition Effects menu in the Project Properties Panel. Choose the transition you’d like to apply and select it. This will assign the effect to the currently selected object.
Hovering over a transition effect will show a short preview of the effect. This is great for quickly determining which effect is right for the selected piece of content.
Enter and Exit
Section titled “Enter and Exit”There are 2 main transition effect settings, Enter and Exit. You can toggle between these and assigned the desired effect, in the Transition Effects menu.
| Setting | Description |
|---|---|
| Enter | Runs when a scene is launched. Assigning an enter effect on a component in your first scene will occur when the experience is loaded. An enter event on subsequent scenes will run when the user navigates into that scene. |
| Exit | Runs when the user navigates from one scene to another. The transition occurs as soon as an action that closes the current scene is activated. |
Duration
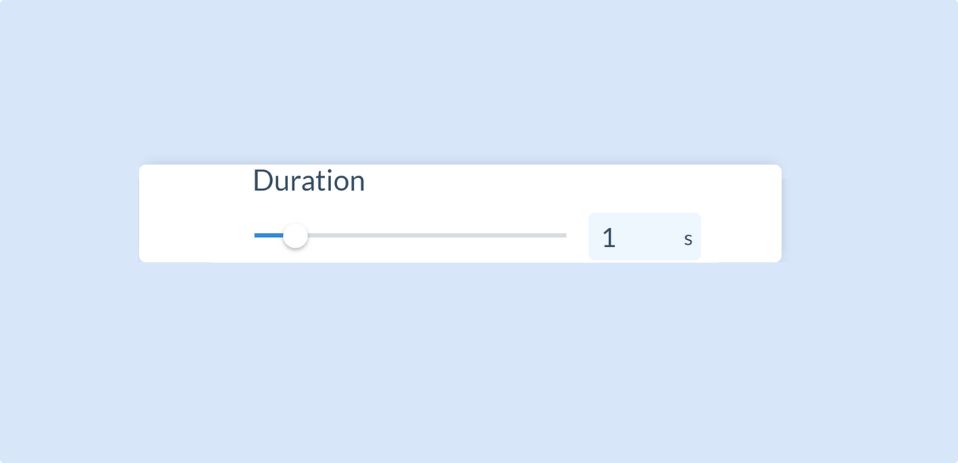
Section titled “Duration”The Duration property, found in the Transition Effects menu, refers to the time it takes for the transition to complete. If you increase this value using the slider, the transition will take longer to complete.
The maximum duration value is 10 seconds.

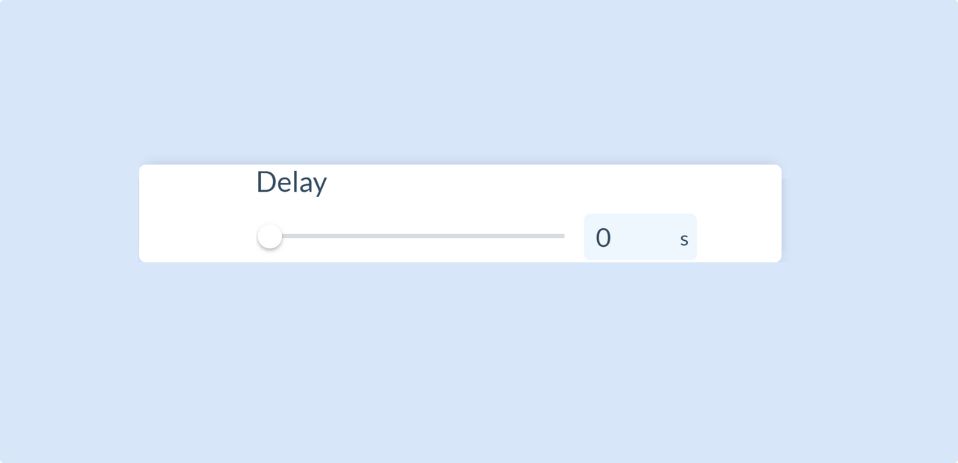
The Delay property, found in the Transition Effects menu, sets the a time value in which the transition will wait before the effect takes place.
The maximum delay value is 5 seconds.
