Multi-Image Tracking
Multi-image tracking enables one AR experience to track multiple target images, allowing you to create rich, interconnected projects that respond to different images without needing separate QR codes or multiple projects.
This powerful feature transforms how you build image-tracked experiences, opening up new possibilities for multi-page brochures, product catalogs, educational materials, collectible card games, and interactive campaigns.
How multi-image tracking works
Section titled “How multi-image tracking works”Multi-image tracking builds on everything you know about single-image tracking but expands it to support multiple images in a single project. While you can only track one image at a time, you can seamlessly build multiple scenes that respond to different target images.
When users look at a different target image through their camera, the content for that specific image automatically appears. No additional QR code scanning or separate projects needed.
Setting up multi-image tracking
Section titled “Setting up multi-image tracking”- Create an image tracking scene
- Click “Select target image” in the scene menu
- Upload and train your first target image
- Create another image-tracked scene
- Click “Select target image” again
- You’ll now see options to either: select your existing trained image or train a new target image
- Select “Train a new one” to enable multi-image tracking
- Upload and train your second target image
- Add content specific to this target image
Each scene has a tracking image assigned to it. You can have multiple scenes tracking to the same target image for more complex experiences or assign different target images to create varied content.
User Experience
Section titled “User Experience”Automatic Scanning Mode
Section titled “Automatic Scanning Mode”When a project has multiple different target images, the end user experience automatically enters “scanning mode” when a target is out of the camera view. Users will see a helpful carousel displaying all the target images the project is looking for, guiding them to find the right image.
Scene Activation
Section titled “Scene Activation”Once an image is detected in the camera view, the first scene assigned to that target image will activate. If multiple scenes are assigned to the same target image, the first one in the bottom scene list will be shown initially.
Manual Scanning
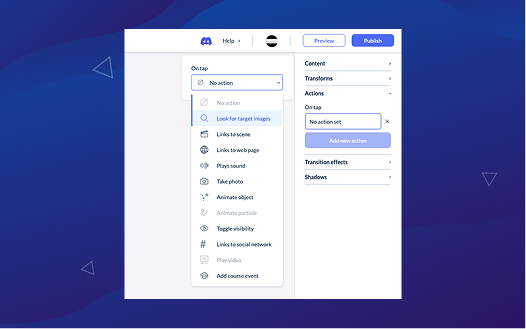
Section titled “Manual Scanning”You can also use the “look for target images” action to explicitly let users enter scanning mode to switch between targets.
Advanced Features
Section titled “Advanced Features”Linking Between Scenes
Section titled “Linking Between Scenes”You can use actions to explicitly link to specific scenes. If that scene uses a different target image, the scanning prompt will show only the single target image it’s looking for, creating a more focused user experience.
Show on Screen
Section titled “Show on Screen”The “Show on Screen” option is disabled by default for multi-image tracking projects to create better user experiences. For scavenger hunt scenarios, you might not want users launching scenes tracked to different images without having them in view. However, you can still enable “Show on Screen” from the scene menu if needed.
Combining Tracking Types
Section titled “Combining Tracking Types”Multi-image tracking works seamlessly with other scene types. You can have an image-tracked scene, link to a face-tracked scene, then link to an entirely different image-tracked scene. The possibilities are endless.
Best Practices
Section titled “Best Practices”- Choose target images that are visually distinct from each other for better recognition
- Consider the user journey - how will people discover and interact with multiple images?
- Use the scanning carousel to guide users to the next image in your experience
- Test your multi-image experience with the intended physical materials
- Remember that users can only track one image at a time, so plan your content flow accordingly
Next Steps
Section titled “Next Steps”Once you’ve set up your multi-image tracking experience, you can enhance it further by:
- Adding actions and interactions between scenes
- Incorporating face tracking or world tracking scenes
- Using components to create rich, interactive content