Best Practices
When creating image-tracked experiences in Designer, the quality and characteristics of your target images directly impact tracking performance and user experience. This guide covers what makes an effective tracking image specifically for Designer projects.
Image Quality Fundamentals
Section titled “Image Quality Fundamentals”Call to Action
Section titled “Call to Action”Your target image should include a clear call-to-action (CTA) that guides users to your AR experience. This ensures users know interactive content is available and how to access it.
Multi-image tip: When using multi-image tracking, you may only need the QR code on one target image (such as the cover or first page) rather than every image in your experience.
Adding QR Codes
QR codes are the most effective CTA for AR experiences:
- Download QR code from the project overview page on my.zap.works
- Add the QR code to your print design as both a launch trigger and visual cue
- When training your target image in Designer, include the QR code in the image - this improves tracking performance and ensures the CTA is part of your tracked target.
For print materials especially, the QR code acts as both a functional trigger to launch your experience and a visual element that can enhance tracking stability.
Detailed Design
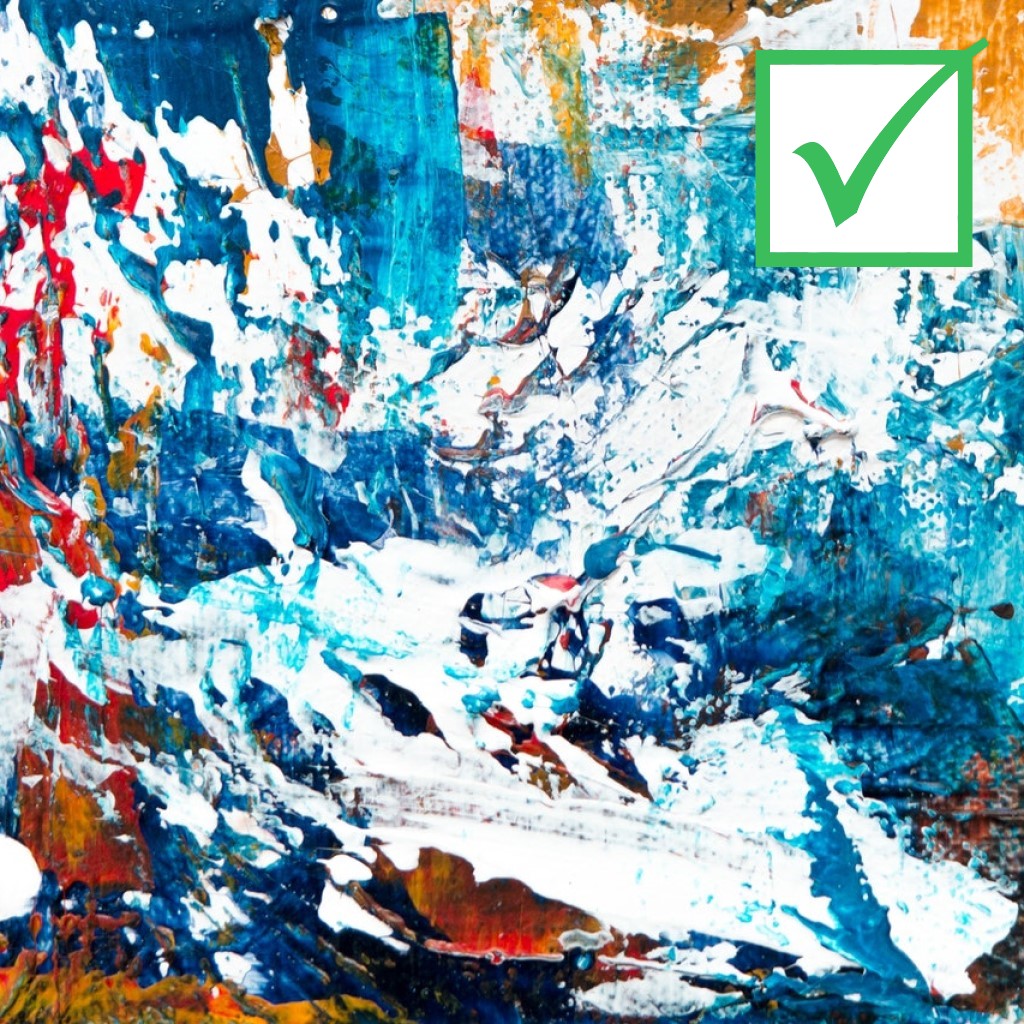
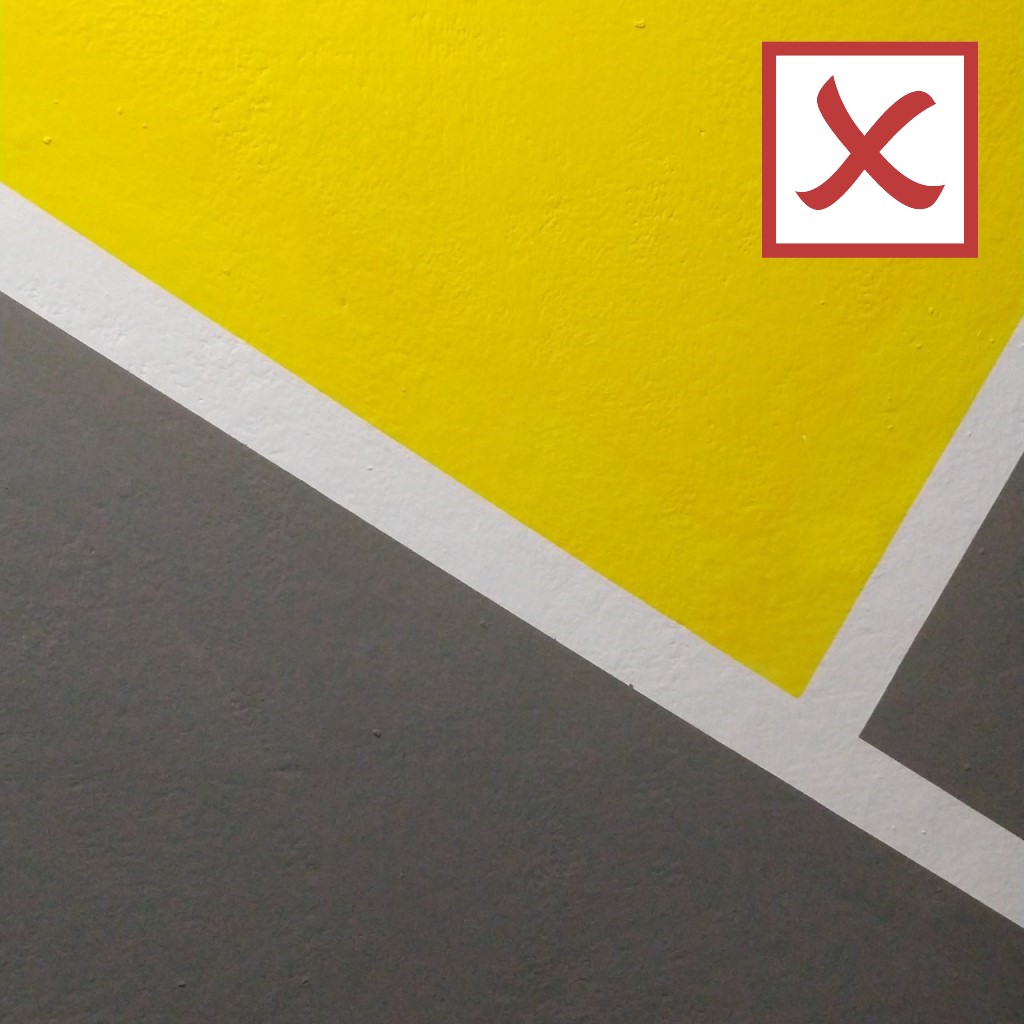
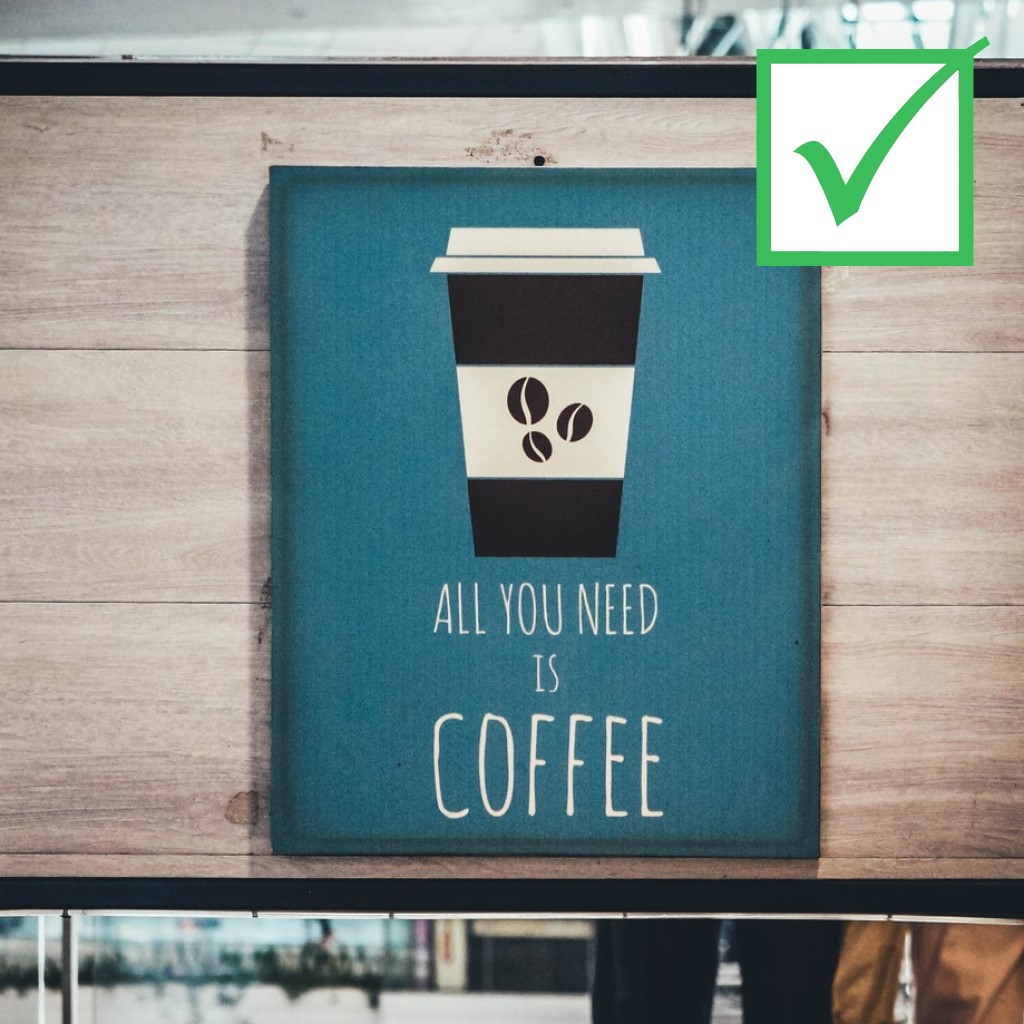
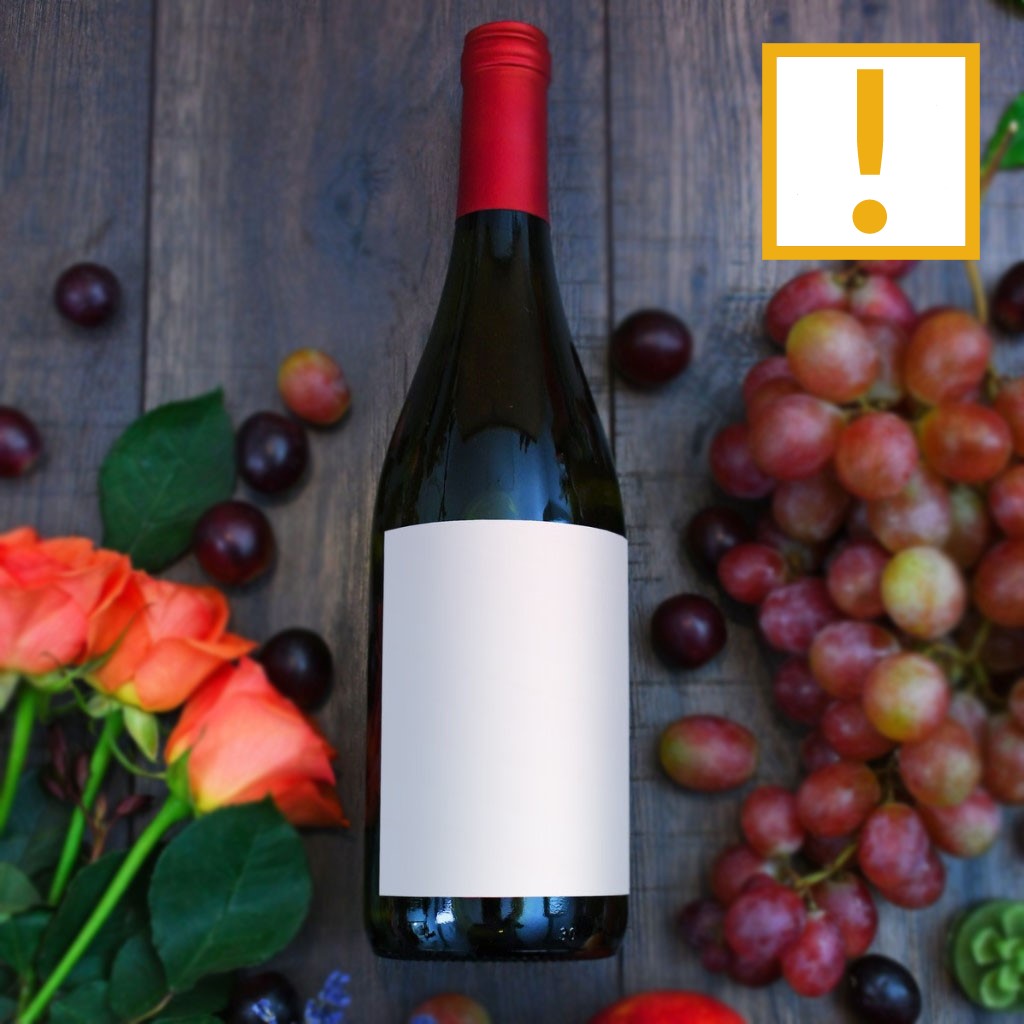
Section titled “Detailed Design”Choose images with rich visual detail and avoid large areas of blank space. Complex graphical data gives the tracking system more unique features to identify and follow.
Good: Images with varied textures, graphics, logos, and visual elements
Avoid: Images with large solid color areas or minimal visual information
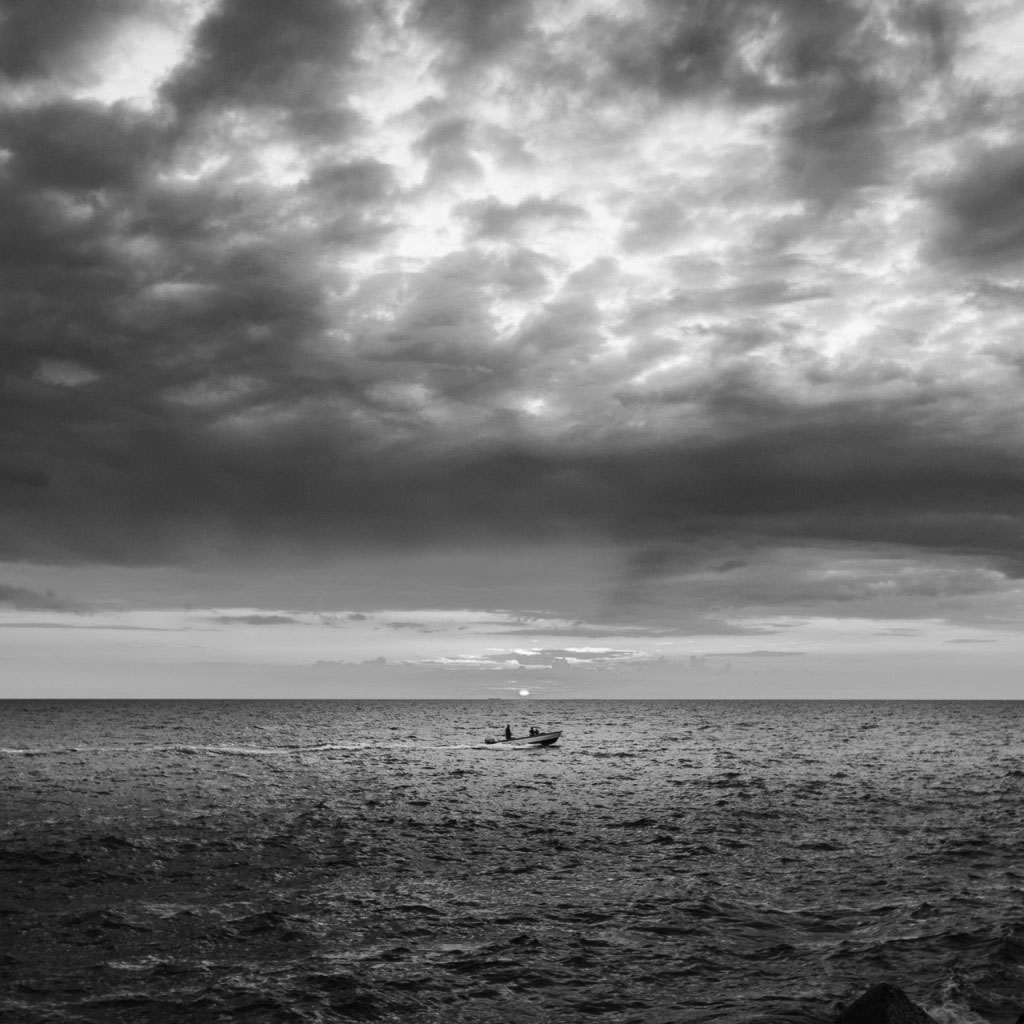
High Contrast
Section titled “High Contrast”The tracking technology processes images in grayscale, so contrast between different parts of your image is crucial for reliable tracking.
Tip: Convert your image to grayscale to check contrast levels. If details are hard to distinguish in grayscale, they’ll be harder for the tracking system to identify.

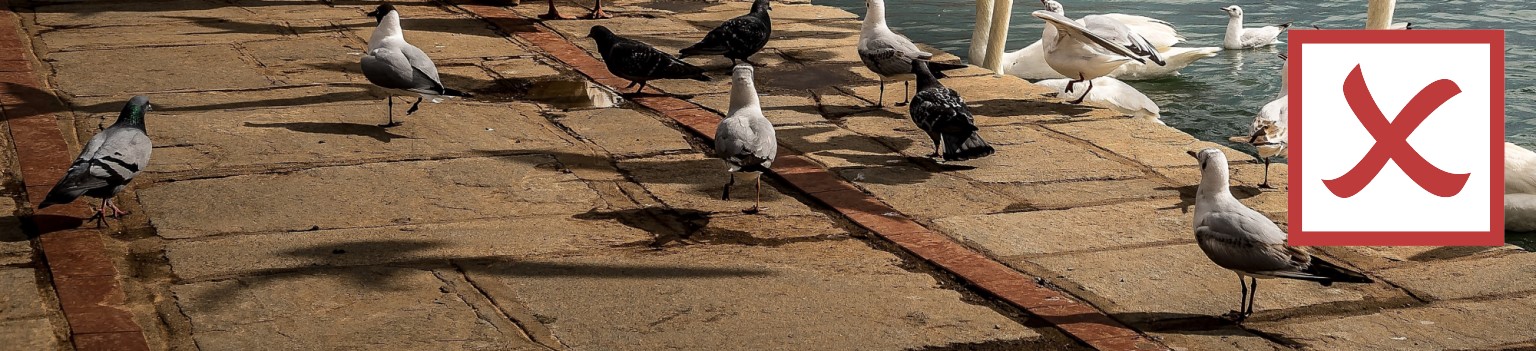
Avoid Repetitive Patterns
Section titled “Avoid Repetitive Patterns”Repetitive elements like paragraphs of text, checkerboard patterns, or repeated graphics can confuse the tracking system.
Good: Varied visual elements with unique sections
Avoid: Wallpaper patterns, text-heavy designs, or repeated geometric shapes


Technical Specifications
Section titled “Technical Specifications”Aspect Ratio
Section titled “Aspect Ratio”Keep your images within a width-to-height aspect ratio between 4:1 and 1:4 (0.25 to 4 when you divide height by width).
Examples of good ratios:
- Square: 1:1 (business cards)
- Portrait: 3:2 (magazine pages)
- Landscape: 2:1 (posters)
Resolution
Section titled “Resolution”Use standardized resolutions such as:
- 1024x512 px
- 1024x1024 px
- 512x1024 px
Avoid odd or non-standard dimensions which can cause training issues.


Physical Considerations
Section titled “Physical Considerations”Surface Type
Section titled “Surface Type”Your target images work best when placed on flat, matte surfaces. Avoid:
- Curved or rounded surfaces (unless using Curved Image Tracking)
- Highly reflective or glossy surfaces
- Surfaces that create shadows or glare

Lighting Conditions
Section titled “Lighting Conditions”Consider the lighting conditions where your experience will be used:
- Ensure good, even lighting
- Avoid harsh shadows that obscure image details
- Test in various lighting conditions during development
Multi-Image Tracking Considerations
Section titled “Multi-Image Tracking Considerations”When using Multi-Image Tracking, additional guidelines apply:
Visual Distinctiveness
Section titled “Visual Distinctiveness”Target images must be visually distinct from each other. Images that are too similar can cause the system to confuse one target for another, leading to incorrect content being displayed.
Requirements for multi-image projects:
- Each image should have significantly different visual elements
- Avoid using variations of the same base design
- Different color schemes alone are not enough - the underlying shapes and patterns should differ
- Consider how images look in grayscale, as similar images may be indistinguishable to the tracking system
Testing Multiple Images
Section titled “Testing Multiple Images”When planning a multi-image experience:
- Train all your target images in Designer
- Test each image individually to ensure reliable tracking
- Test switching between images to verify correct content appears
Designer-Specific Tips
Section titled “Designer-Specific Tips”Content Planning
Section titled “Content Planning”Consider how your AR content will overlay the target image:
- Leave space for the QR code trigger of the published project on your target image.
- Leave space in your design for AR elements
- Consider which parts of the image should remain visible
- Plan content placement to complement the target image design
Project Types
Section titled “Project Types”Different project types may have specific requirements:
Print Materials: Ensure images reproduce well when printed
Digital Displays: Consider screen reflection and viewing angles
Packaging: Account for surface texture and handling
Collectibles: Make each item visually distinct for multi-image projects
Testing Your Target Images
Section titled “Testing Your Target Images”Before finalizing your Designer project:
- Train your images in Designer
- Add simple content to start to check tracking stability
- Test tracking performance in various lighting conditions
- Check multi-image distinctiveness if using multiple targets
- Test at intended viewing distances and angles
- Verify target image is working well or add extra details to the design if possible
Best Practices Summary
Section titled “Best Practices Summary”✅ Do:
- Use detailed, high-contrast images
- Maintain good aspect ratios (4:1 to 1:4)
- Choose visually distinct images for multi-image projects
- Test thoroughly in intended conditions
- Use standardized resolutions
❌ Don’t:
- Use images with large blank areas
- Rely on repetitive patterns
- Choose similar-looking images for multi-image tracking
- Use extreme aspect ratios
- Place targets on curved or reflective surfaces (unless using curved tracking)
Following these guidelines will help ensure your Designer experiences track reliably and provide smooth user interactions across all your target images.