Particles
The Particle Applet allows you to enhance your Zapworks Designer projects by adding visually engaging particle effects. These effects can be easily integrated into your scenes, creating a more immersive and interactive experience for your users.

Adding Particle Effects
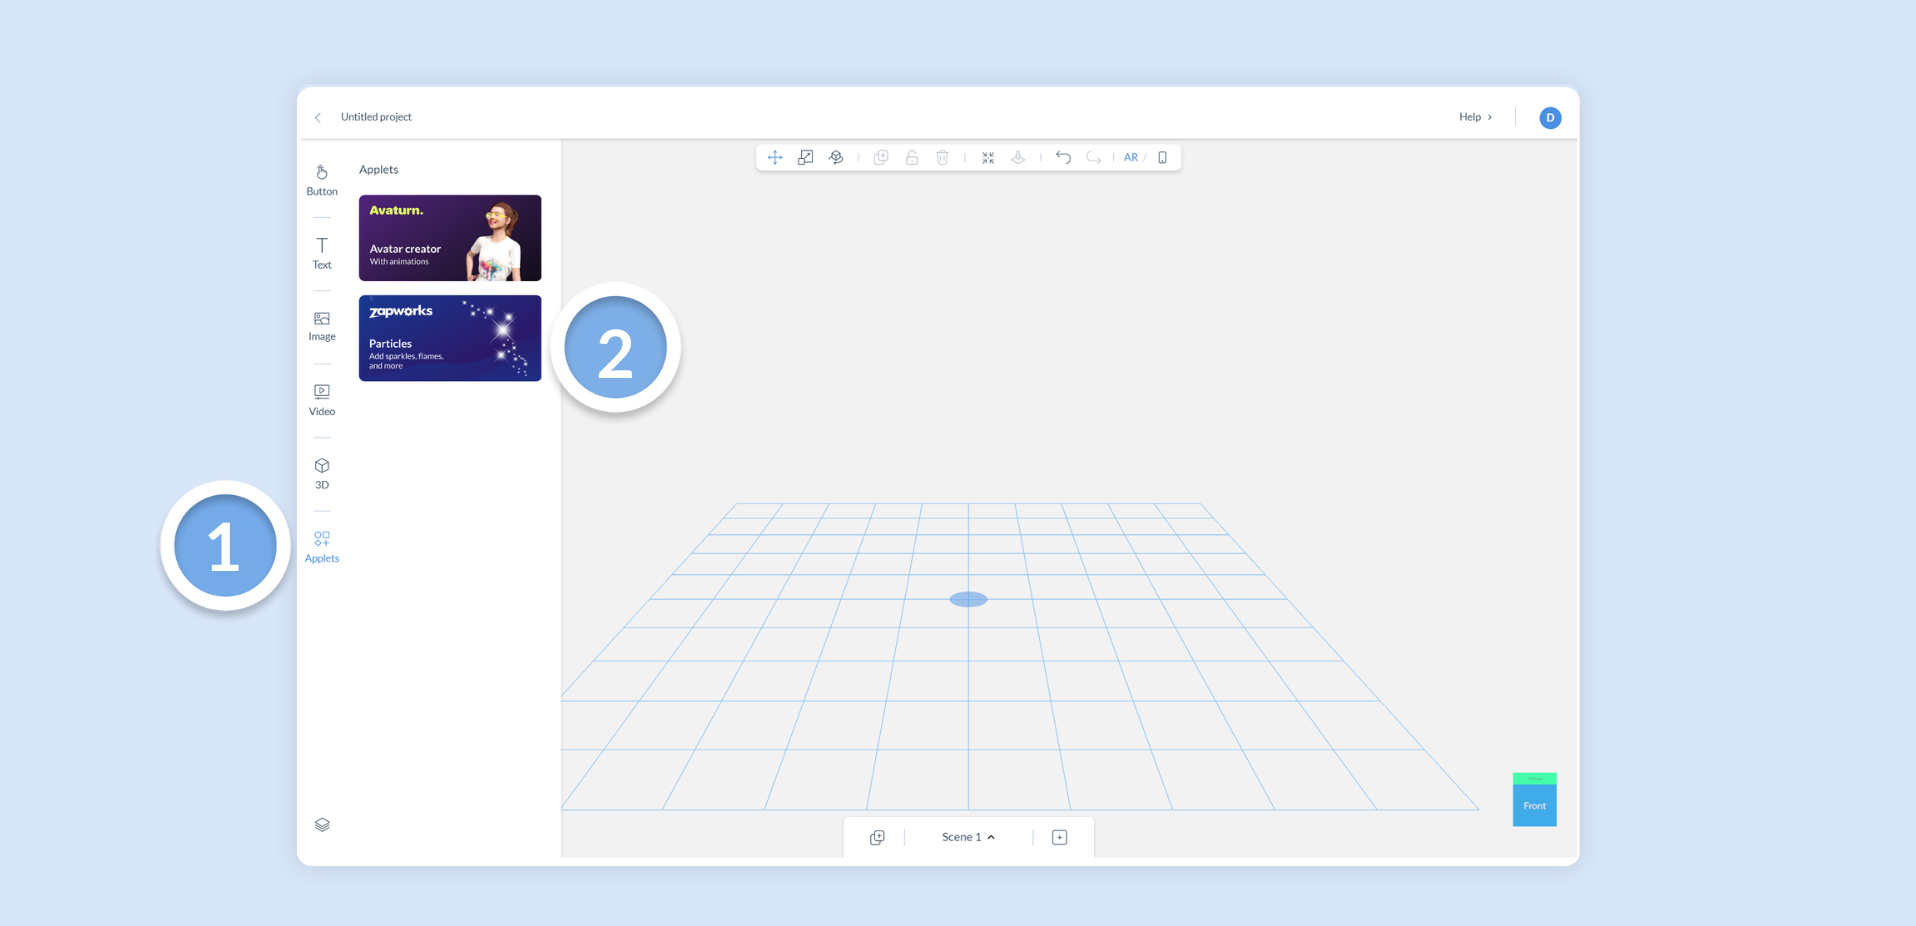
Section titled “Adding Particle Effects”- In the Components panel, click on the
Appletstab. - Click the
Particle Applet. - Once the modal opens, select your desired particle to add it to your scene.
We’re always looking for ideas for new particles, so if you have some, please get in touch!
Types of Particle Effects
Section titled “Types of Particle Effects”Particle effects can be used to create a more immersive experience for users by adding dynamic visual elements to your Zapworks Designer scenes. We currently offer five particles for your designs: Rain, Snow, Sparkles, Confetti, and Fire. The table below presents potential use cases for each particle type.
| Particle Effect | Description |
|---|---|
| Fire | Add a fire effect to create a realistic campfire, fireplace, or torch in your scene. This effect can be used in conjunction with 3D models or images to create a more engaging environment. |
| Rain | Use the rain effect to simulate a rainy day, or to add atmosphere to a scene. Combine the rain effect with images or 3D models of umbrellas, puddles, or raindrops to create a more immersive experience. |
| Snow | Add a snow effect to create a winter wonderland or a snowy landscape. Combine this effect with 3D models or images of snow-covered objects, snowmen, or snowflakes to enhance the wintery theme. |
| Sparkles | Use the sparkles effect to highlight something within your scene or add to 3D models of equipment in use to simulate a sparks effect. |
| Confetti | Use confetti to celebrate a victory or highlight a special moment in your scene. |
These are just a few examples of how you can use the Particle Applet to enhance your Zapworks Designer projects. By combining these effects with other Applets, images, and 3D models, you can create truly immersive and interactive experiences for your users.
Customizing Particles
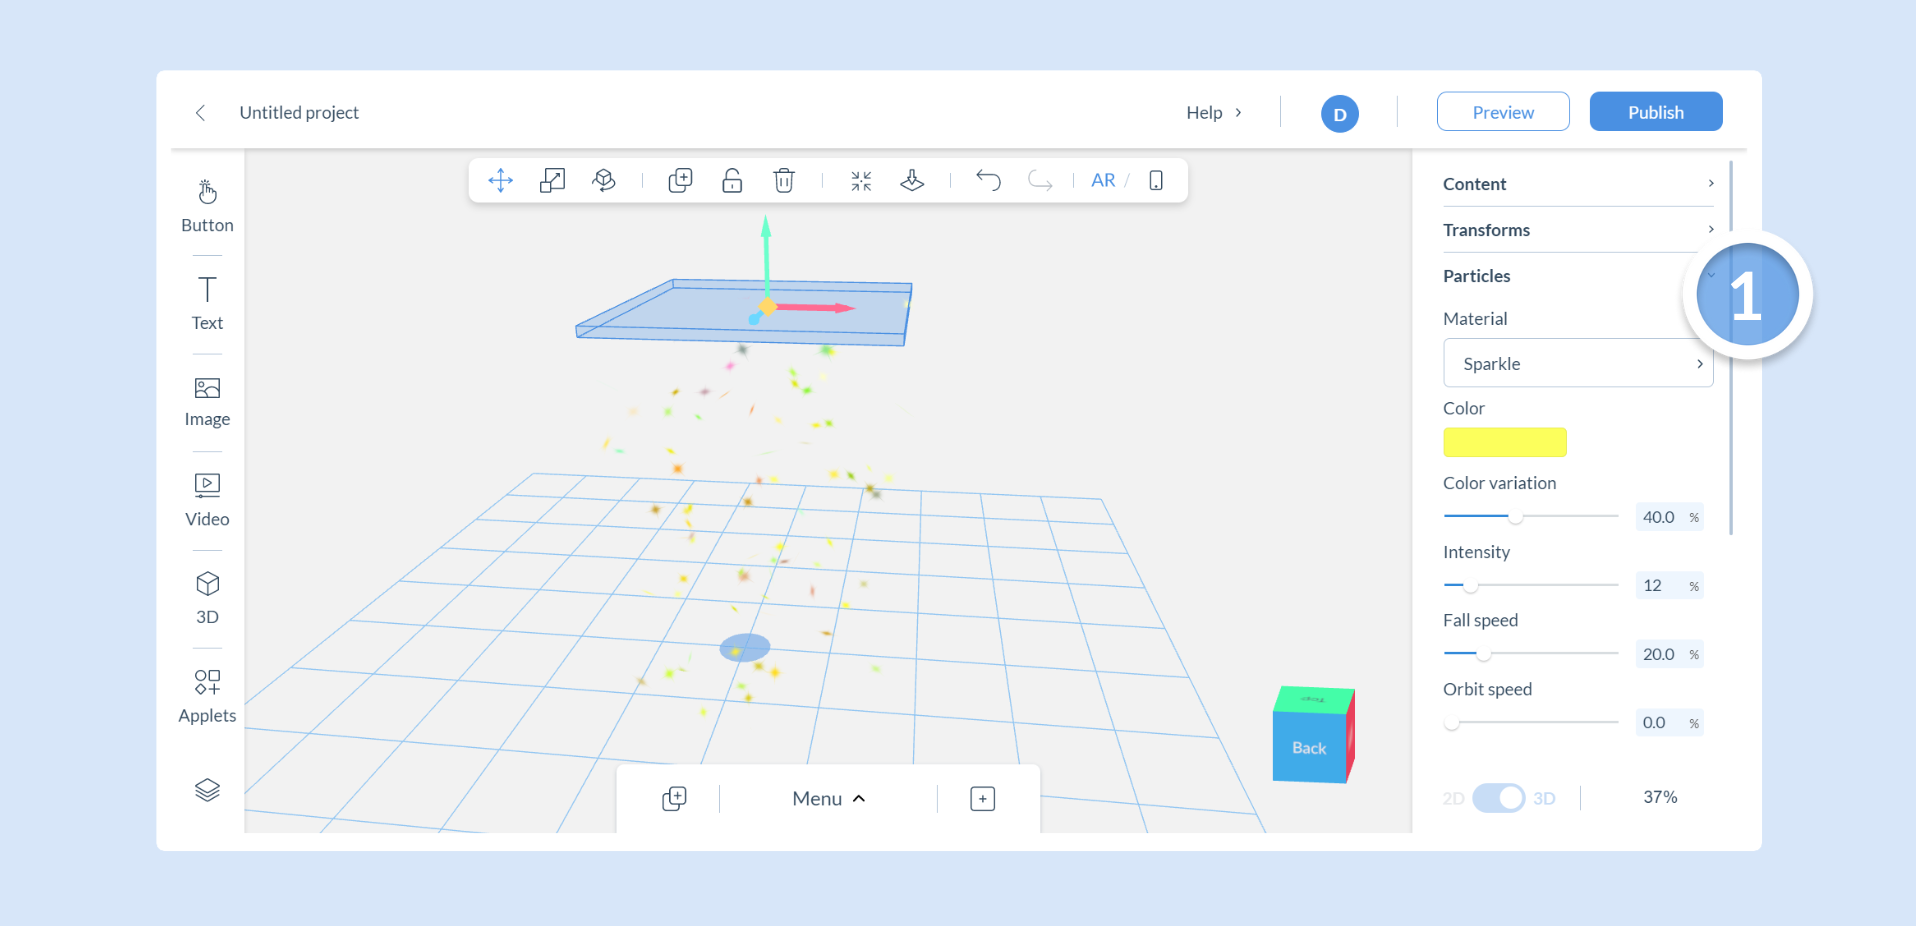
Section titled “Customizing Particles”After adding a Particle Applet to your scene, you can further customize each particle type. This is achieved through the Particles tab in the Properties panel.

| Property | Description | Applicable Particles |
|---|---|---|
| Material | This dropdown allows you to select different variations of the chosen particle. Each particle type has a set of distinct materials. | Snow, Confetti, Sparkles, Rain |
| Color | Customize the color of your particles to match the theme of your scene. | All |
| Color Variation | Further customize the color of your particles by adding colour variations. | Confetti, Sparkles |
| Intensity | Adjust the number of particles emitted over a given time period. | All |
| Fall Speed | Modify the speed at which particles fall to create slow-drifting snowflakes or rapidly falling raindrops. | Confetti, Snow, Rain |
| Orbit Speed | Modify the speed at which particles orbit around their emitter. | Confetti, Rain, Sparkles |
| Sparkle Speed | Adjust the speed of sparkles for the sparkle particle. | Sparkles |
| Particle Size | Define the size of your particles. Larger particles can create a more dramatic effect, while smaller ones can add subtle details. | All |
| Local Particle Scale | Scale the size of particles in relation to their emitter. | Sparkles |
| Lock Particle Scale | This checkbox allows the size of particles to scale proportionally with the size of the emitter. | Confetti, Snow, Rain |
| Pause/Play Button | Control the particle emission in real-time within your scene, allowing you to test and adjust your settings. | All |
| Reset to Default Button | Reset your particle settings to their default values. | All |
Controlling Particle Emitters
Section titled “Controlling Particle Emitters”The particles in your scene come from an object called an Emitter which controls where and how particles are released into your scene. You can control the position, scale, and rotation of the Emitter like all components using the transform controls in the context bar or the keyboard shortcuts W-Move E-Scale and R-Rotate.
| Action | Description |
|---|---|
| Move | Move the emitter to the desired location in your scene. |
| Scale | Adjust the size of the emitter. If the “Scale Particles with Emitter” checkbox is checked, the particles will scale proportionally with the emitter. |
| Rotate | Rotate the emitter to change the direction of the particle flow. This is especially useful for creating effects like wind-blown rain, snow or confetti. |
By carefully adjusting the properties and positioning of the emitter, you can create a wide array of dynamic and immersive particle effects.
Controlling Particles with Actions
Section titled “Controlling Particles with Actions”You can control the particle animations using Actions on buttons or images. Simply add a button or image to your scene or in Screen UI . Then navigate to the project properties panel and within the Actions tab, click on Animate Particle in the dropdown list.
| Property | Description |
|---|---|
| Action Behavior | Allows you to start, stop, or toggle the particle animation with an on tap action. |
| Particle | If you have multiple particle types in your scene, this dropdown lets you select the specific particle to animate. |
| Play | The Play property provides two options: Forever , if checked, will make the particle effect loop indefinitely, and Duration. This allows you to specify the duration of the particle effect by entering a time in seconds. This box is disabled if the Forever checkbox is checked. |