Setting up a Space
Once you have your VPS map credentials ready (see Mapping), you can create your Spaces project in Zapworks.
Spaces must be enabled on a per-workspace basis. If you do not see Spaces in your project list at my.zap.works, contact support@zappar.com to have it activated for your workspace.
Creating a new Space
Section titled “Creating a new Space”-
Log in to my.zap.works and select New Project.
-
Choose Spaces from the project type list.
-
Work through the onboarding flow, entering the following details:
Field Description Space name The name of your indoor environment, shown to users in the navigation interface. Subtitle A short description displayed below the space name. Language The language used for spoken turn-by-turn instructions. VPS provider Select your VPS provider (currently MultiSet). Map code The map code ( MAP_...) or map set code (MSET_...) from the MultiSet developer portal.Client ID The client ID from the credentials you generated in the MultiSet developer portal. Secret The secret from the credentials you generated in the MultiSet developer portal. -
Once the details are confirmed, your 3D map will load in the centre of the editor. The main navigation and editing tools are available in the panel on the left.
The Spaces editor
Section titled “The Spaces editor”After setup, you will see your 3D map mesh in the editor viewport.
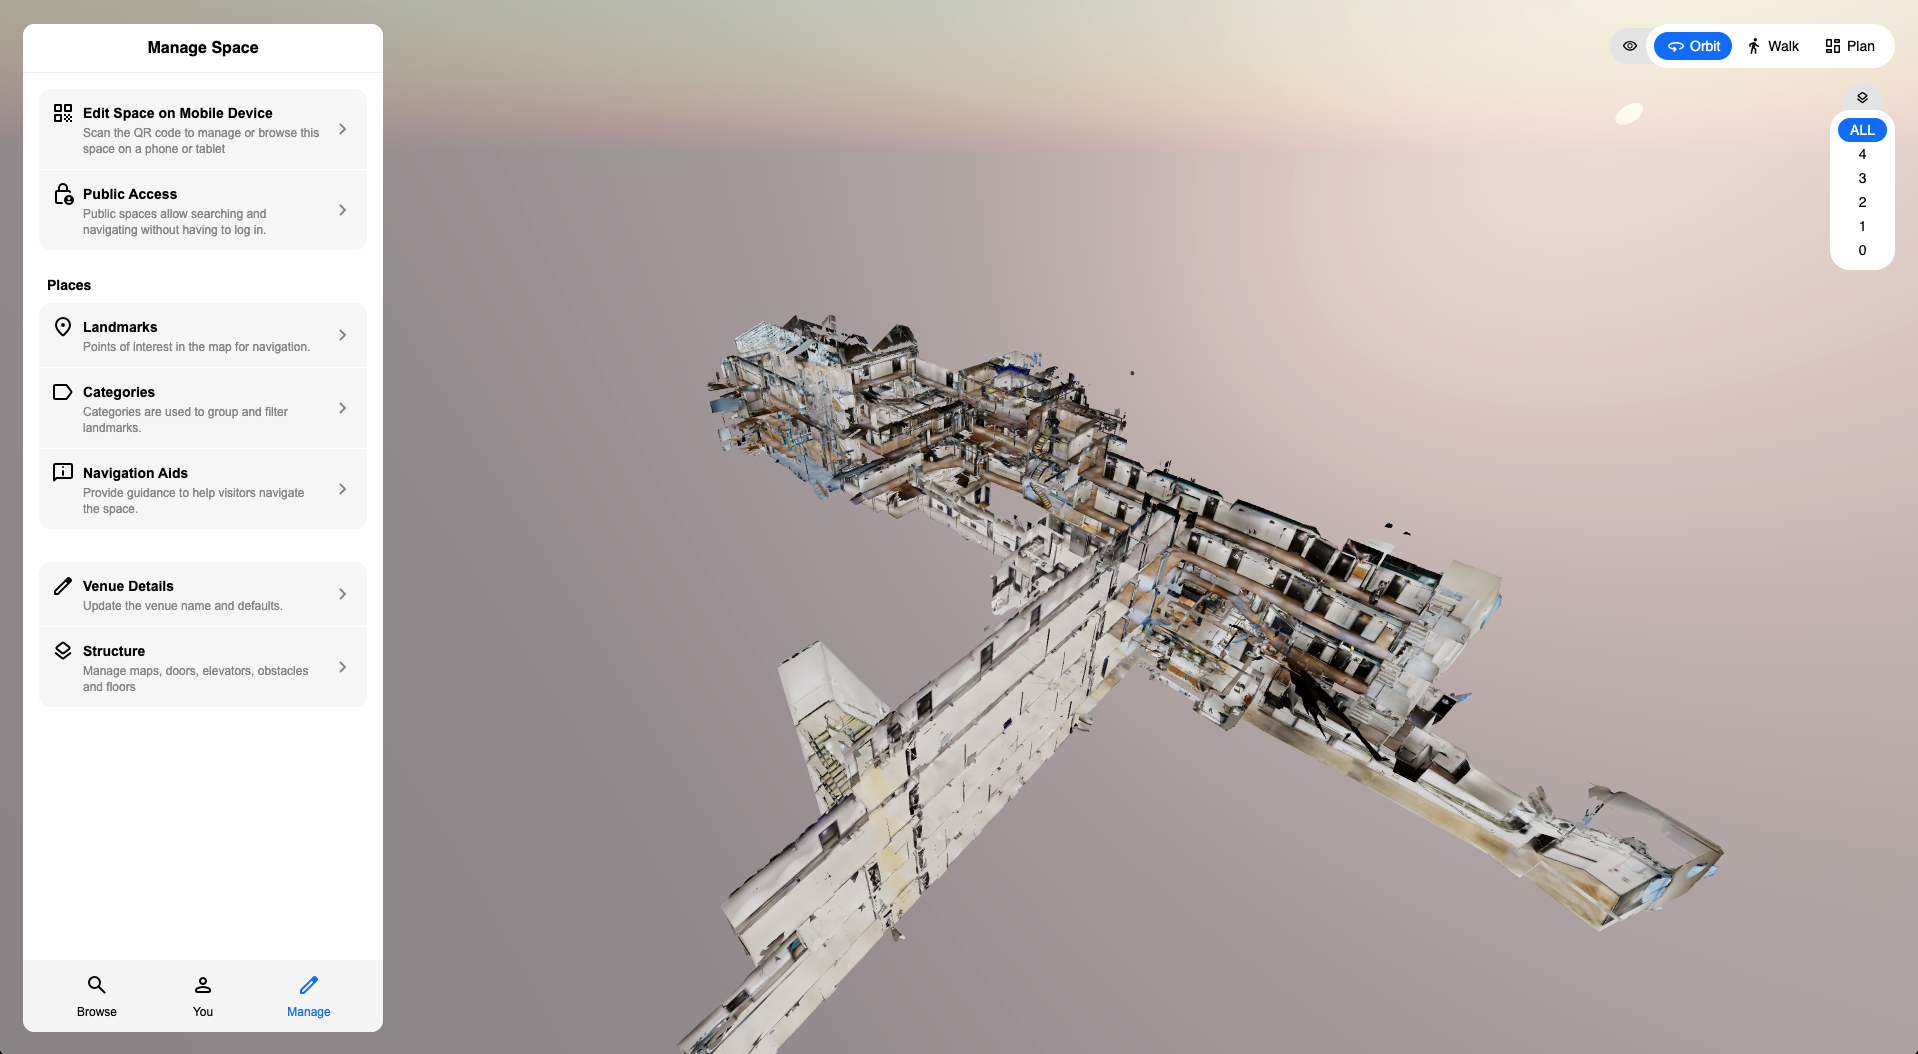
From here you can:
- Add and manage landmarks - the destinations users can navigate to.
- Configure structure - define walkable areas, place doors, and mark obstacles.
- Add navigation aids - set up crossings to provide contextual announcements along routes.
- Publish your Space and manage access.
Navigating the editor
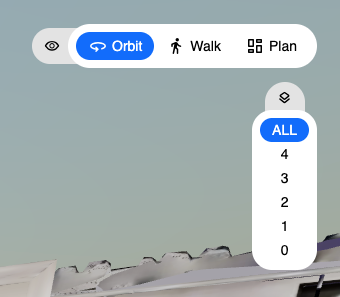
Section titled “Navigating the editor”The editor has three viewport modes, selectable from the top-right corner.
| Mode | Description |
|---|---|
| Orbit | Freely move around the 3D map. Right-click to pan, left-click to rotate, and scroll to zoom. |
| Walk | Enter the map at ground level, as if physically present in the space. Click the foot indicators on the floor to move to that position. This is the easiest way to get a feel for the space and place landmarks accurately. |
| Plan | A top-down bird’s-eye view of the map. |
Clicking directly on the floor of the map will switch you into Walk mode automatically.
Floor selection
Section titled “Floor selection”Below the viewport mode controls, a floor selector lets you navigate multi-floor environments. Click a floor number to jump to that level, or select All to see every floor at once.
You can also edit your Space directly from a mobile device. See Editing on mobile for details.