Managing Projects
A Zapworks project consists of a single augmented reality (AR) experience that can be launched via user-defined triggers and possesses individual analytics.
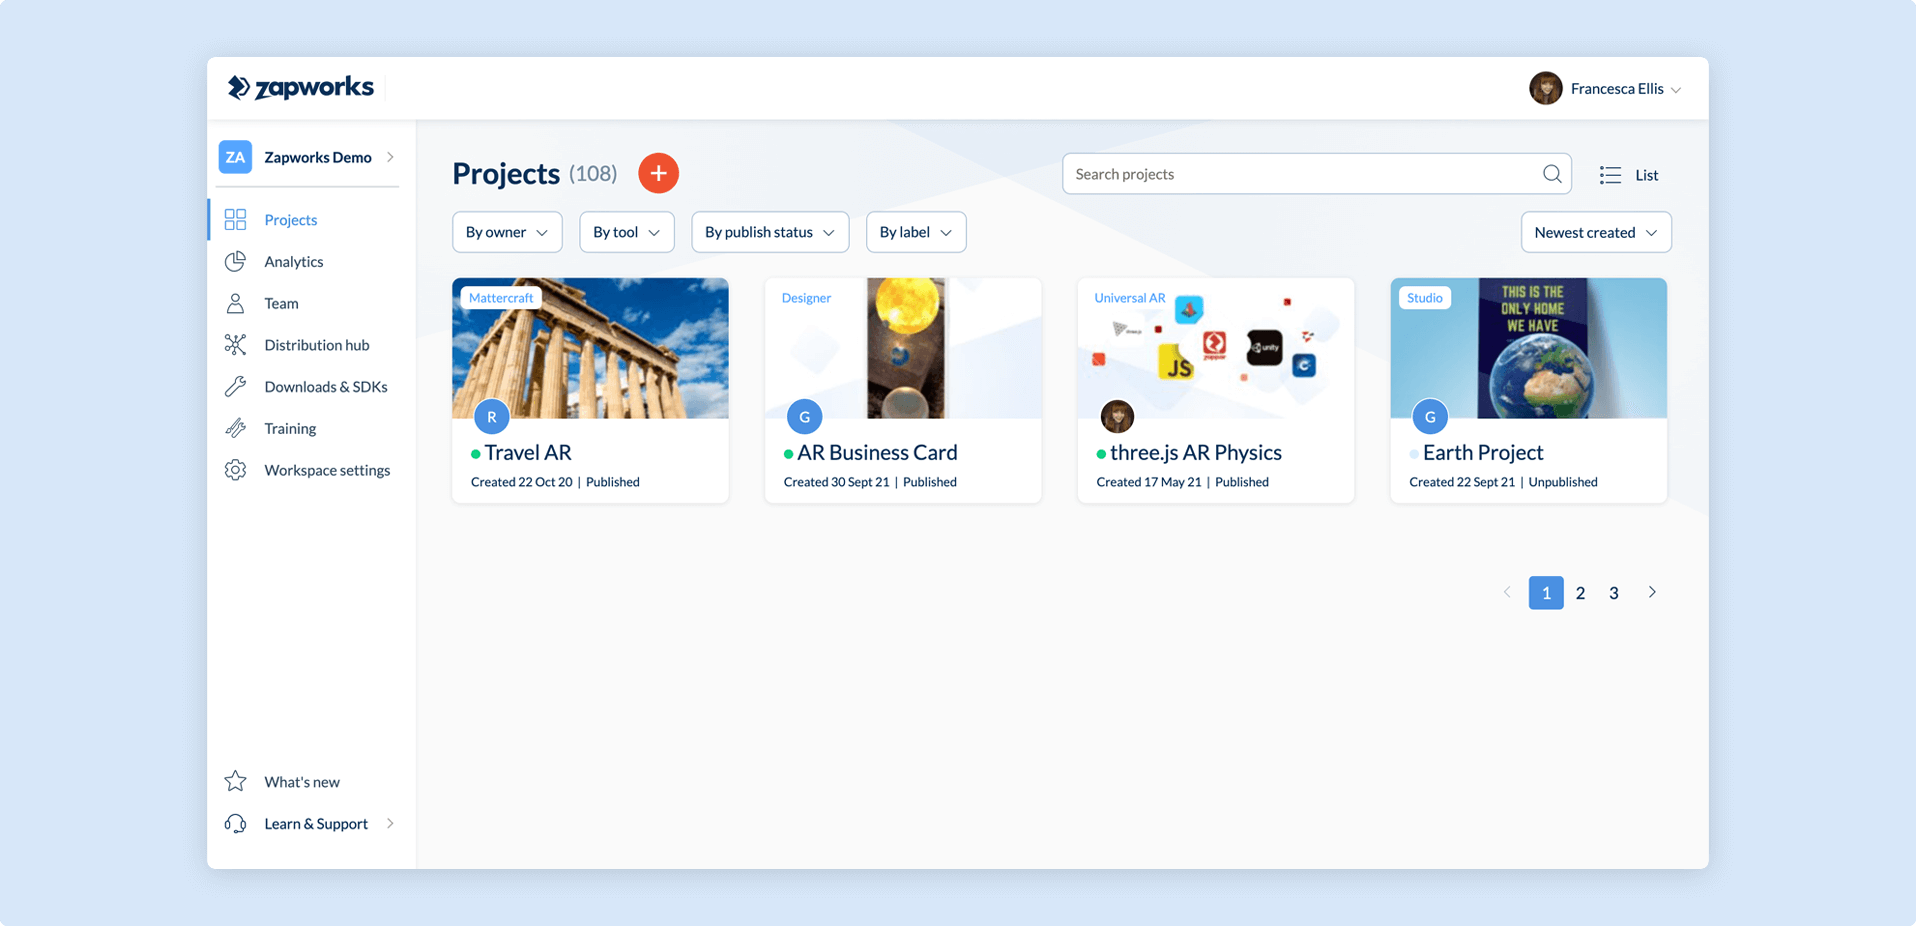
Projects can be created and modified from the Zapworks CMS.
Creating a new project
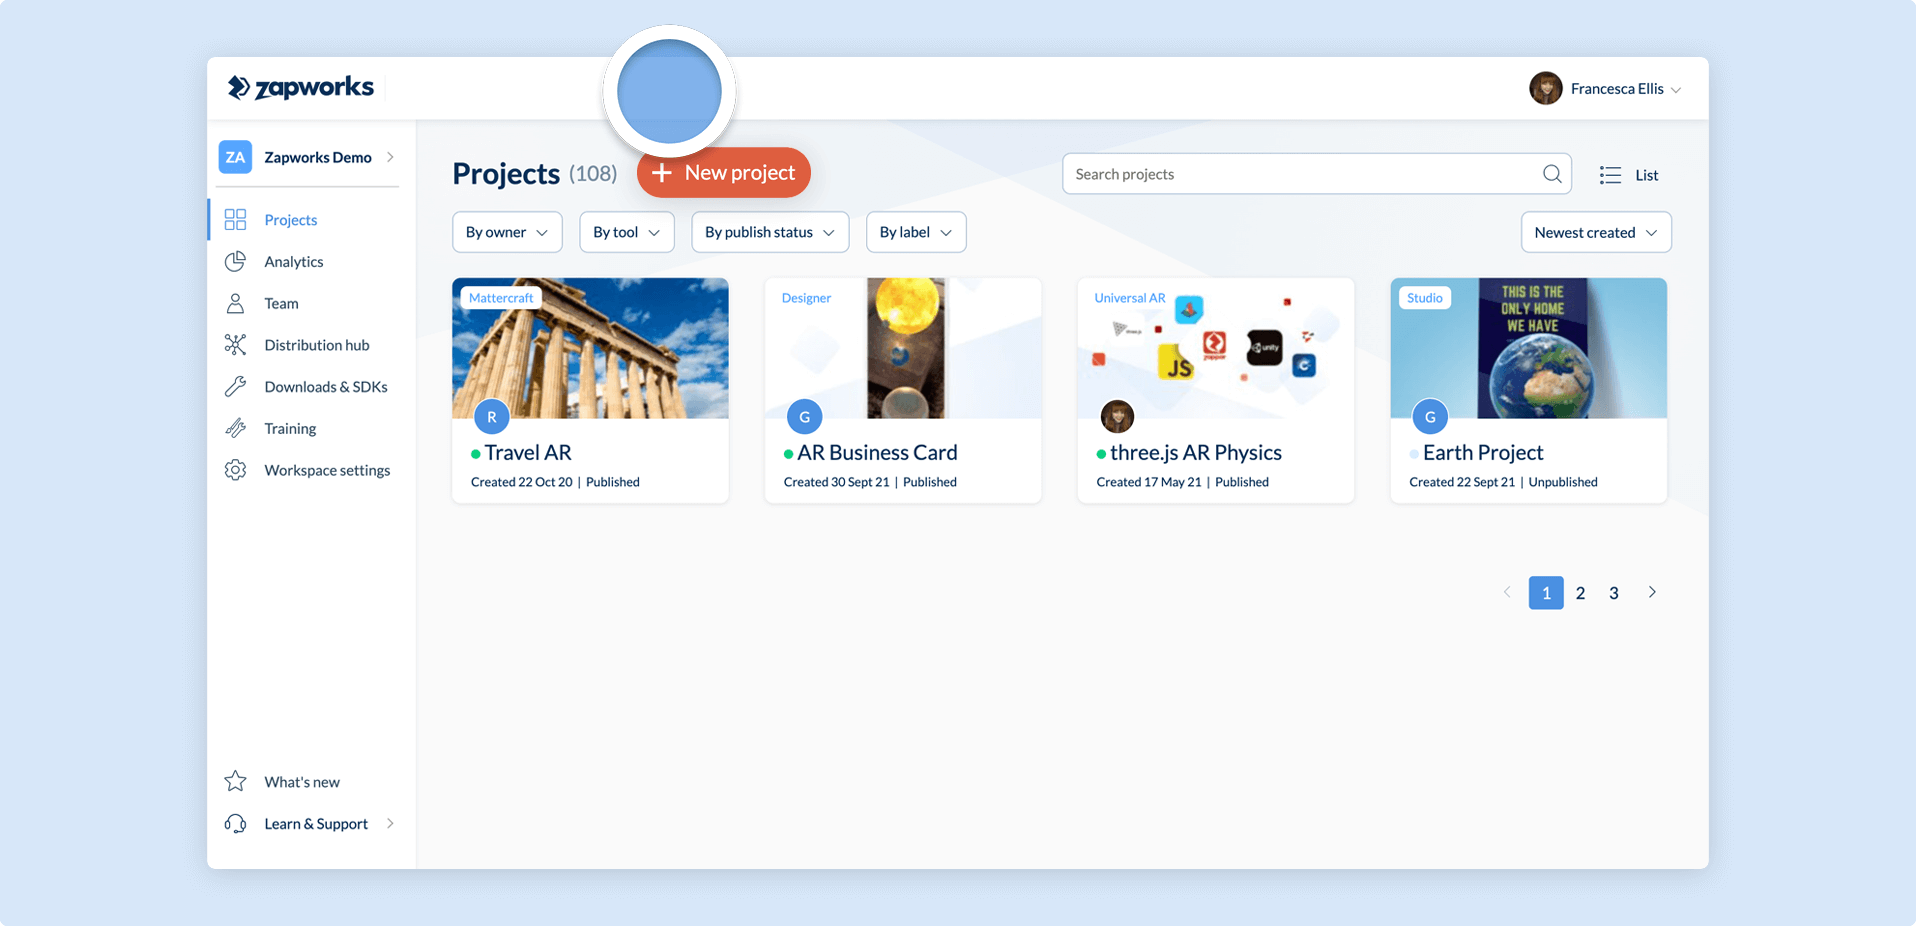
Section titled “Creating a new project”To create a project, navigate to the Zapworks CMS and select the red plus icon, which will extend to say New Project.
Upon project creation, a Zapworks tool (i.e. Designer, Mattercraft, Studio or Universal AR) must be selected.
If prompted, a minimum of one trigger must also be selected, at which point you’ll be redirected to the Project Overview page.
After creation, additional triggers can be assigned from within the project overview page. Existing triggers can not be removed from a project.
Filtering projects
Section titled “Filtering projects”You can use filters in the Zapworks CMS to see specific projects on your workspace. The table below describes these options:
| Filter | Description |
|---|---|
| By owner | View all of the projects created by a specific team member. |
| By tool | View all of the projects developed with a specific Zapworks tool (e.g. Mattercraft, Designer, Studio, Universal AR SDK.) |
| By publish status | View all of the projects that are either published or unpublished. |
| By label | View all of the projects which have a specific label attached to them, or create a new label. |
| Newest created | View all of the projects in a specified order. |
You may also use the Search projects bar or toggle the appearance between Cards or List view in the Zapworks CMS.
Labels
Section titled “Labels”Labels allow you to organize projects under a common theme on your account; for example, multiple experiences for a single campaign.
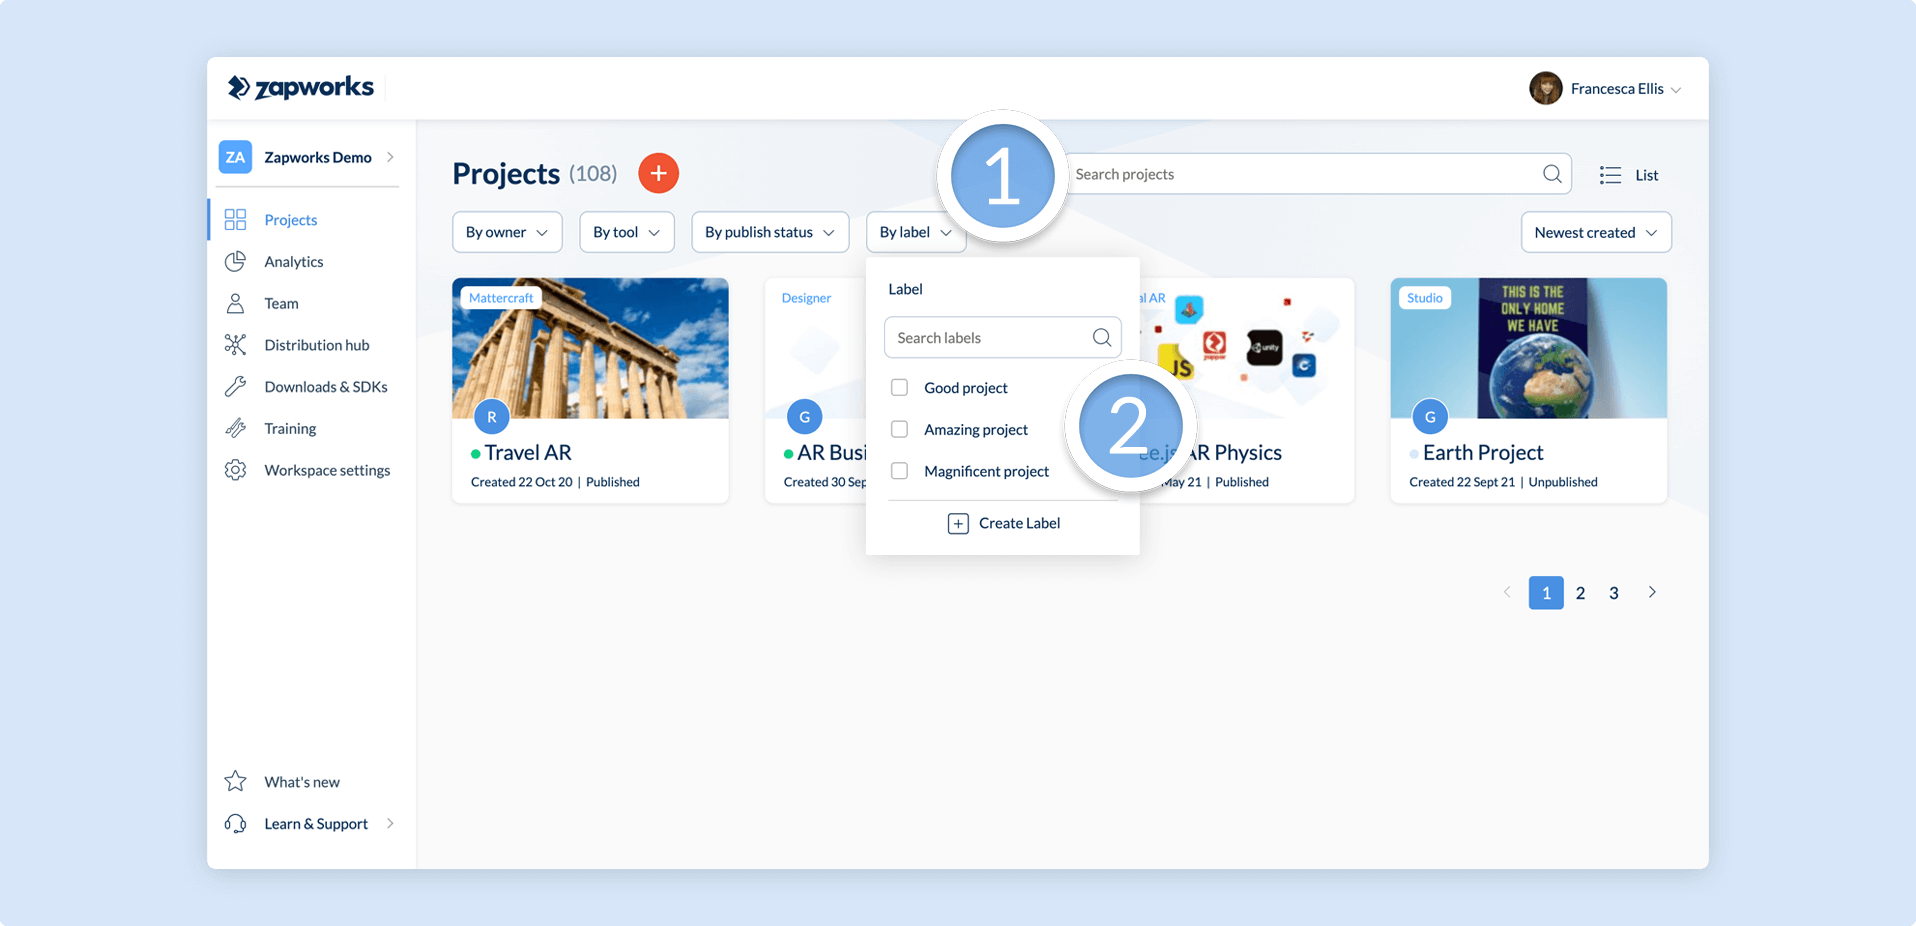
Projects grouped together under a label will also display aggregated analytics data.
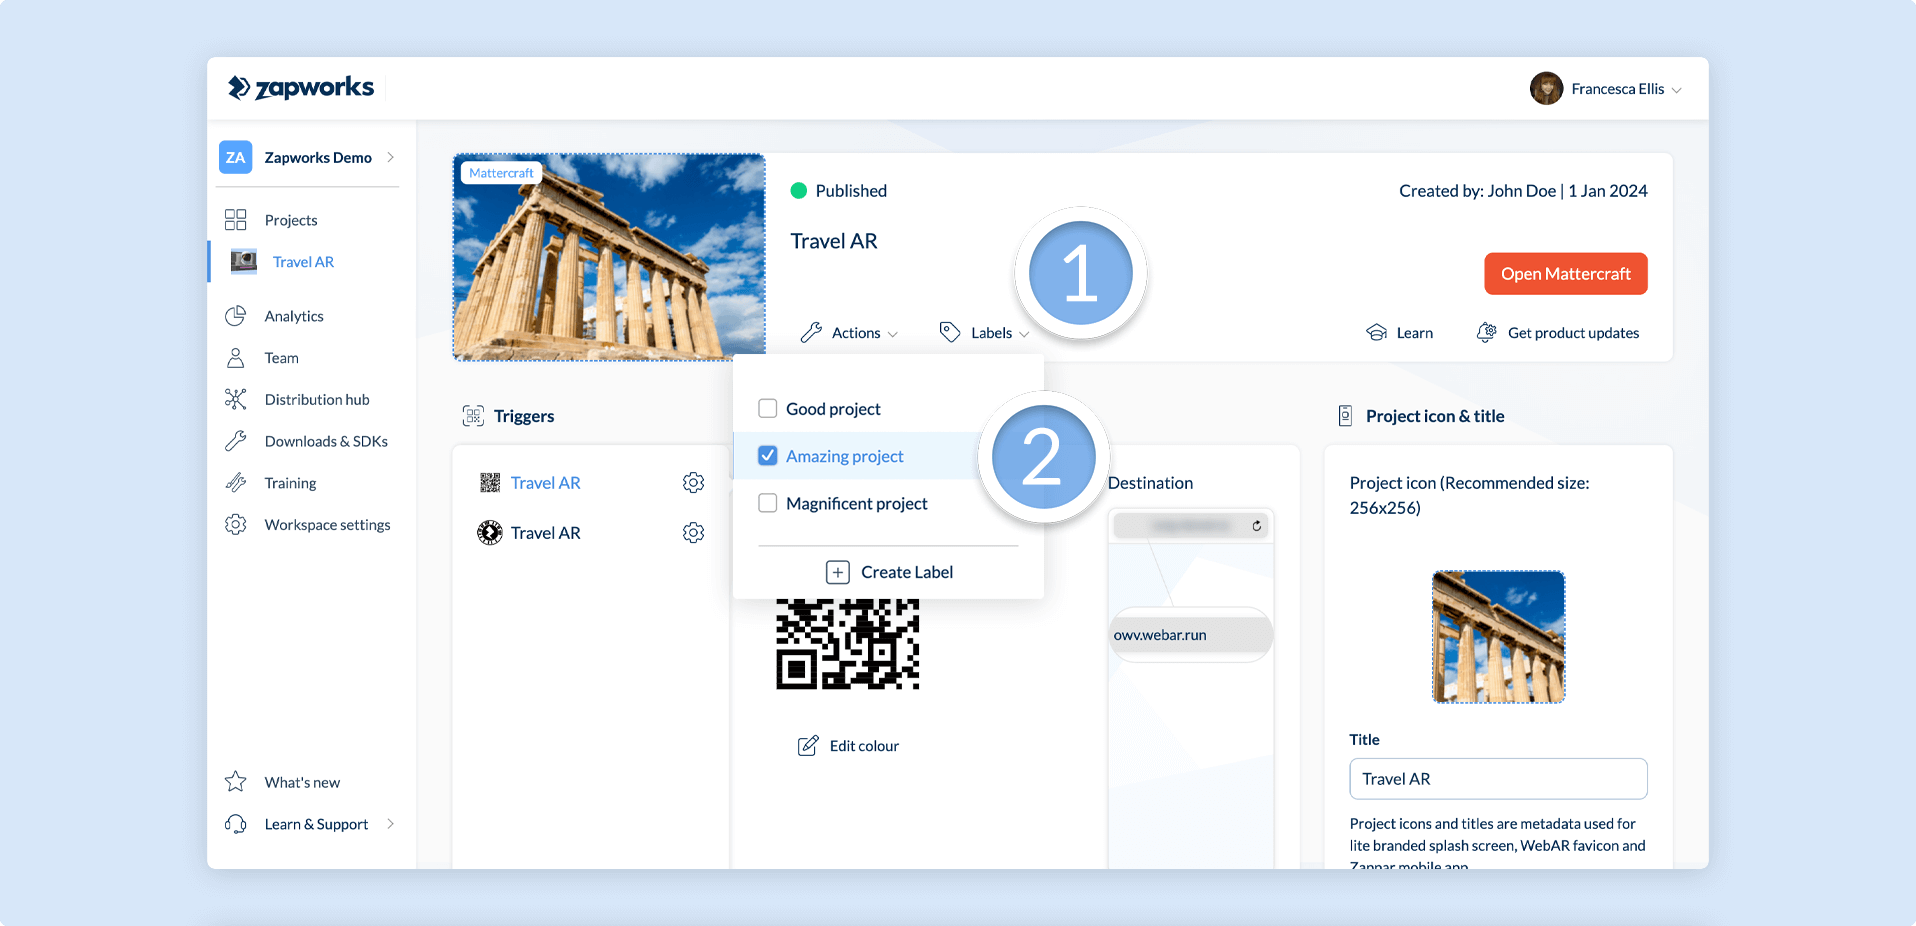
Labels can be assigned to a project from the project’s overview page.
Actions
Section titled “Actions”Four default project-level options are available under the Actions dropdown.
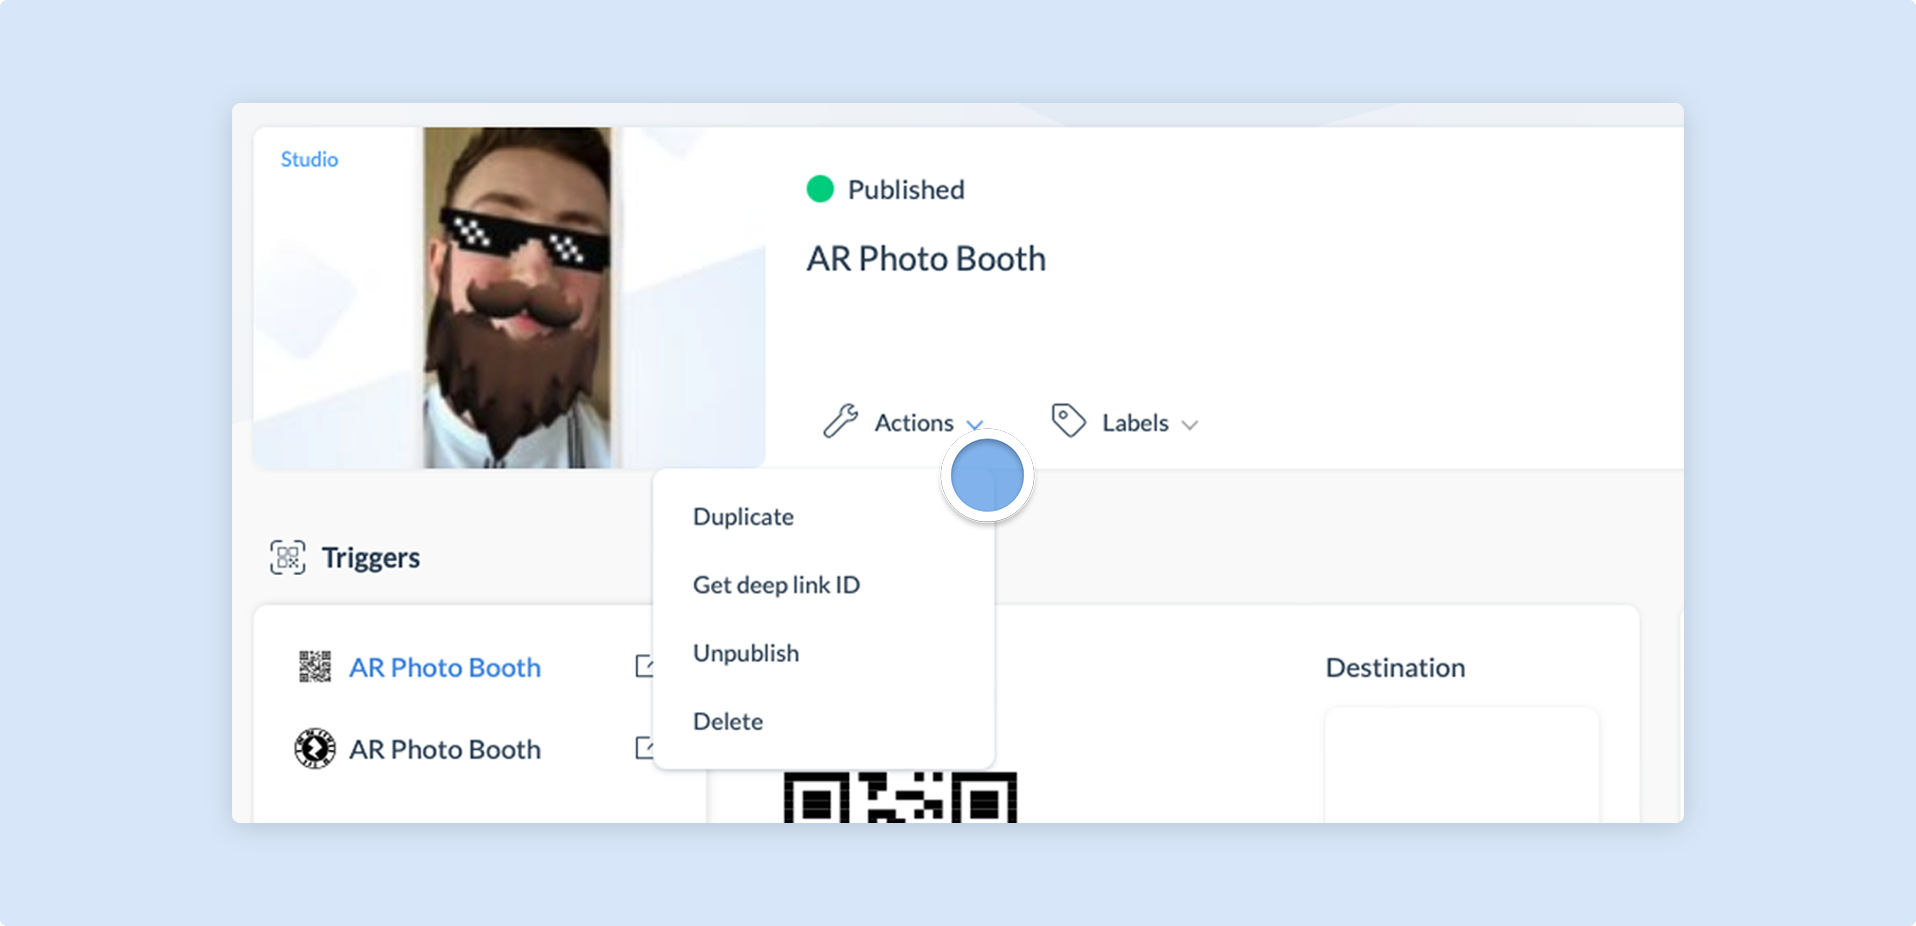
Action | Description | ---|---|---|---|--- Duplicate| Duplicates the current experience’s content to another project. Triggers, analytics and labels from the current project will not be carried over. Get deep link ID | Shows the current project’s deep link ID. Learn more here. Unpublish | Disables the project. This prevents the experience from being launched via any of its triggers. Delete | Archives the project and deletes its content. This also prevents the experience from being launched via any of its triggers.
Additional actions include SCORM and self-hosting exports (Zapworks Designer). For more information, get in touch.
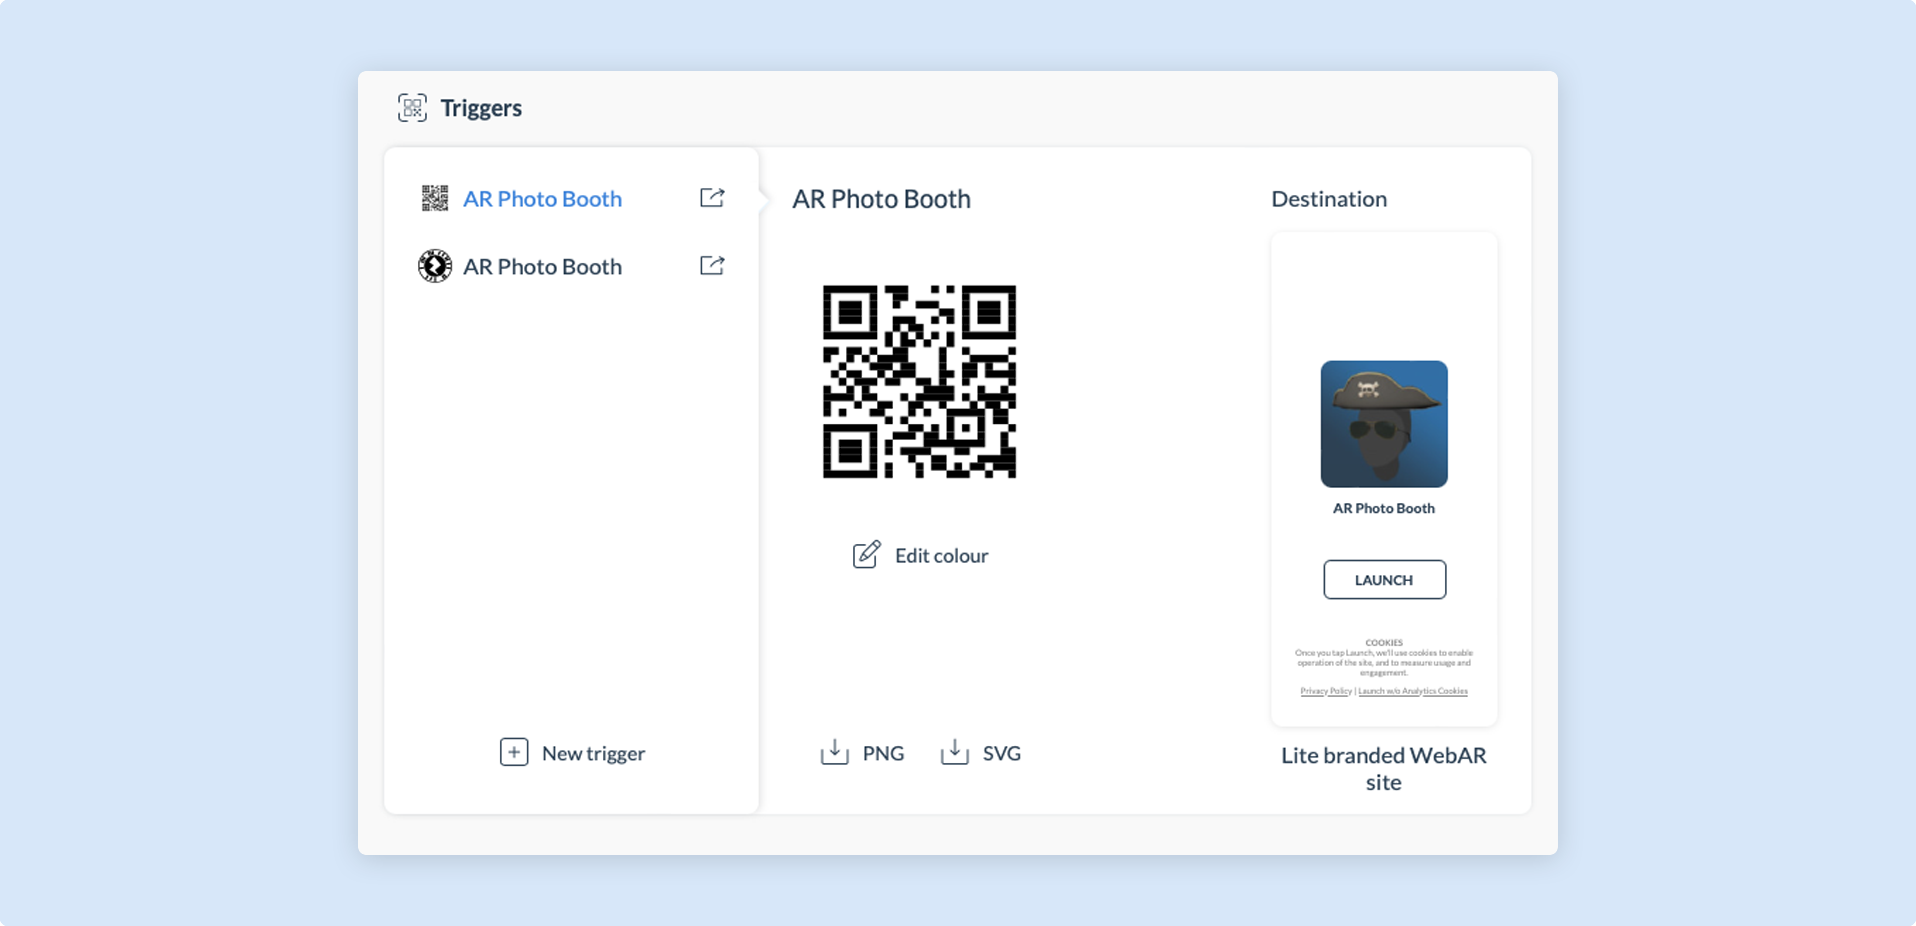
Triggers
Section titled “Triggers”Project triggers determine the methods that an experience can be launched, e.g. via Zapcode, QR code, deep link, etc.
The trigger(s) selected during the creation of the project will appear in the Triggers panel. You can also create new triggers if you want a different launch method.
For more information on the different triggers available and their usage, check out our Triggers article.
Publishing
Section titled “Publishing”Publishing a project makes your AR experience live so that it can be launched via the project’s trigger(s).
Each time a project is published, a log is produced. These logs are accessible at the bottom of your project overview page.
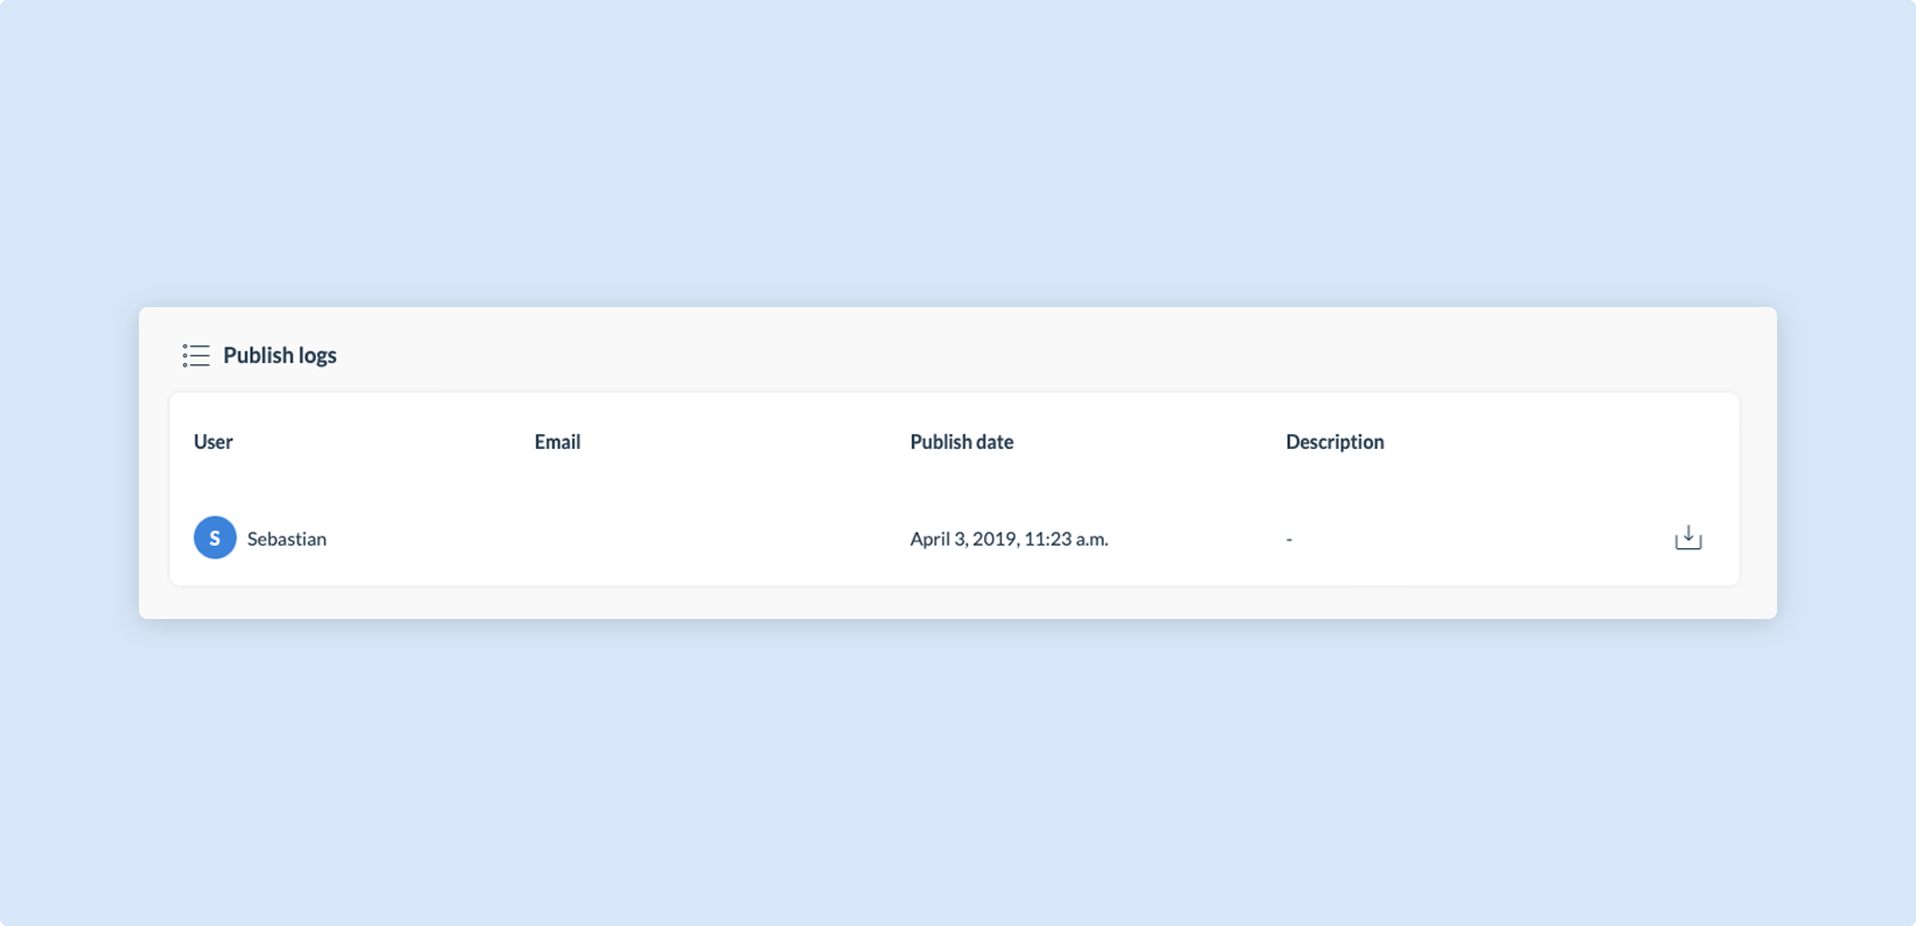
Studio projects, once published, upload a ZPP file (Zapworks Studio file) which can be downloaded from the Publish log panel.
Experiences must be published from within the tool they were created with.
Analytics
Section titled “Analytics”Near real-time analytics data is provided for published projects, and can be accessed via the
Analytics panel on your project overview page. Analytics information is available per project, per grouped projects (via labels), or across all projects on a workspace.
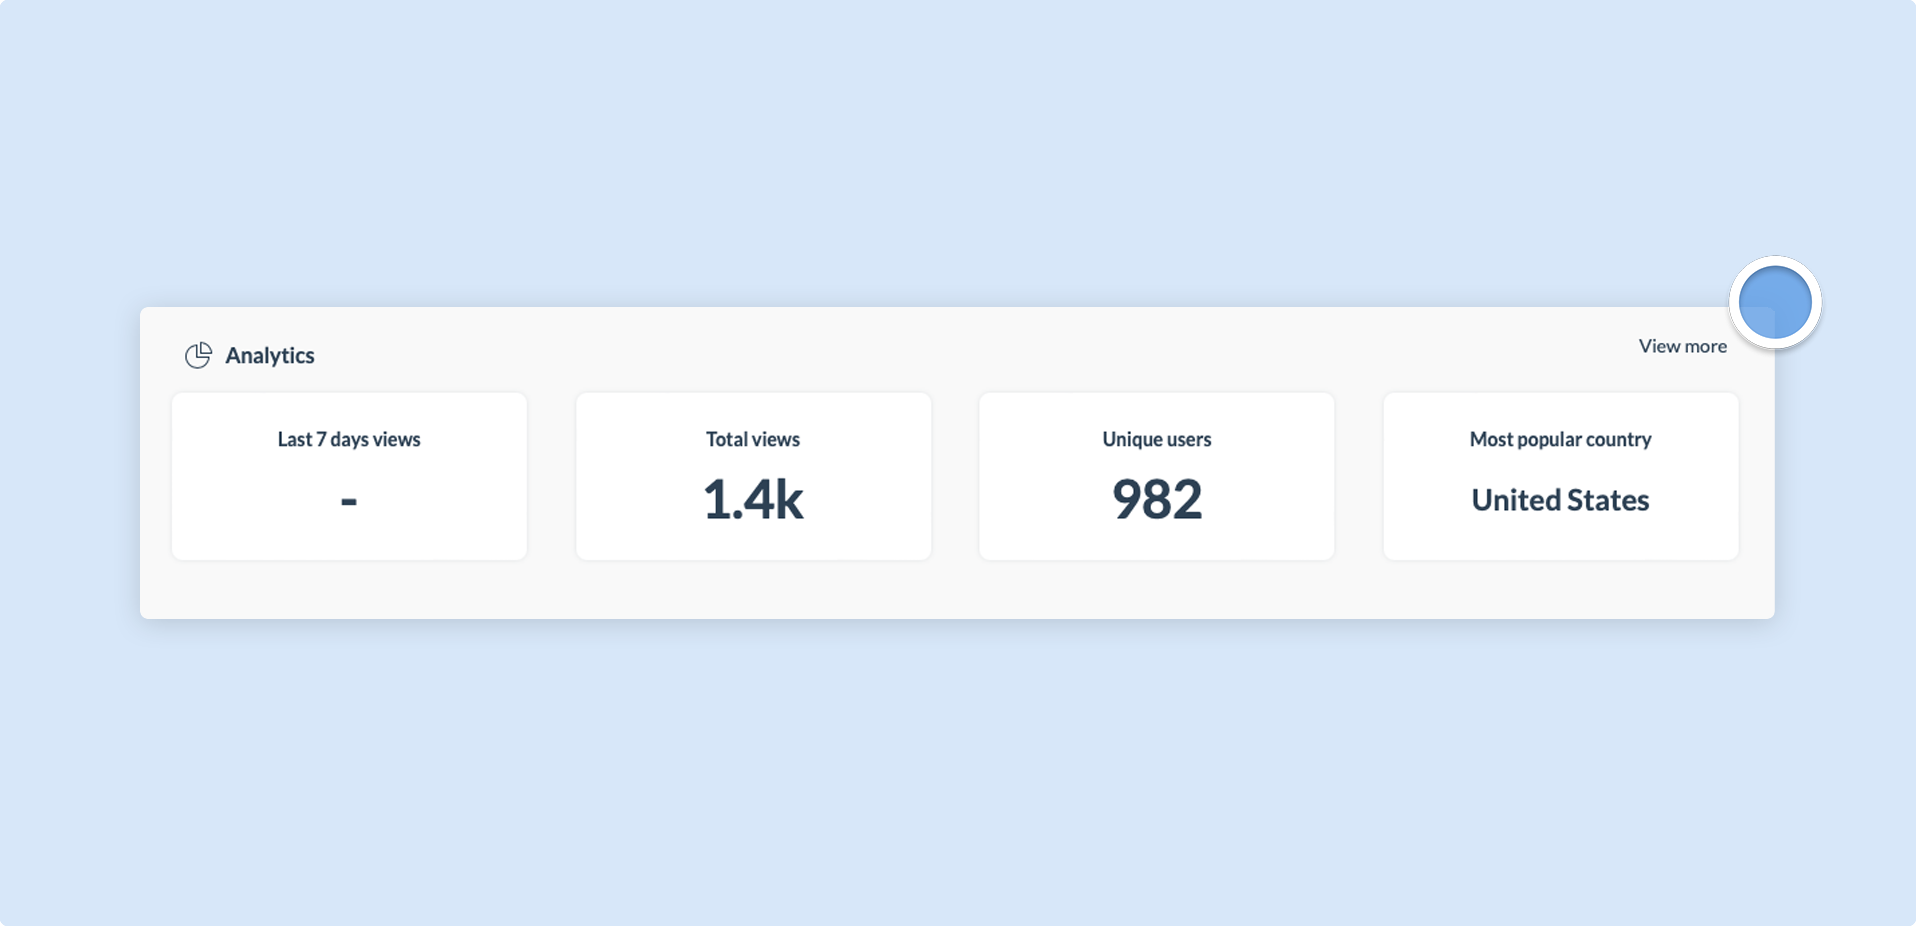
This data includes the number of views, as well as unique users, and most popular country. More analytics such as view country of origin and time of day are accessible by clicking on View more.
For more information on the analytics data provided by Zapworks, please refer to this article.
In-app title and icon
Section titled “In-app title and icon”Scanned experiences will appear under the Recents tab on a user’s device, within Zappar’s native app or WebAR platform.
By default, the experience will be titled Unknown Experience and no icon will be displayed. The In-app options allow you to specify a title and icon to be displayed, instead of the default values.
A Lite Branded WebAR Distribution’s name and icon will be used if there is one linked to the experience
![]()
Next article: Cost Per View (CPV)