Team Management
Pro and Enterprise plans allow you to invite additional users, remove existing ones, and set permissions per-user.
Education workspaces also allow you to invite and manage two different types of team members; Educators and Students.
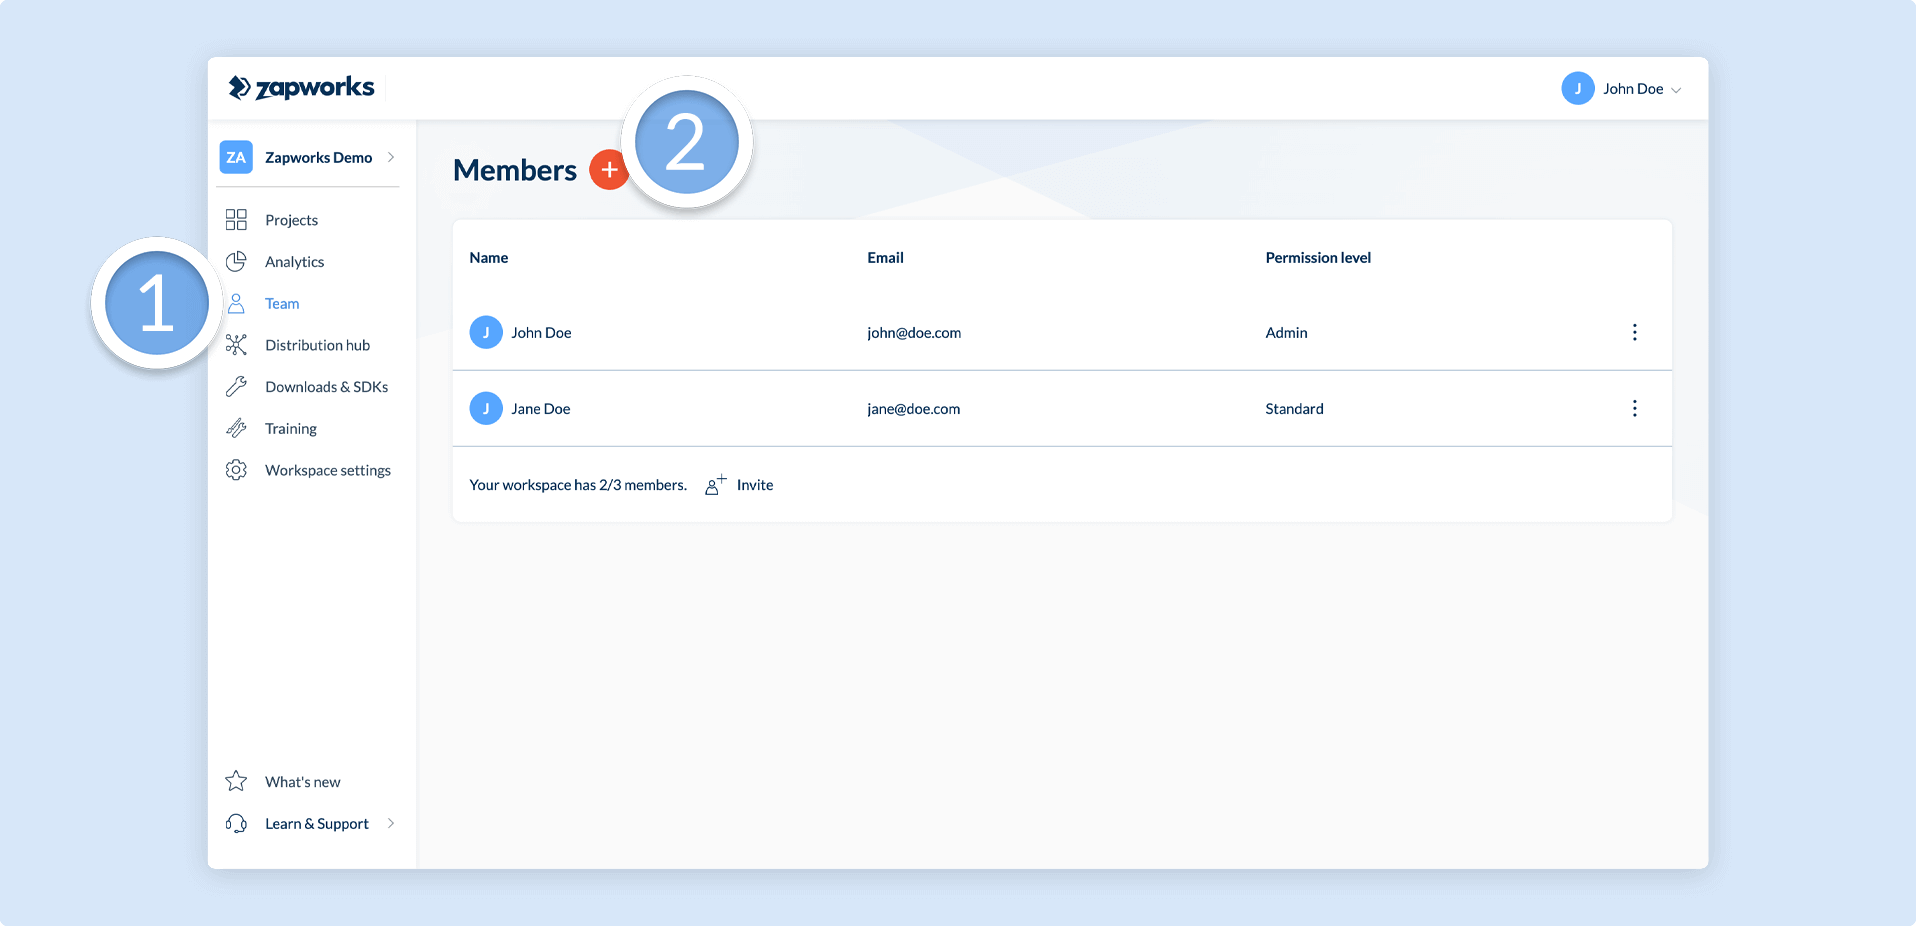
You can find the team management page in the left hand navigation menu on your workspace.
Adding or removing team members
Section titled “Adding or removing team members”To add a team member, click the red plus button shown on the team management page.
If you invite users beyond the current allowance on the workspace, you will be redirected to the upgrade page, where you can purchase slots for additional team members.
To remove a member, hover over the team member you’d like to remove, click the options menu, and select Remove.
For Education workspaces, multiple email addresses can be generated for Students. Contact support@zappar.com for more information.
Permissions
Section titled “Permissions”User permissions determine what a user can and can’t do in regards to the workspace they belong to. The full list of permissions, and their definitions, can be found below:
| Permission | Function |
|---|---|
| Can manage project labels | Allows the user to add, edit, and remove project labels. |
| Can modify project content | Allows the user to modify project content. |
| Can publish project | Allows the user to publish projects. Users without this permission are still able to Preview projects. |
| Can archive projects | Allows the user to archive projects. |
| Can view Zappar Analytics | Allows the user to view workspace and project Zappar Analytics. |
| Can allocate projects | Allows the user to create new projects on the workspace. |
| Can manage account settings | Allows the user to manage the workspace settings page for the workspace. |
| Can manage billing | Allows the user to access the billing page for the workspace. |
| Can manage team | Allows the user to access the team management page for the workspace. |
| Can view all projects | Allows the user to view all projects on the account. Users without this permission will only be able to view projects that they have created. |
When invited to a workspace, team members can be assigned one of three predefined permission levels; Strict, Standard, or Admin. The permissions available to a user will depend on their permission level:
| Permission | Strict | Standard | Admin |
|---|---|---|---|
| Can manage project groups | ✓ | ✓ | ✓ |
| Can modify project content | ✓ | ✓ | ✓ |
| Can publish projects | ✓ | ✓ | ✓ |
| Can archive projects | ✓ | ✓ | ✓ |
| Can view zapalytics | ✓ | ✓ | ✓ |
| Can allocate projects | ✓ | ✓ | ✓ |
| Can view all projects | X | ✓ | ✓ |
| Can manage workspace settings | X | X | ✓ |
| Can manage billing | X | X | ✓ |
| Can manage team | X | X | ✓ |
Apart from the three presets, Enterprise users can set custom granular permissions per-user.
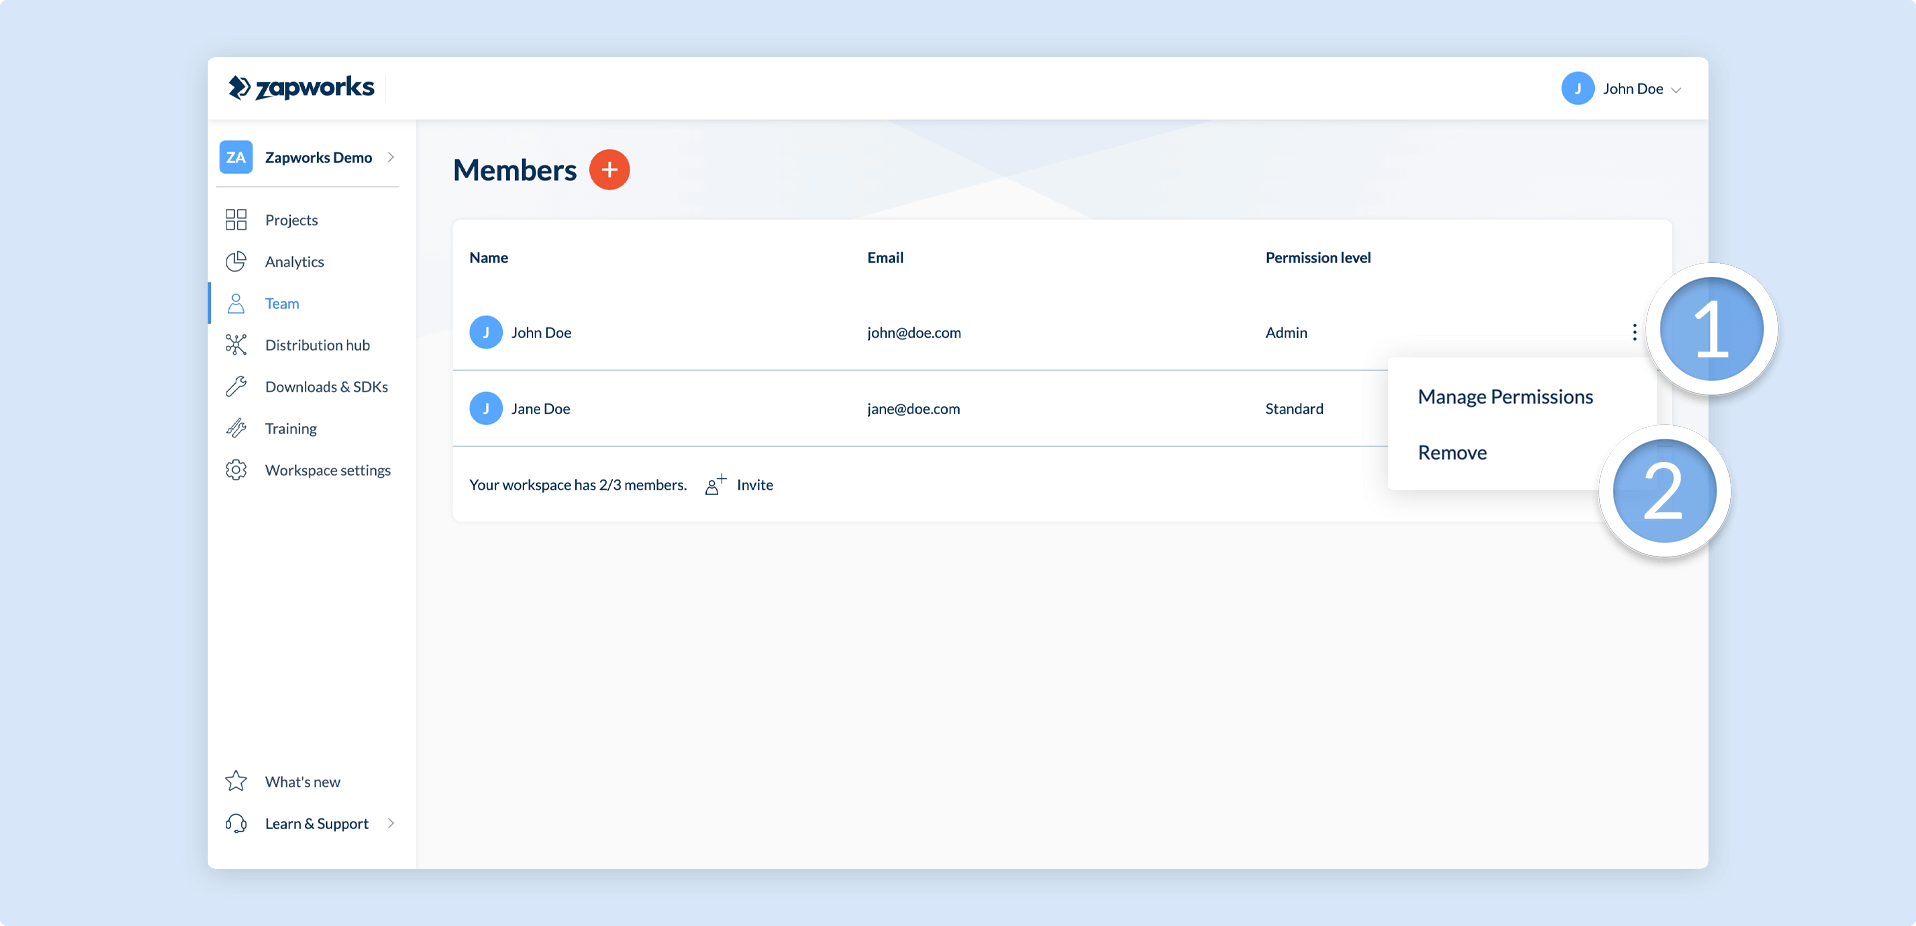
To change a current team member’s permission level, hover over their user on the team management page, click the settings menu, and select Manage Permissions.
Updating a workspace’s admin
Section titled “Updating a workspace’s admin”A user’s email address cannot be changed, so if a previous admin on a workspace needs to be replaced with a new one, please take the following steps:
- Ask the current workspace admin to send the new user an invite to the workspace and set their permission level to Admin.
- Ask the new user to sign in to Zapworks. They should see the invite when they log in.
- The new admin can now remove the previous admin from the Team Management page using the steps shown above.
If the current account admin is unreachable, please contact the support team for assistance.
Next article: Managing Projects