Image Tracking
Image Tracking can detect and track digital content to a flat or upright image. This is great for building content that's augmented onto print material such as business cards, posters, and magazine pages.
This article goes into detail about using Flat target images. If you would like to learn about Curved target images, check out our Curved Image Tracking documentation.
Using Image Tracking
When you create your Designer experience, you will be asked whether you want your first scene to be World, Image, or Face tracked.
Upon selecting Image Tracking, you'll be prompted to upload a target image in which your content will track to. To do this, select the Upload target image button in the Project Properties panel. Your target image will be trained, and once uploaded, will appear on your canvas.
The target image that you upload to your image tracked scene will be shared across all the image tracked scenes in your project. Click here to find what makes a good target image.
Grab and Go
You are able to choose whether content becomes screen-relative when the target image is lost (otherwise known as 'Grab and Go') through the Project Properties panel.
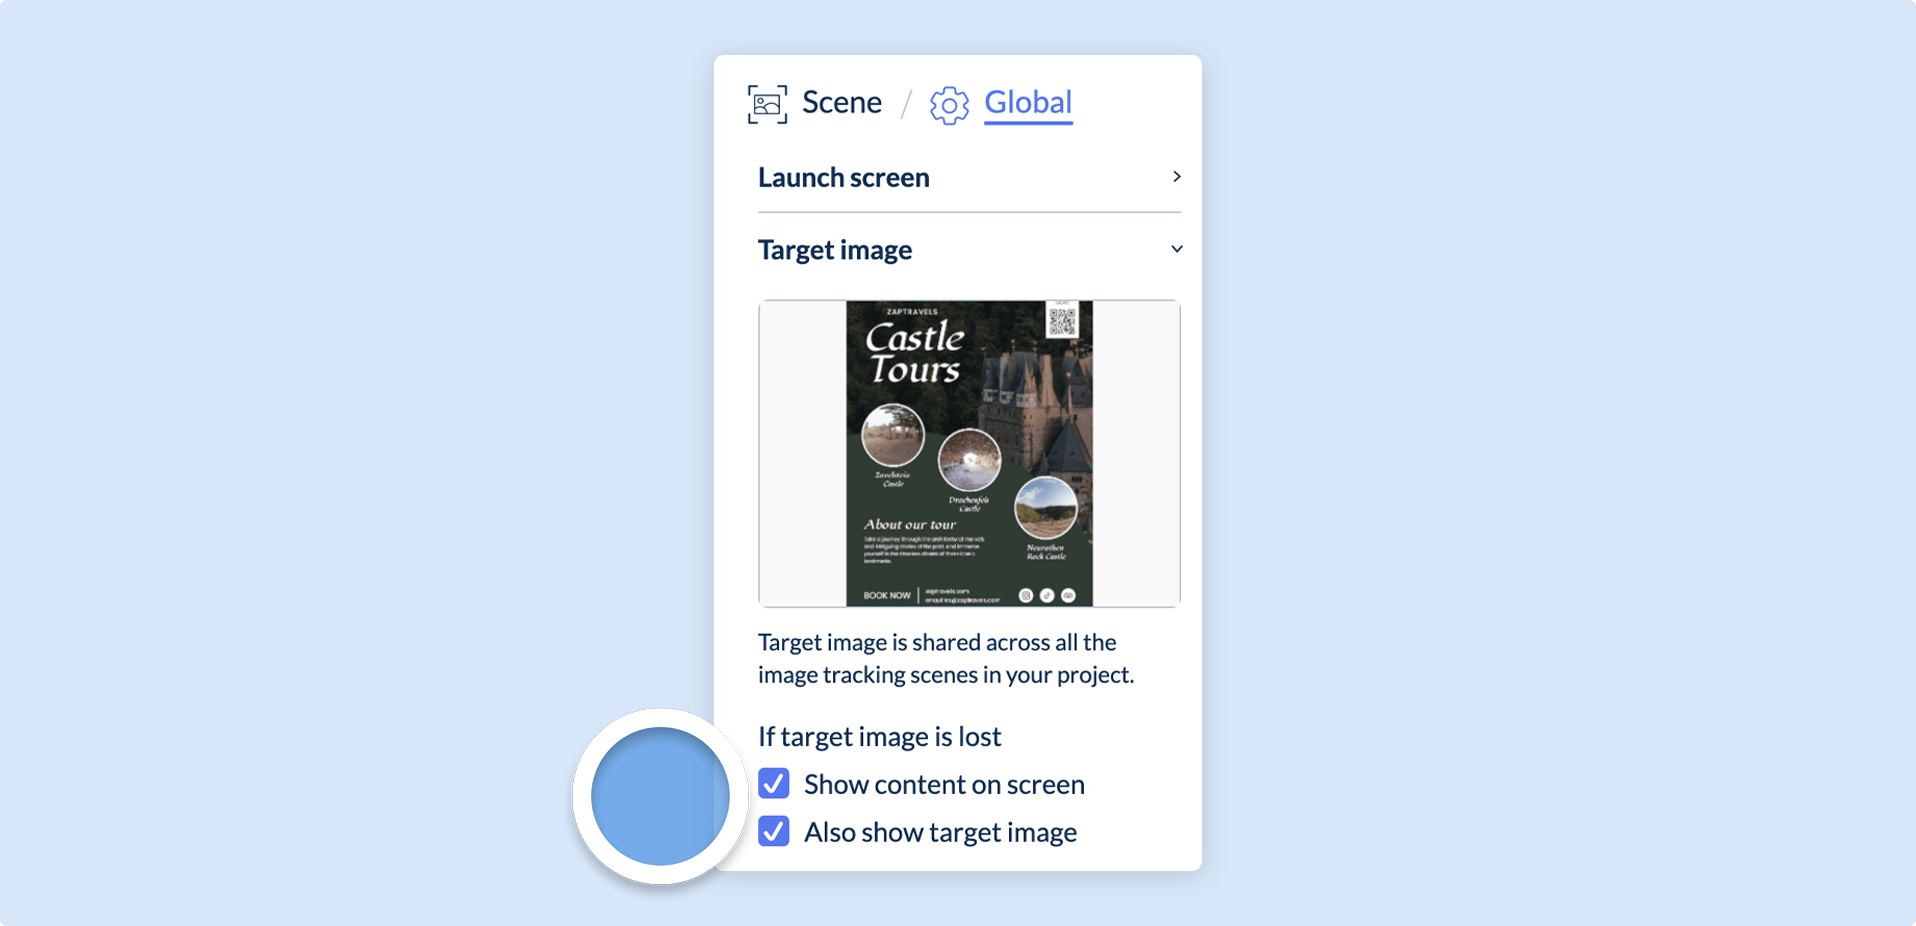
You can also choose whether the target image should be shown alongside your content when the screen-relative view is in effect.
Target Image Orientation
You are also able to choose whether the image you track to is oriented in the Upright or Flat position through the Project Properties panel.
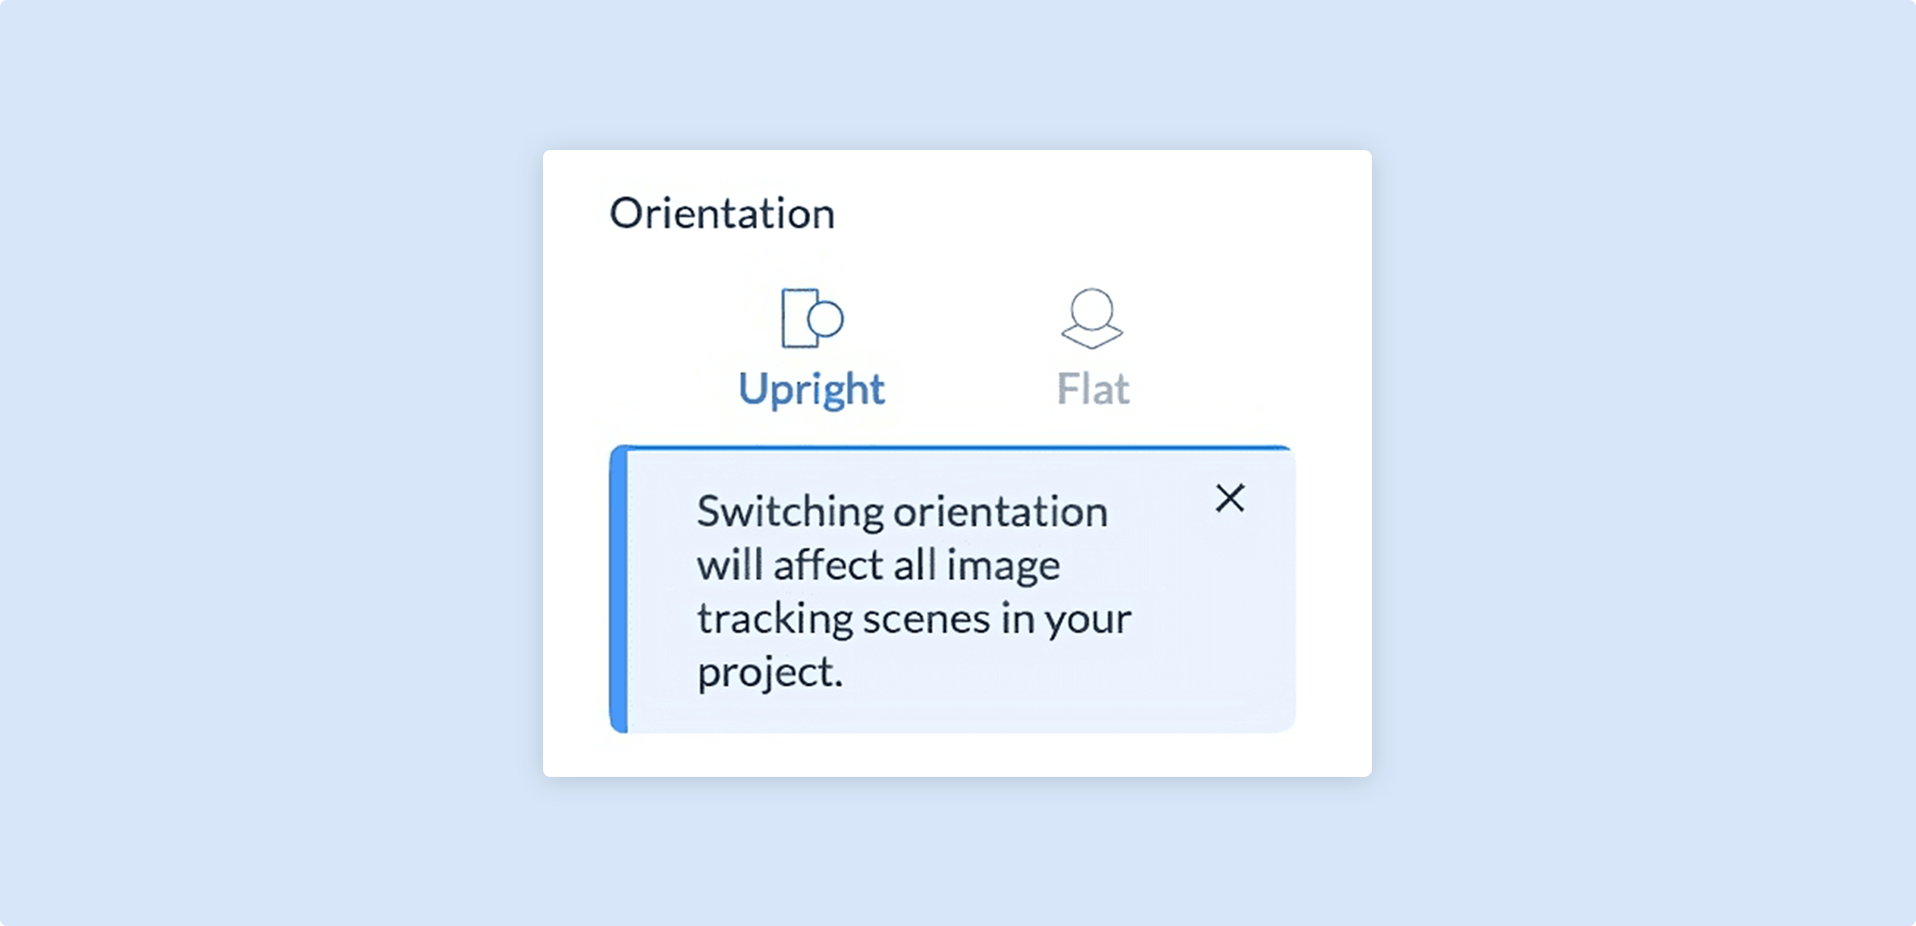
Note that if you choose a Flat oriented image, your project will switch to and be locked in 3D mode.
You can then start to build your Designer project, using Components.