Plan Management
To access our Zapworks tools and start creating your own AR-powered experiences, you first need a subscription to one of our plans. For a breakdown of each workspace plan and how they differ from each other, please visit our Workspace Plans article.
You are able to manage your subscription, change your billing frequency, upgrade your plan and cancel your subscription, all from your Workspace Settings.
Starting your Subscription
Section titled “Starting your Subscription”When you register for a Zapworks account, you will be prompted to start a 14-day free trial. During your 14-day trial, you are able to purchase a subscription through your workspace by going to the upgrade page.
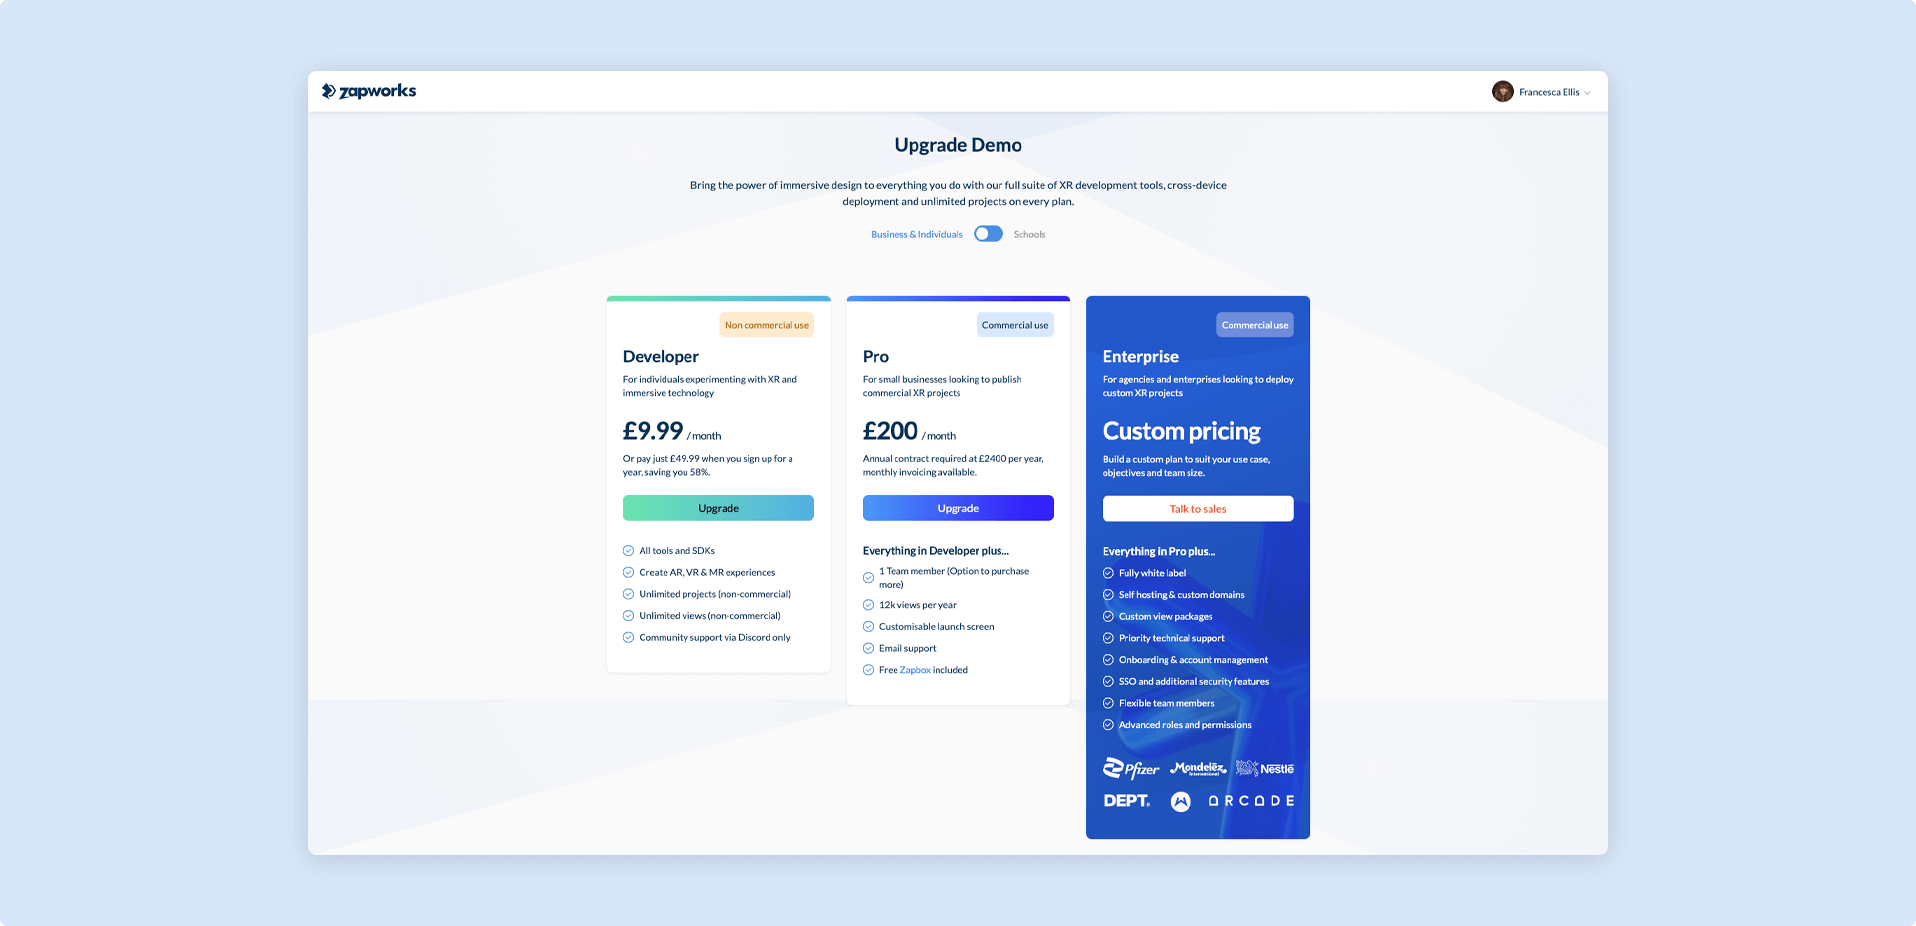
Plans are set to auto-renew by default, so you do not need to take any action at the end of your billing period if you wish for your subscription to remain active. If your auto-renewal payment fails, please follow our Billing Information article to help diagnose the error.
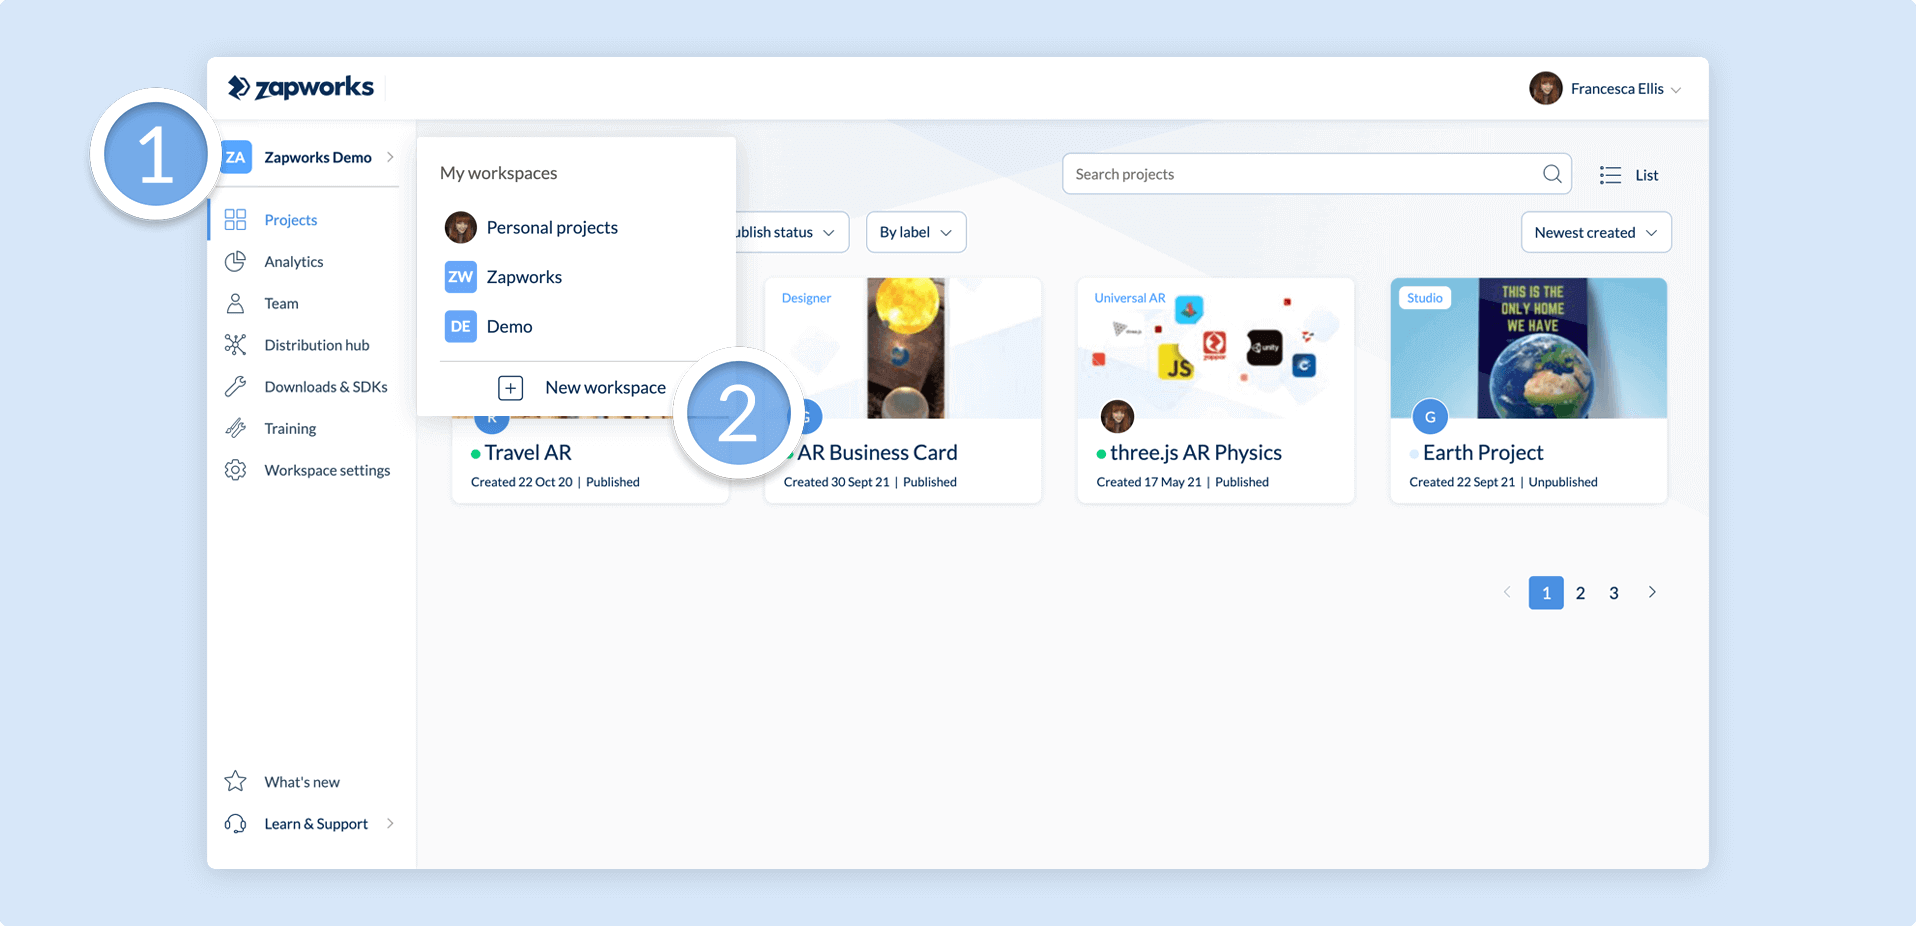
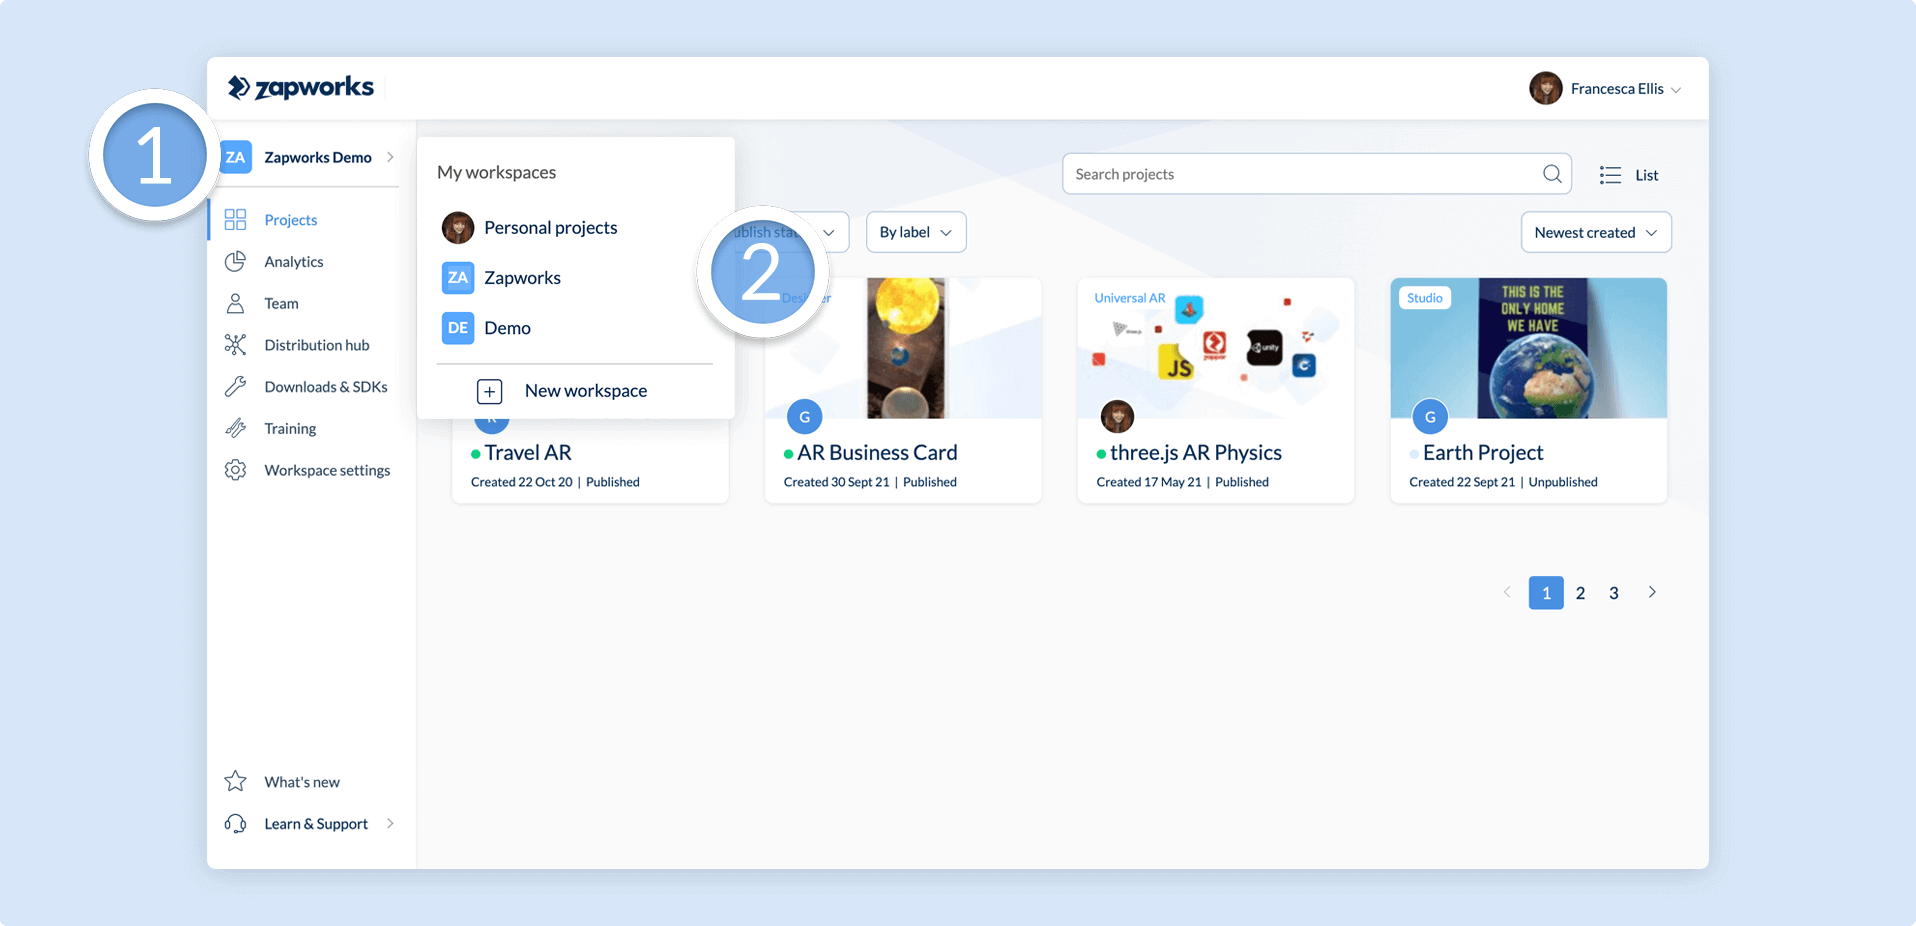
If you have an existing workspace and wish to create an additional new workspace, you can do so by clicking on your workspace name in the top left of the Zapworks CMS, and then selecting New workspace.
Modifying your Plan
Section titled “Modifying your Plan”You are able to modify your existing Zapworks subscription in the plan details section of your workspace.
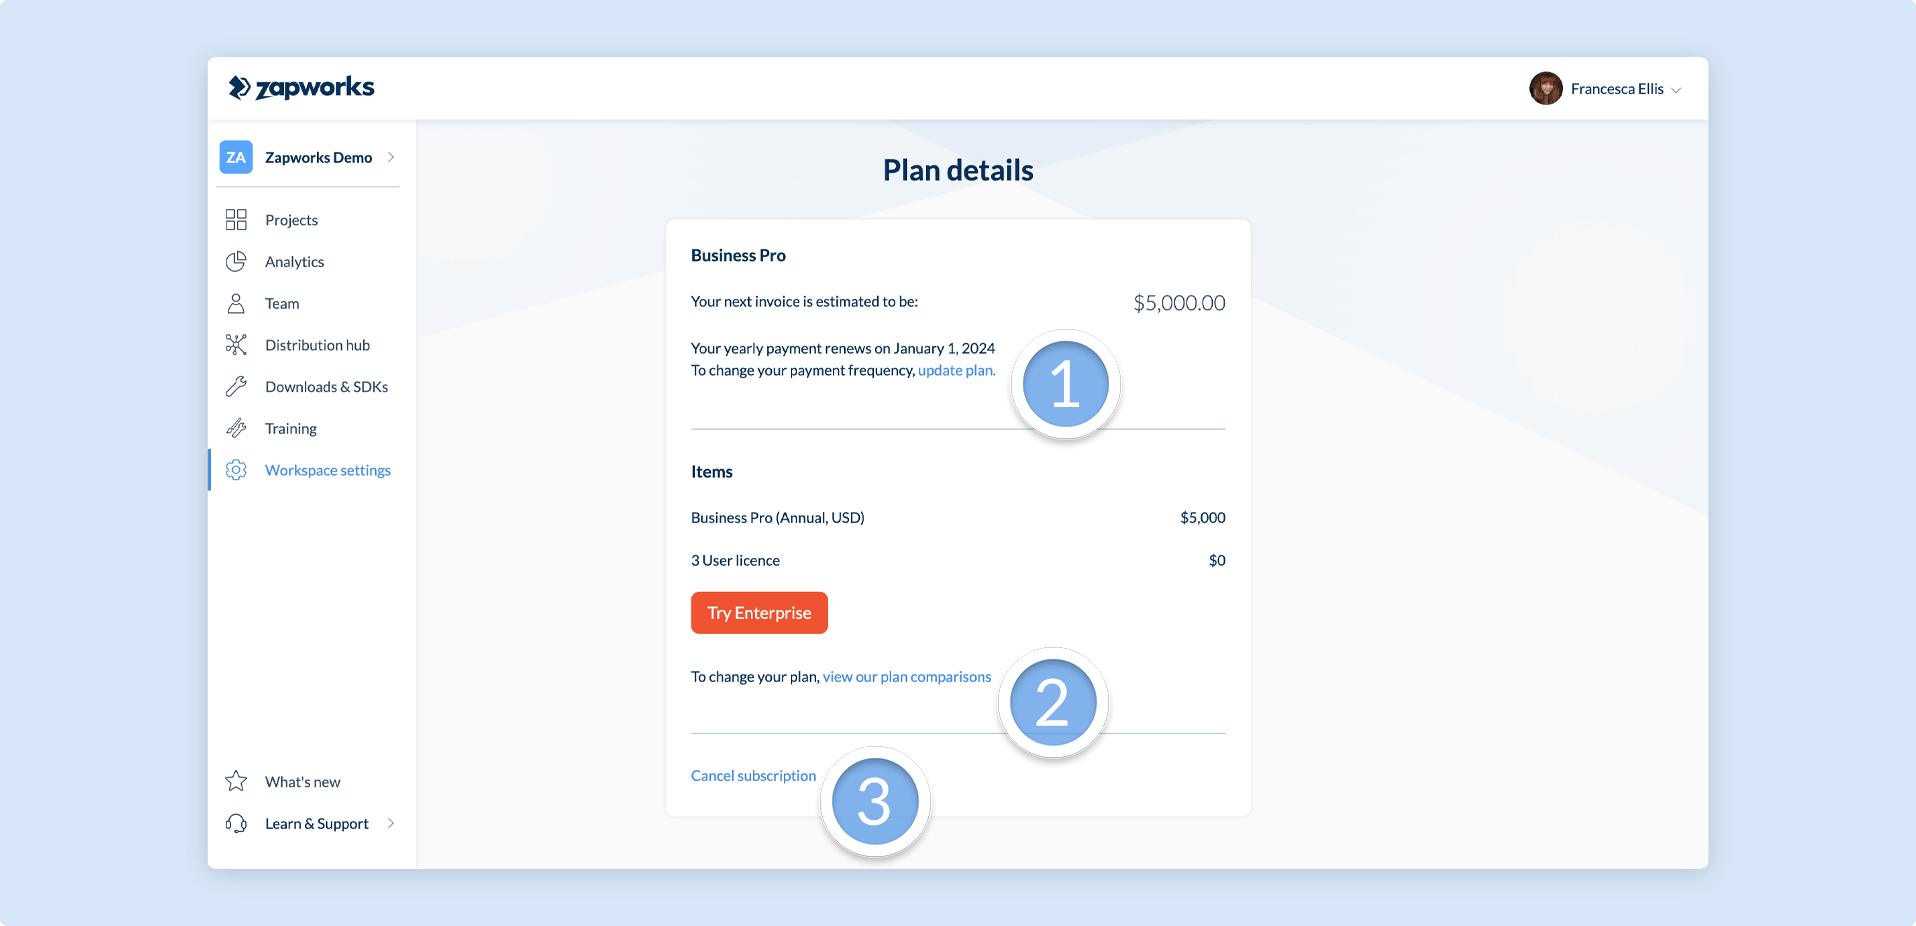
1. Changing your payment frequency
You can switch your billing frequency between Monthly and Annual plans by selecting update plan on the plan details page.
2. Changing plan
If you are on a Developer or Pro plan, you can change which plan you are subscribed to by selecting view our plan comparisons on the plan details page.
You can also request a demo of our Enterprise plans through this portal, or by emailing contact@zappar.com.
3. Cancelling your plan
You can cancel your plan at the bottom of the plan details page by selecting Cancel subscription.
When you cancel your plan, your workspace will remain active until the end of your current billing term.
At the end of your billing term, all projects built using Zapworks will immediately become inactive and read-only. This includes projects built during your subscription and any triggers that you have created will no longer launch content.
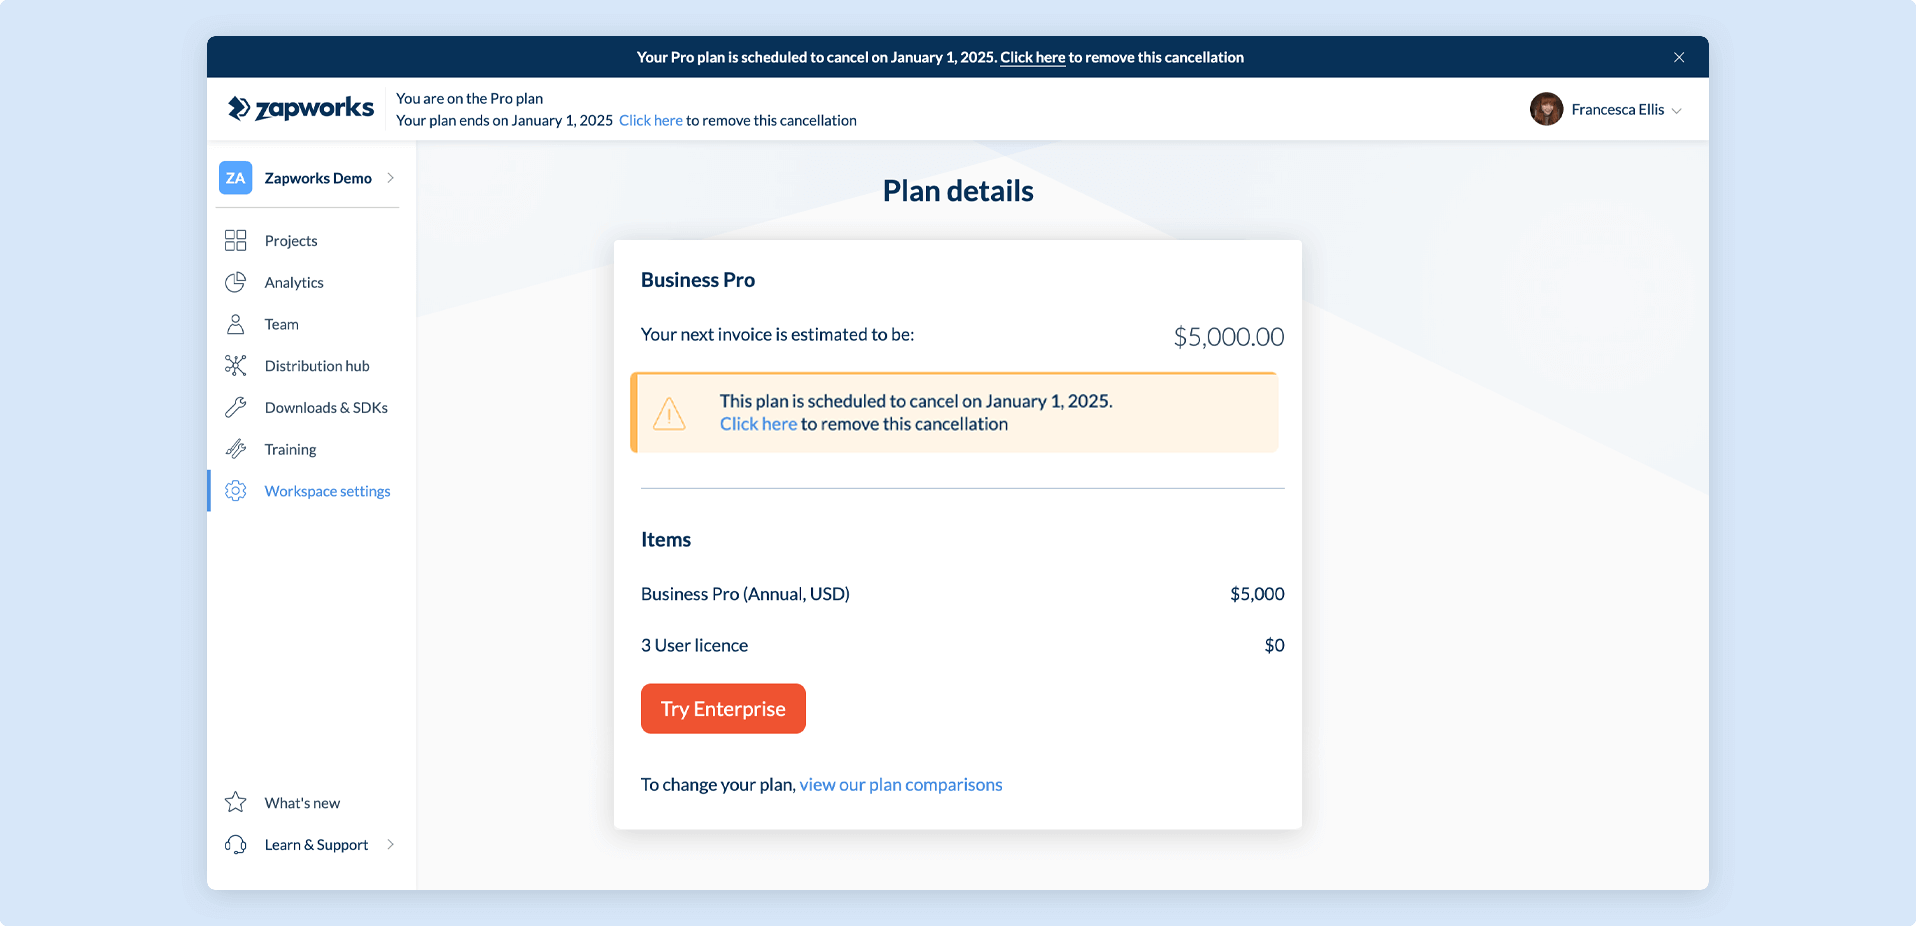
For example: if you pay an annual fee from the 1st of January 2024, and cancel on the 1st of February 2024, your workspace and projects will remain active until the 1st of January 2025.
When your plan is no longer active:
- You will no longer be able to create or publish new projects using the Zapworks toolkit
- Your analytics will be stored in your workspace, but you will no longer be able to access the data
If you change your mind about the cancellation, you can go into your Workspace Settings and remove it before the end of your billing term.
To reactivate your AR experiences after the workspace has become inactive, you will need to purchase a plan. You will still have the ability to enter your workspace and purchase a new plan at any time.
No Active License
Section titled “No Active License”If your workspace no longer has a subscription, or you do not have a license assigned to you for that workspace, you will receive the following error message: You don’t have an active license on this workspace.
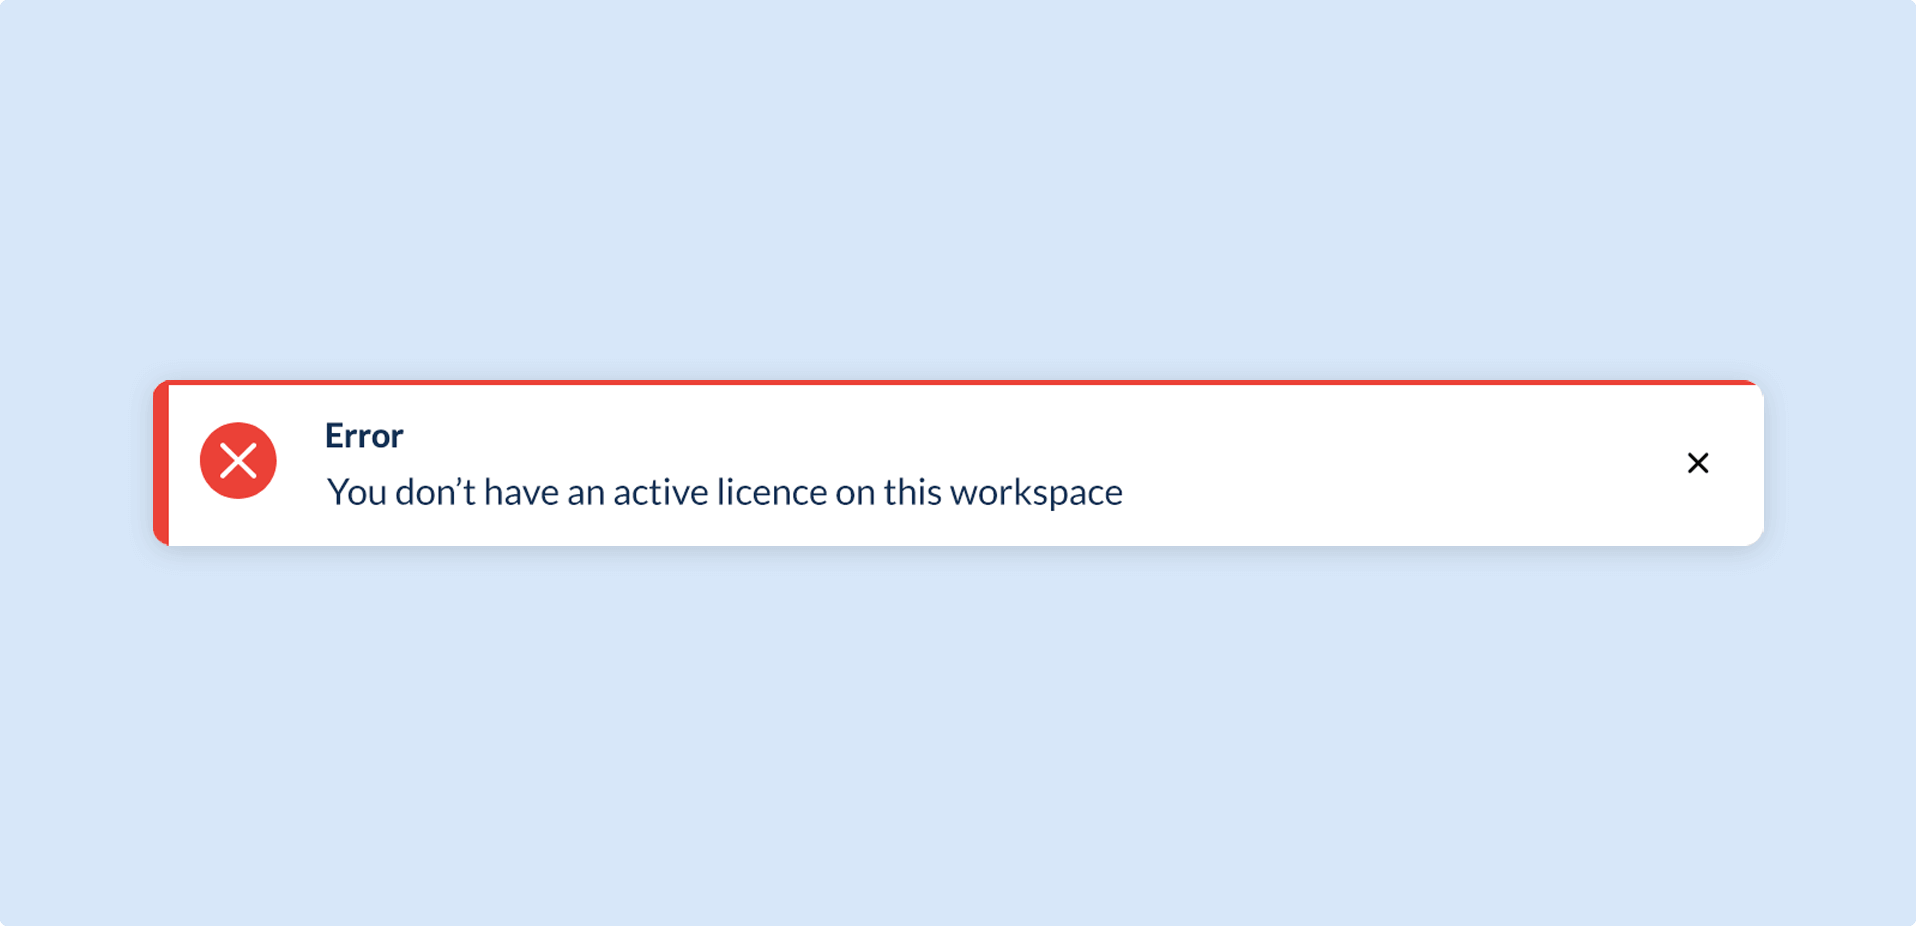
A workspace’s plan may expire under the following circumstances:
- The 14-day trial period ended before a subscription was purchased
- A workspace’s subscription was cancelled and has reached the end of the billing cycle
- There were three (3) consecutive failed payment attempts on a workspace
- The workspace owner deleted the workspace
If a workspace does not have an active subscription, the workspace becomes read-only and all projects are unpublished. Access to analytics data and the Zapworks tools will also be lost.
To resolve this error, you can either:
- Purchase a subscription for the workspace through the upgrade page
- Contact your workspace’s admin and request that they issue you with a license for the workspace
When you reactivate your plan, you will need to republish your projects for your triggers to become active again.
Multiple Workspaces
Section titled “Multiple Workspaces”To switch between the currently active workspace, click your workspace name from the top left and choose your desired workspace from the pop-up menu.
Next article: Team Management