Integrating with your Cordova App
Creating a Cordova Build
Section titled “Creating a Cordova Build”From your ZapWorks page, open the settings dropdown and select App Embed. On the next page, select New app, give it a name, and click Next.
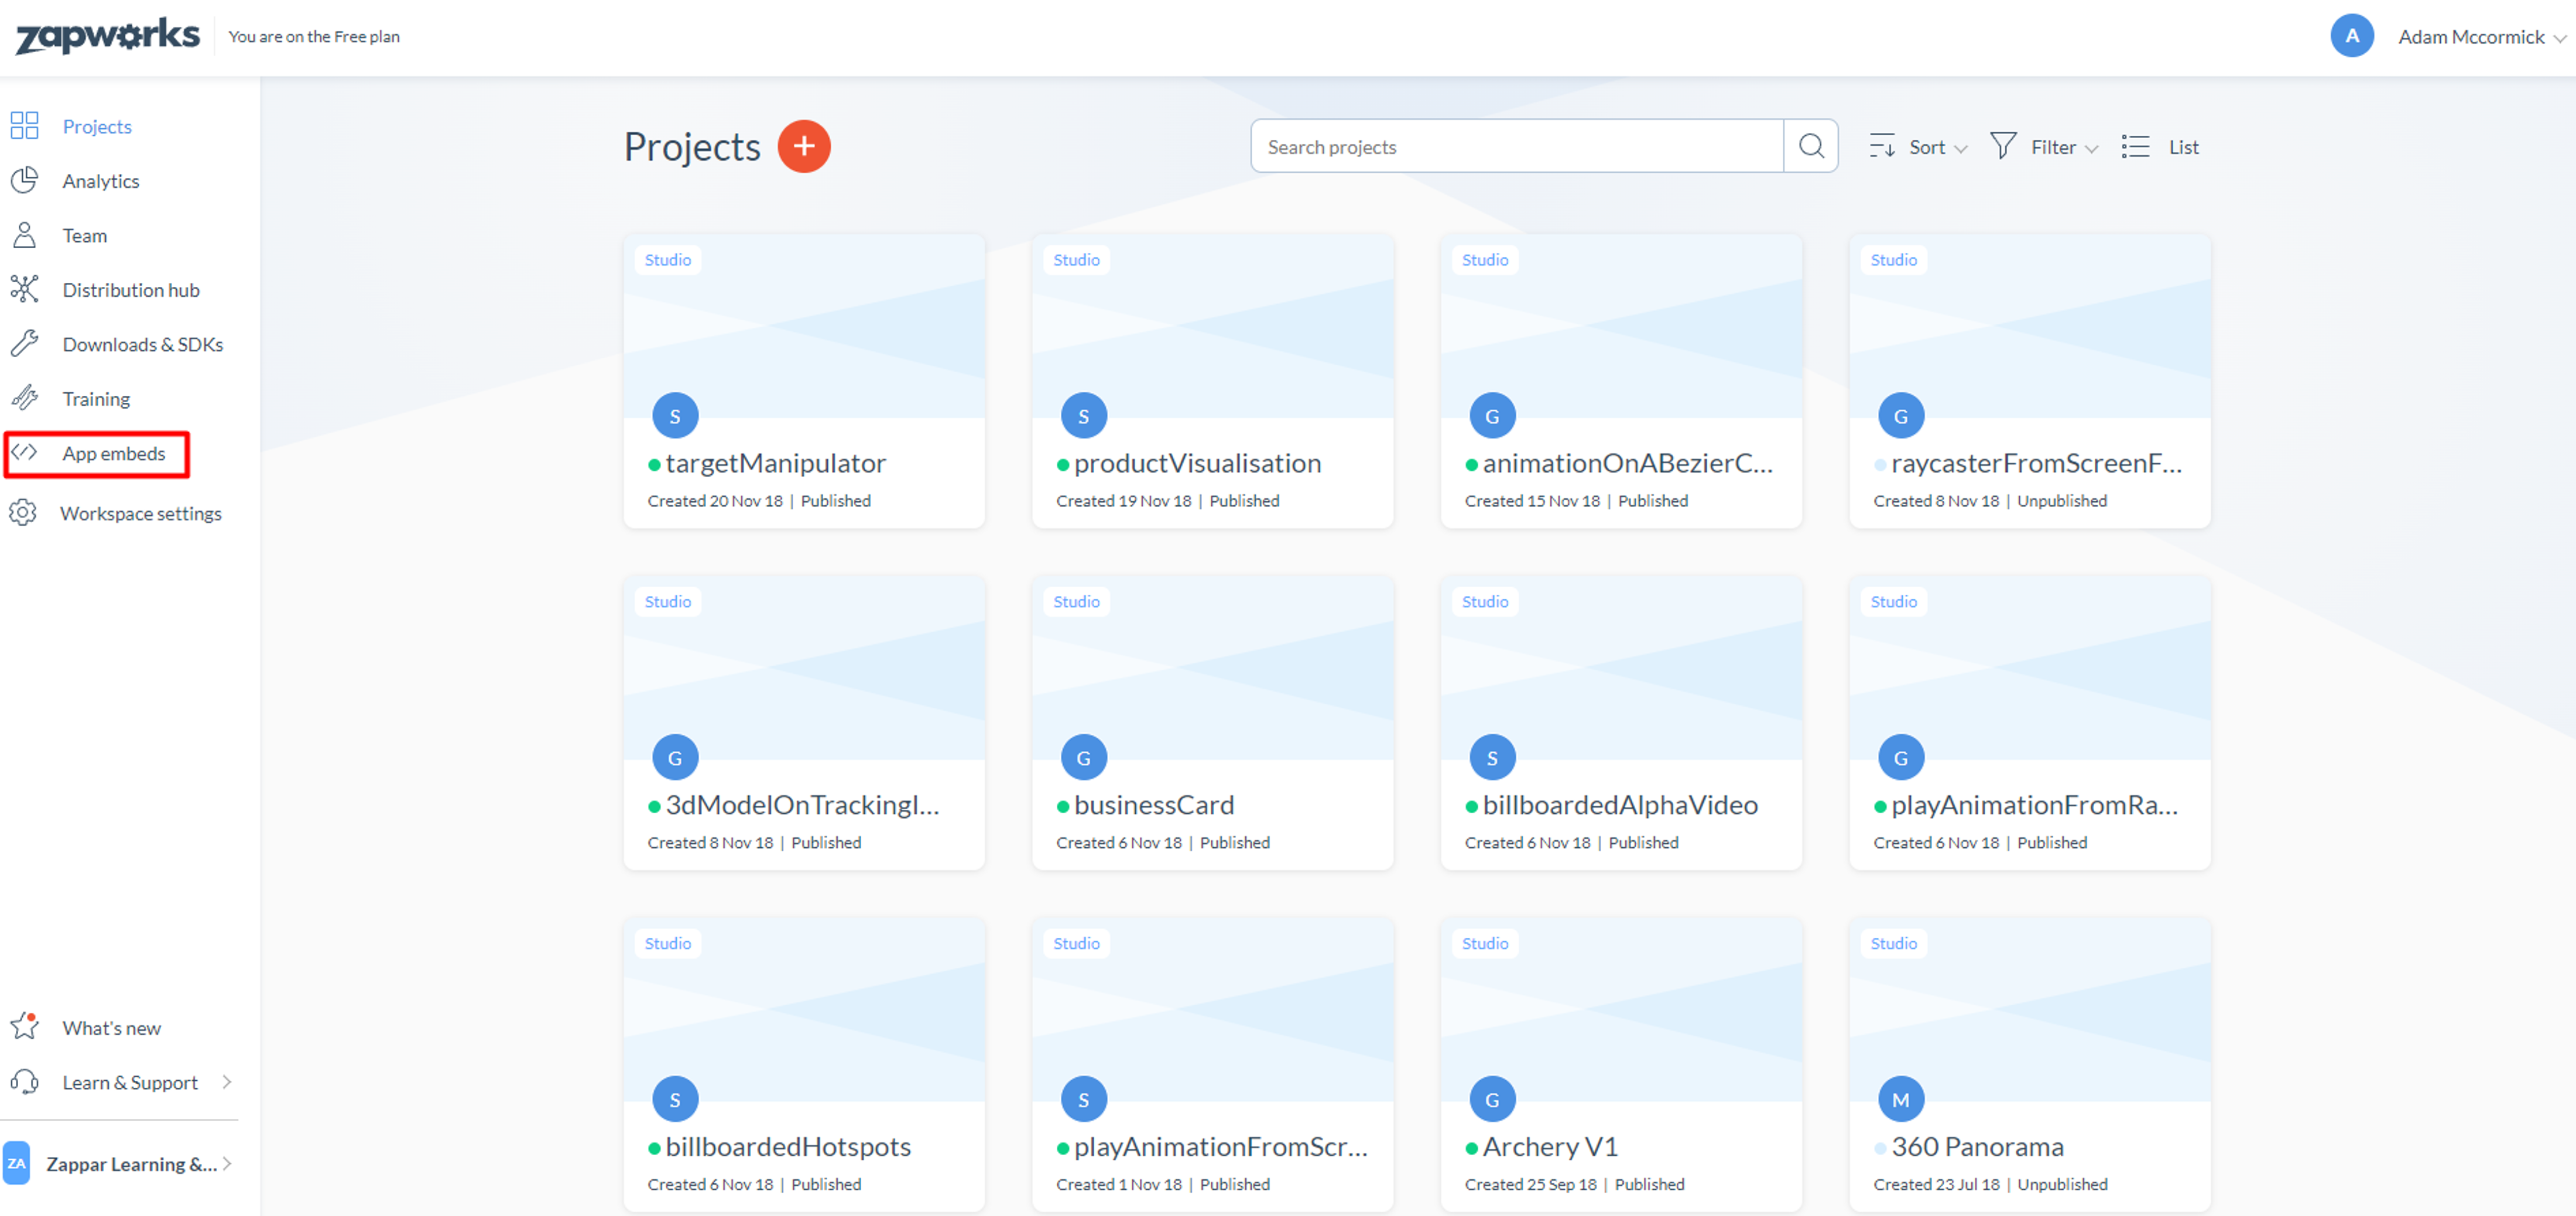
The App Embed option is only displayed if you’ve been given access to our SDK. Please contact support@zappar.com if you’d like to request access.
Select Cordova as the build type and in the Build field, enter a name for the type of build you are creating eg. production, testing, etc.
Enter your Cordova project ID in the Widget ID fields. For example, if your Cordova project was created with the following command cordova create cordovaapp com.zappar.app CordovaApp, your Widget ID would be com.zappar.app.
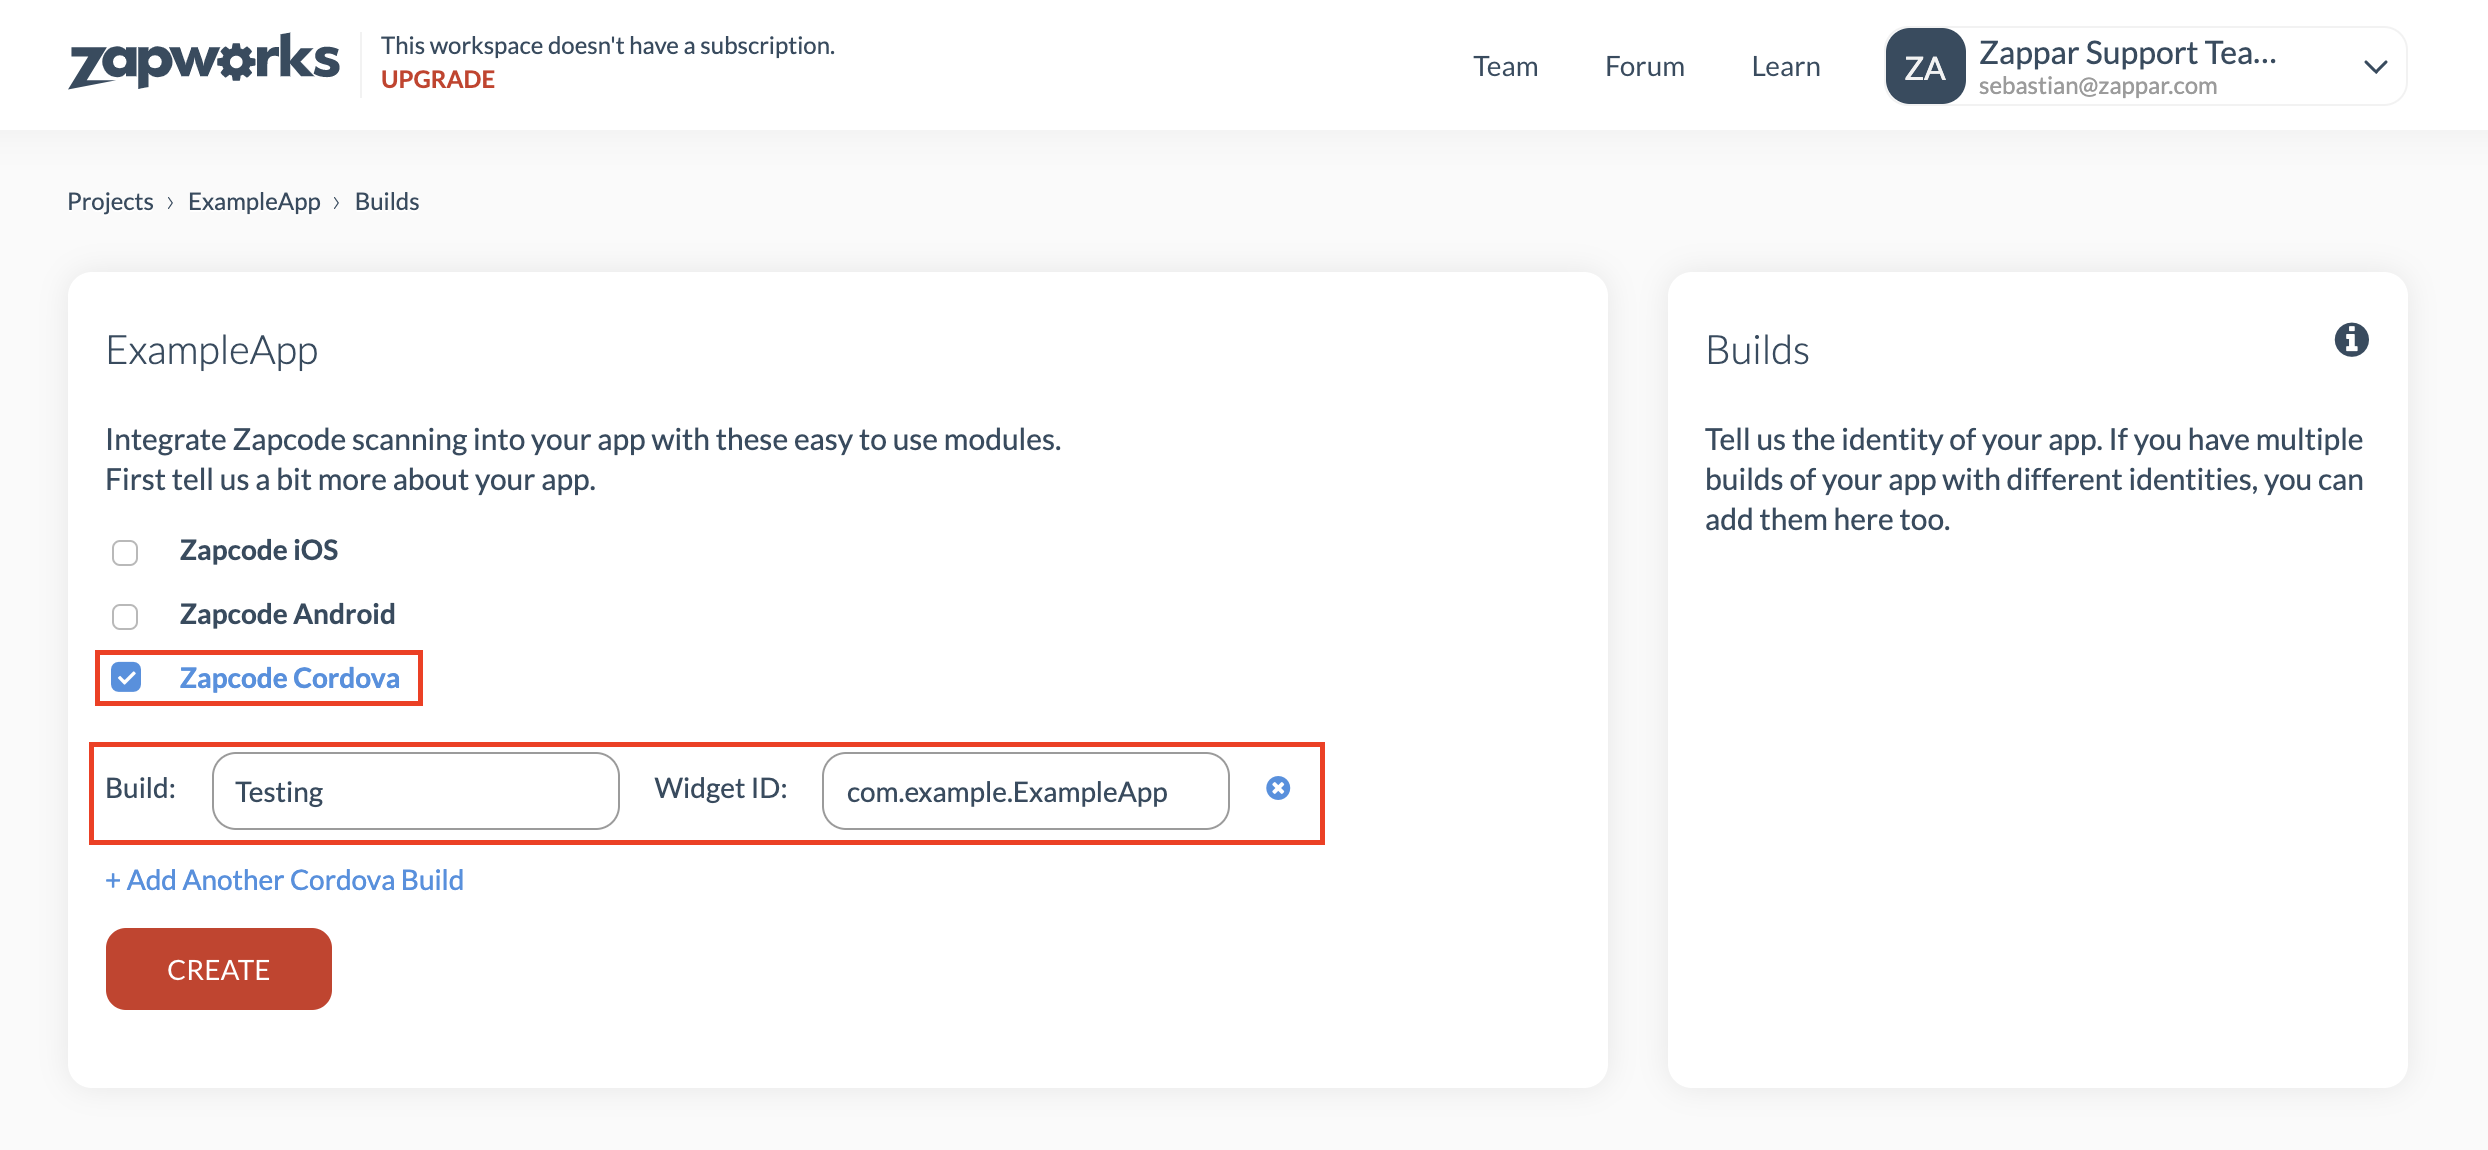
If the Cordova build option is not displayed, please contact support@zappar.com
The above steps will create a new entry in the App Embed section. Selecting an app’s build from this page will allow you to download your build and find any API keys associated with it.
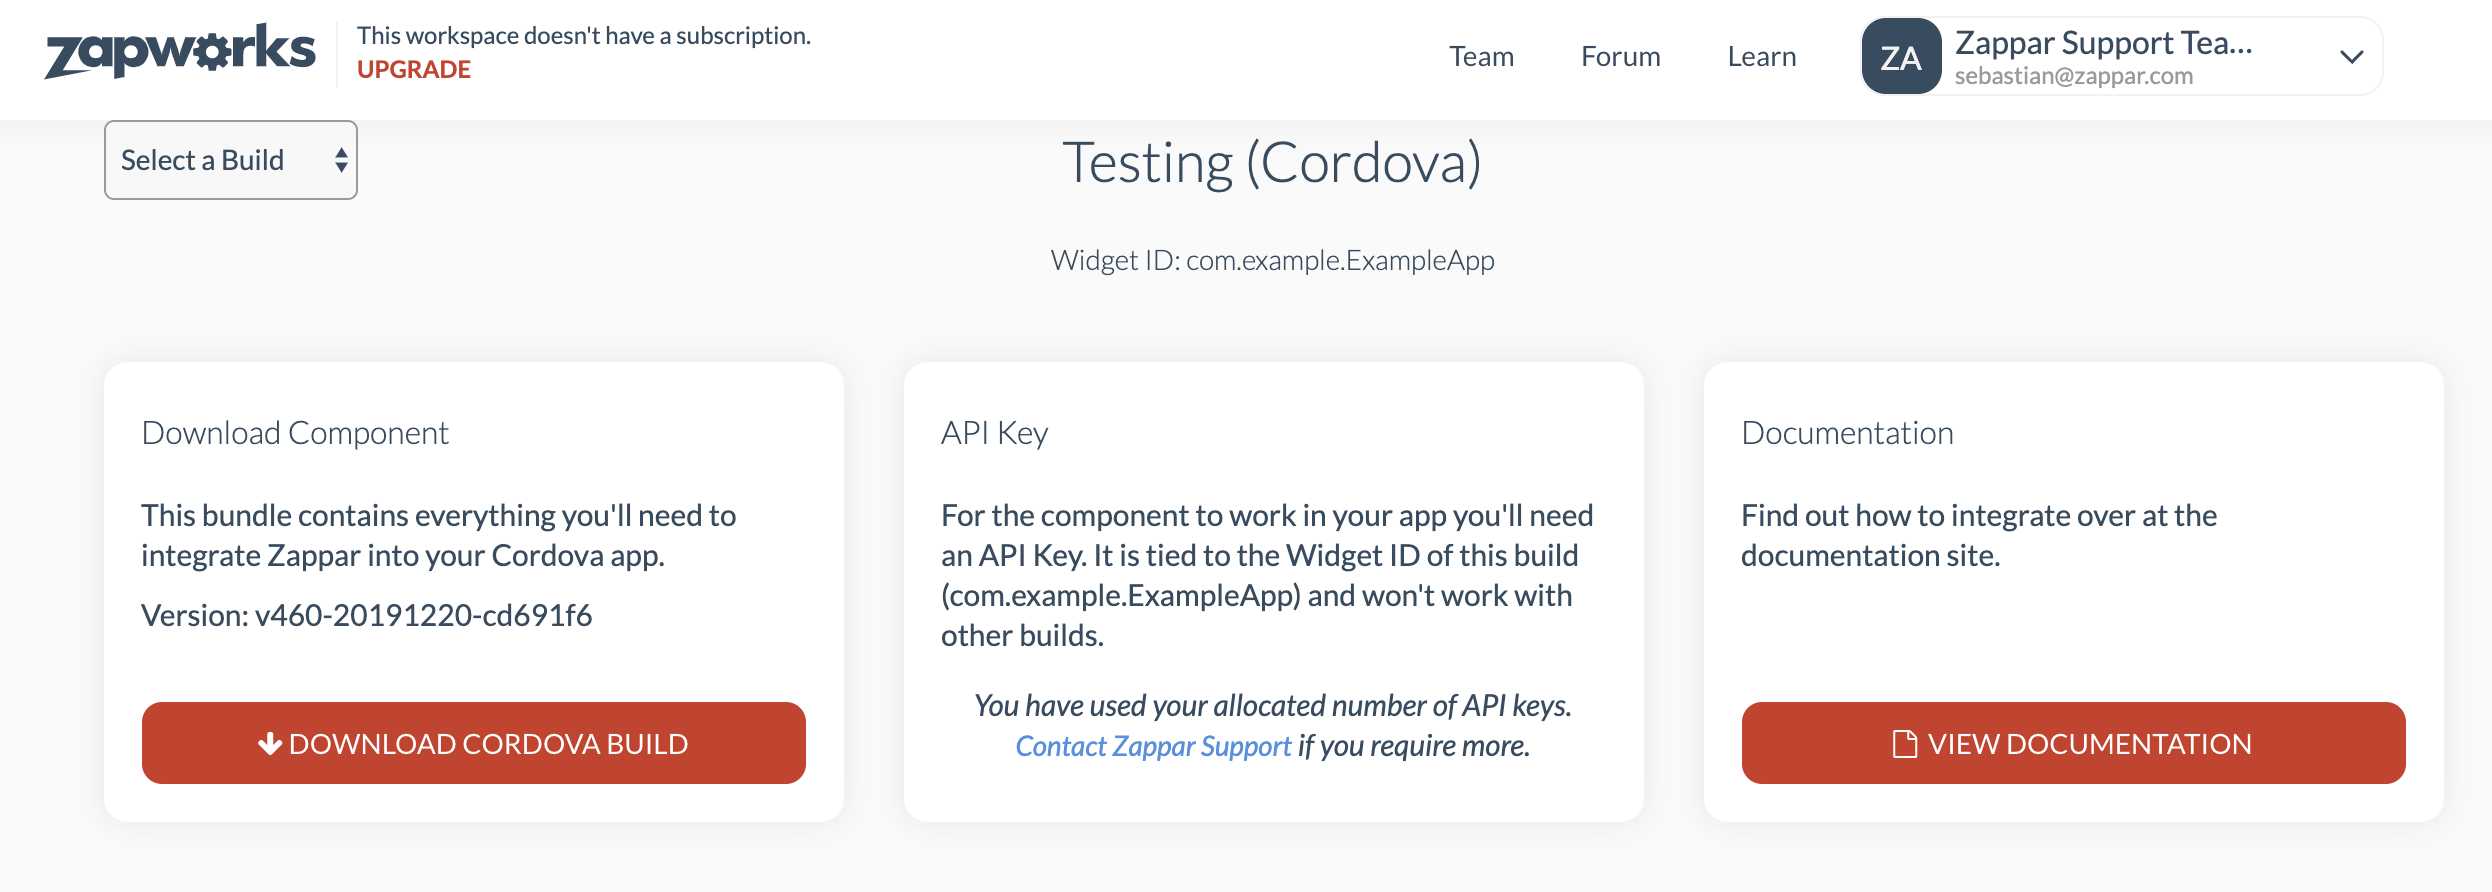
If you’ve used up your account’s API key allocation, please contact support@zappar.com
Setting Up Your Build
Section titled “Setting Up Your Build”Once the Cordova build files have been downloaded, extract the folders to a path of your choice. The zappar-embed-cordova folder will be used in a later step.
- Add your API key to the plugin.xml file
In zappar-embed-cordova/plugin.xml locate the two API lines and change them to the API key you were allocated.
<config-file target="*-Info.plist" parent="ZapparEmbedKey">    <string>MYAPIKEYHERE</string>    </config-file>

 <config-file target="AndroidManifest.xml" parent="/manifest/application">    <meta-data android:name="com.zappar.embed.API_KEY"   android:value="MYAPIKEYHERE"/>    </config-file>
Replace the your_api_key value with that provided on the app’s page in ZapWorks. Note that the API key is tied to the package name of your app (e.g. com.example.myapp). If the package name is changed, please contact support@zappar.com to request a new API key.
- Adding the Zappar plugin
Run the following command from within the Cordova project to add the Zappar plugin. The plugin folder was acquired in an earlier step.
cordova plugin add <path-to-zapparCordovaPluginFolder>
Example:
cordova plugin add /Users/Zappar/Documents/Cordova/zappar-embed-test-cordova/plugins/com.zappar.cordova.zappar- Starting the Zappar component
Launch the Zappar component from your app with the following command:
window.launchZappar();
Example:
onDeviceReady: function() {    this.receivedEvent('deviceready');    var zapparButton = document.getElementById("zapparbutton");
    zapparButton.addEventListener('click', function() {        window.launchZappar(        // launch options can be set/included here        {                // example params :                // onMessage : gotMsg,                // barColor : "#334455"        });    });},
Add a button to the index.html file which links the index.js Click event listener.
<button id="zapparbutton">Launch Zappar</button>
The Zappar embed component can be customized with the options covered in this article.