Zapvision CMS
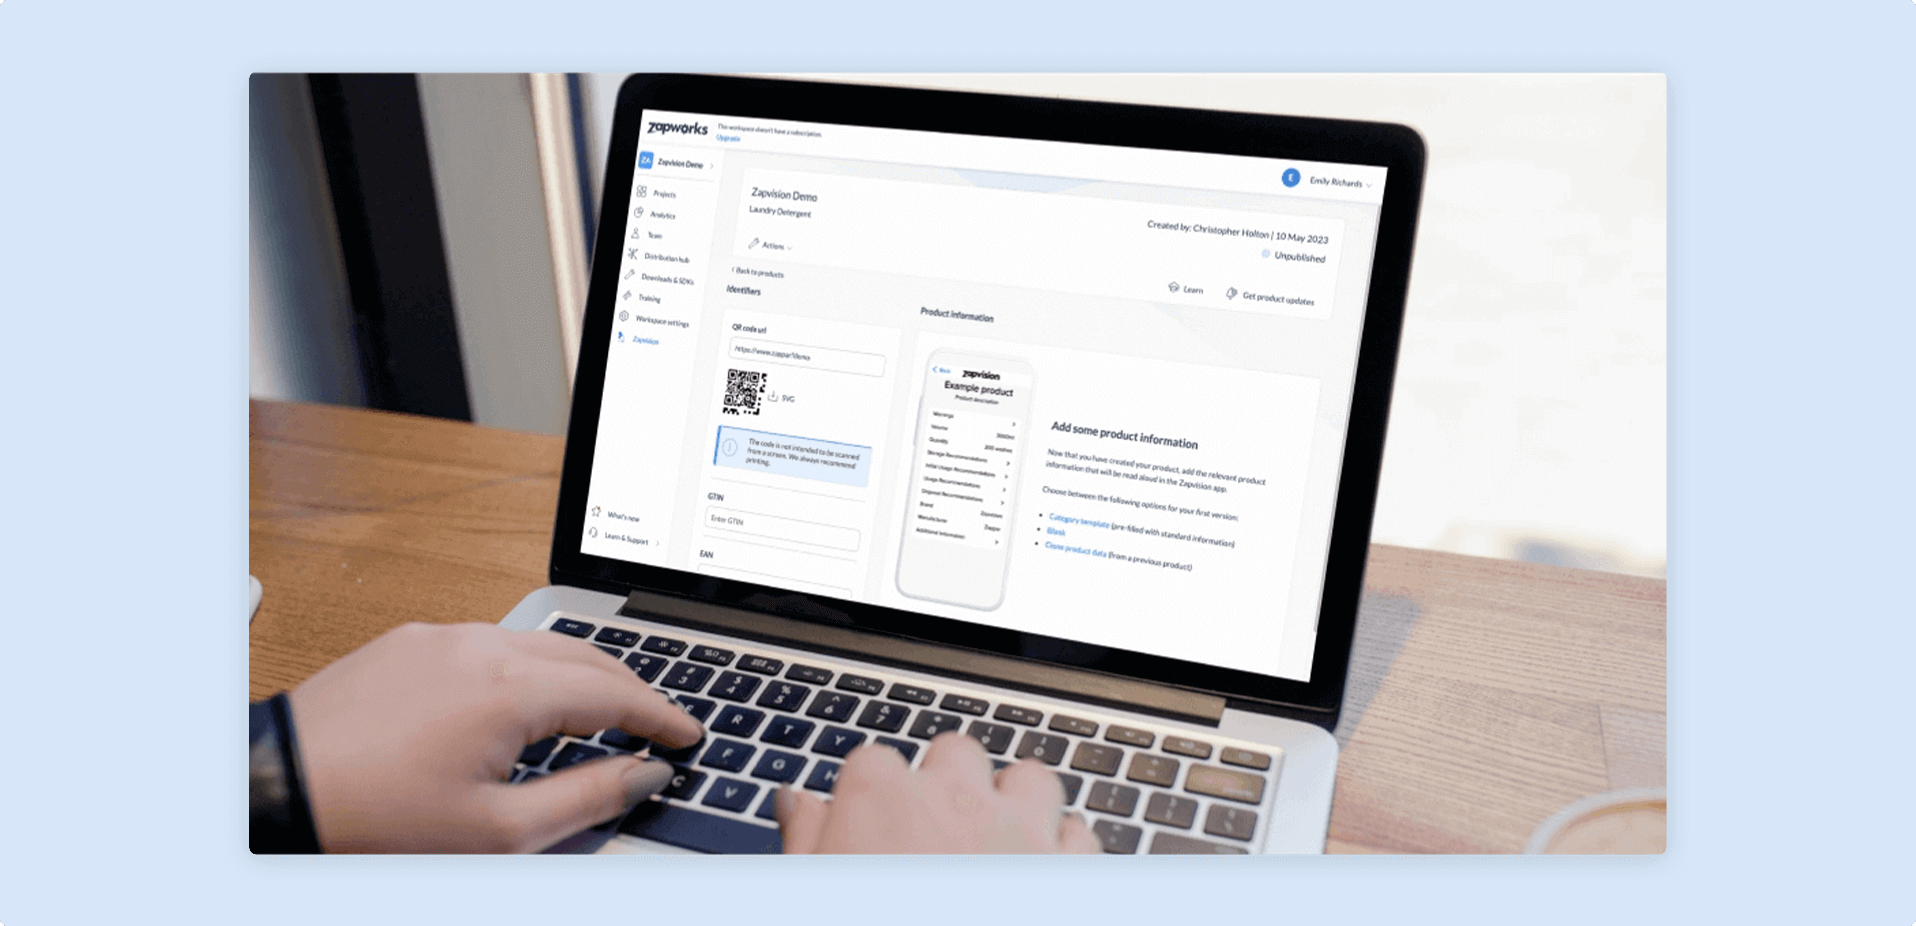
The Zapvision Content Management System (CMS) is a software you access via your web browser; intended for creating, managing and publishing Zapvision Accessible QR codes.
The software contains two primary pieces of functionality that is vital for the Zapvision workflow:
- Creating Accessible QR codes (AQR)
- Publishing Structured product information to the AQR
Accessing the Zapvision CMS
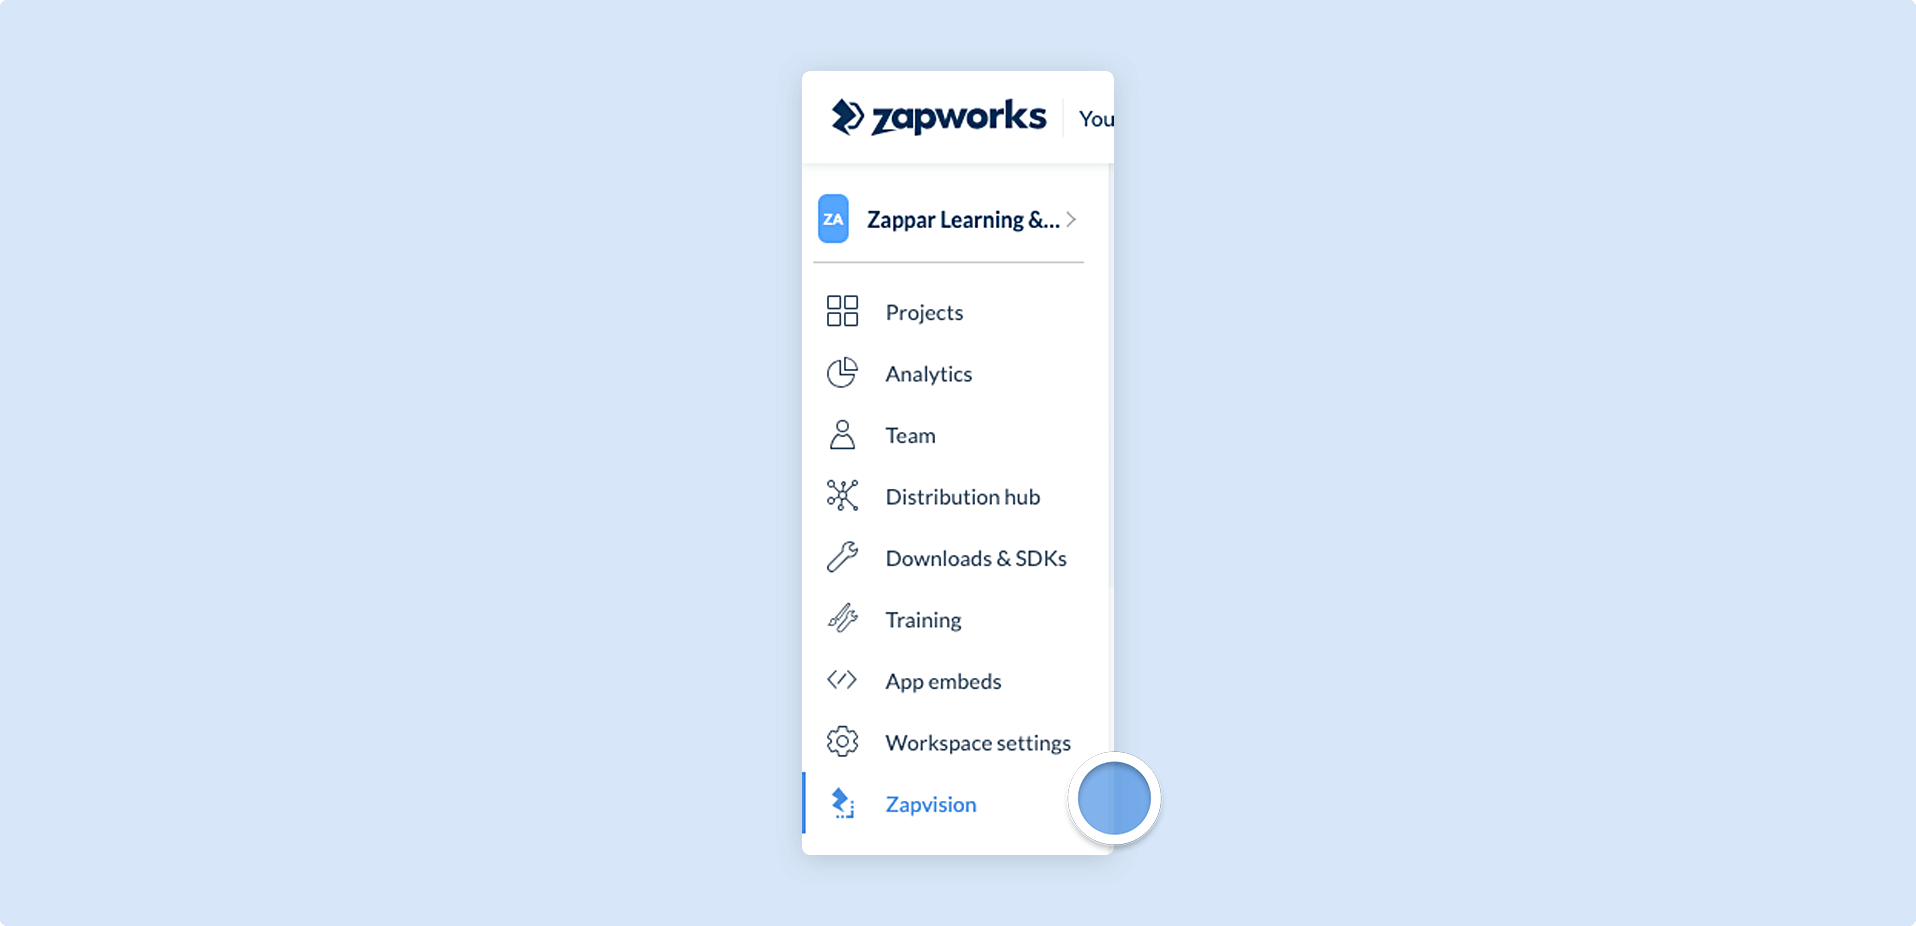
Section titled “Accessing the Zapvision CMS”The Zapvision CMS is made available on-request (i.e. not-enabled by default) via the Zapworks CMS. Once Zapvision has been enabled, a Zapvision link will appear on the left hand side navigation.
If you are interested in Zapvision and would like access to the CMS, please get in touch with our sales team by clicking this link.
Using the Zapvision CMS
Section titled “Using the Zapvision CMS”There are 3 main pages in the Zapvision CMS that you will want to become familiar with:
- Product list
- Product overview
- Structured product information
The rest of the article will outline each of these pages in turn, as well as the functionality supported.
Product list page
Section titled “Product list page”The Product list page contains a table with all the Products that have been entered into the Zapvision system on your workspace. You can create new products by clicking on the red plus (+) button towards the top of the screen.
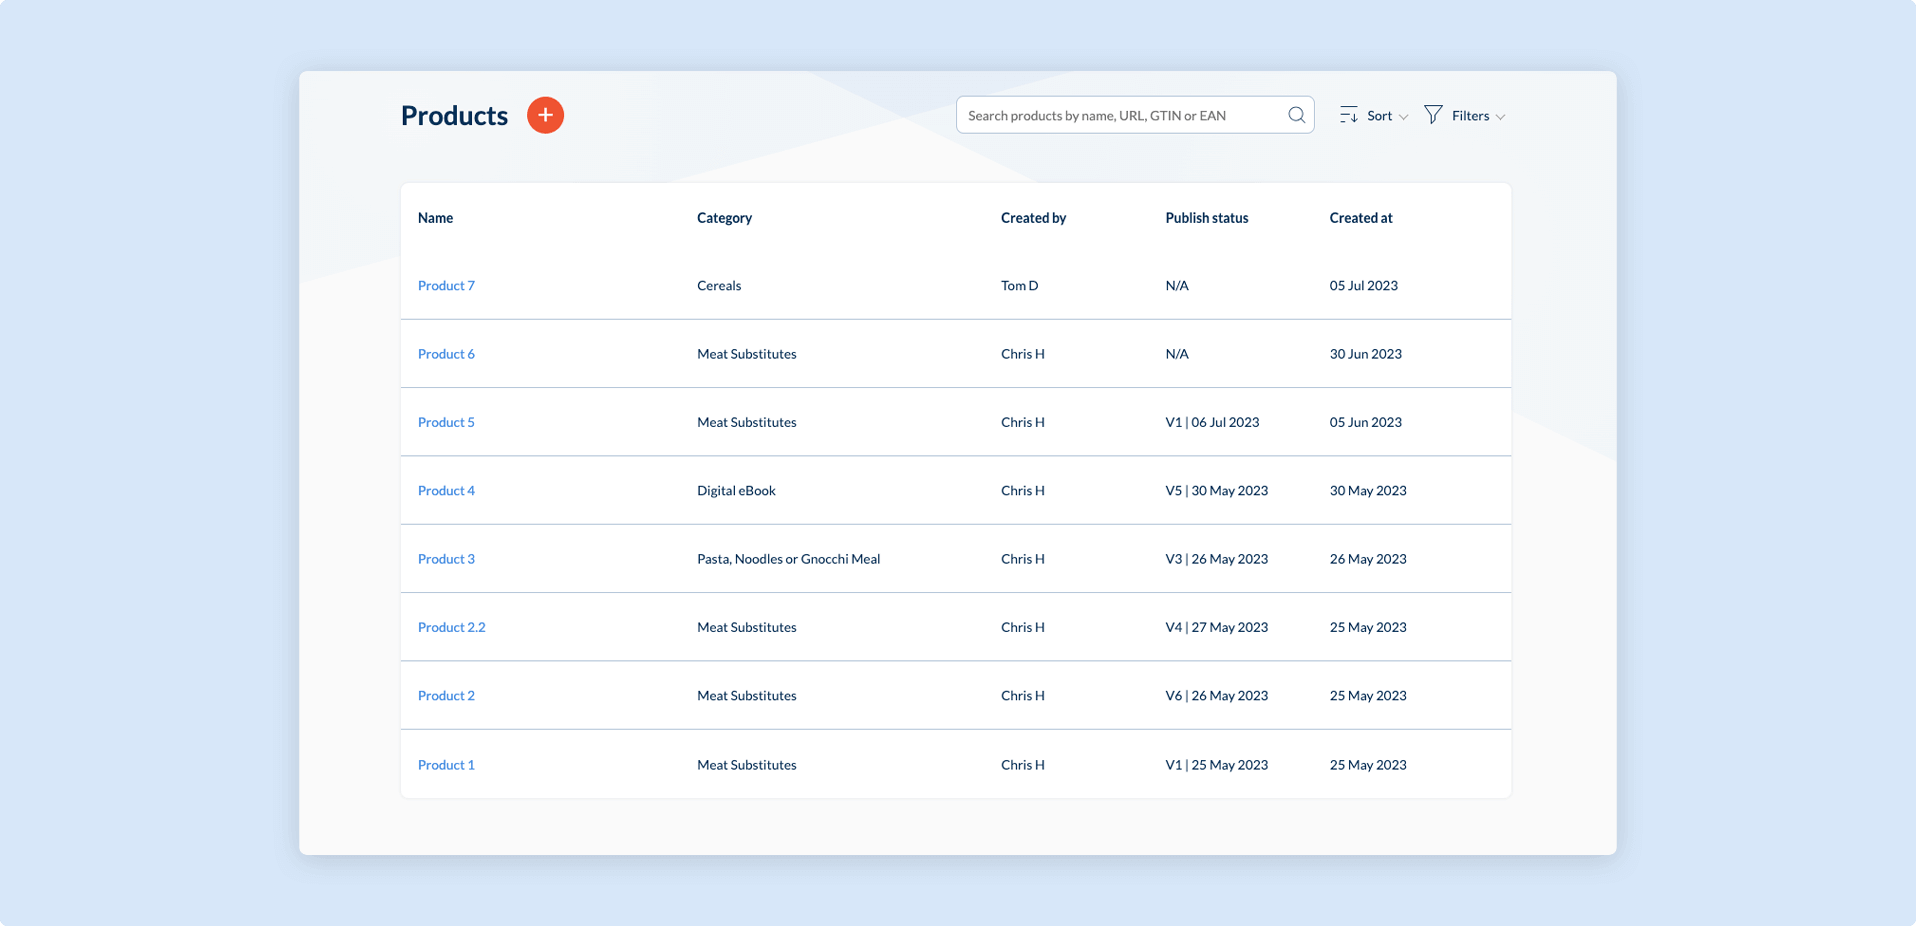
This page allows you to gain an aggregate view of all your Accessible QR codes, and provides important information per code:
| Data Type | Description |
|---|---|
| Name | The name of a product. In other words, the product for which information relates to. |
| Category | The type of product. There are a variety of product categories to choose from*. |
| Created by | The individual responsible for creating the entry. |
| Publish Status | Indicates the last published version. If no publish has been made, will show N/A. |
| Created at | The date on which the product was listed. |
*If you cannot see your desired product category in the list of options, please get in touch via support@zappar.com, and we will be able to add this in for you.
In addition to displaying the entire list of Products, users can search for specific codes via a search box. You may sort codes by name, publish, create date; and also filter by product category.
Product overview page
Section titled “Product overview page”The product overview page can be entered by either clicking on an existing product via the product list page or by creating a new product. If you create a new product, you will be asked to give the product a name as well as determine which Global product classification (GS1) Category the product belongs to.
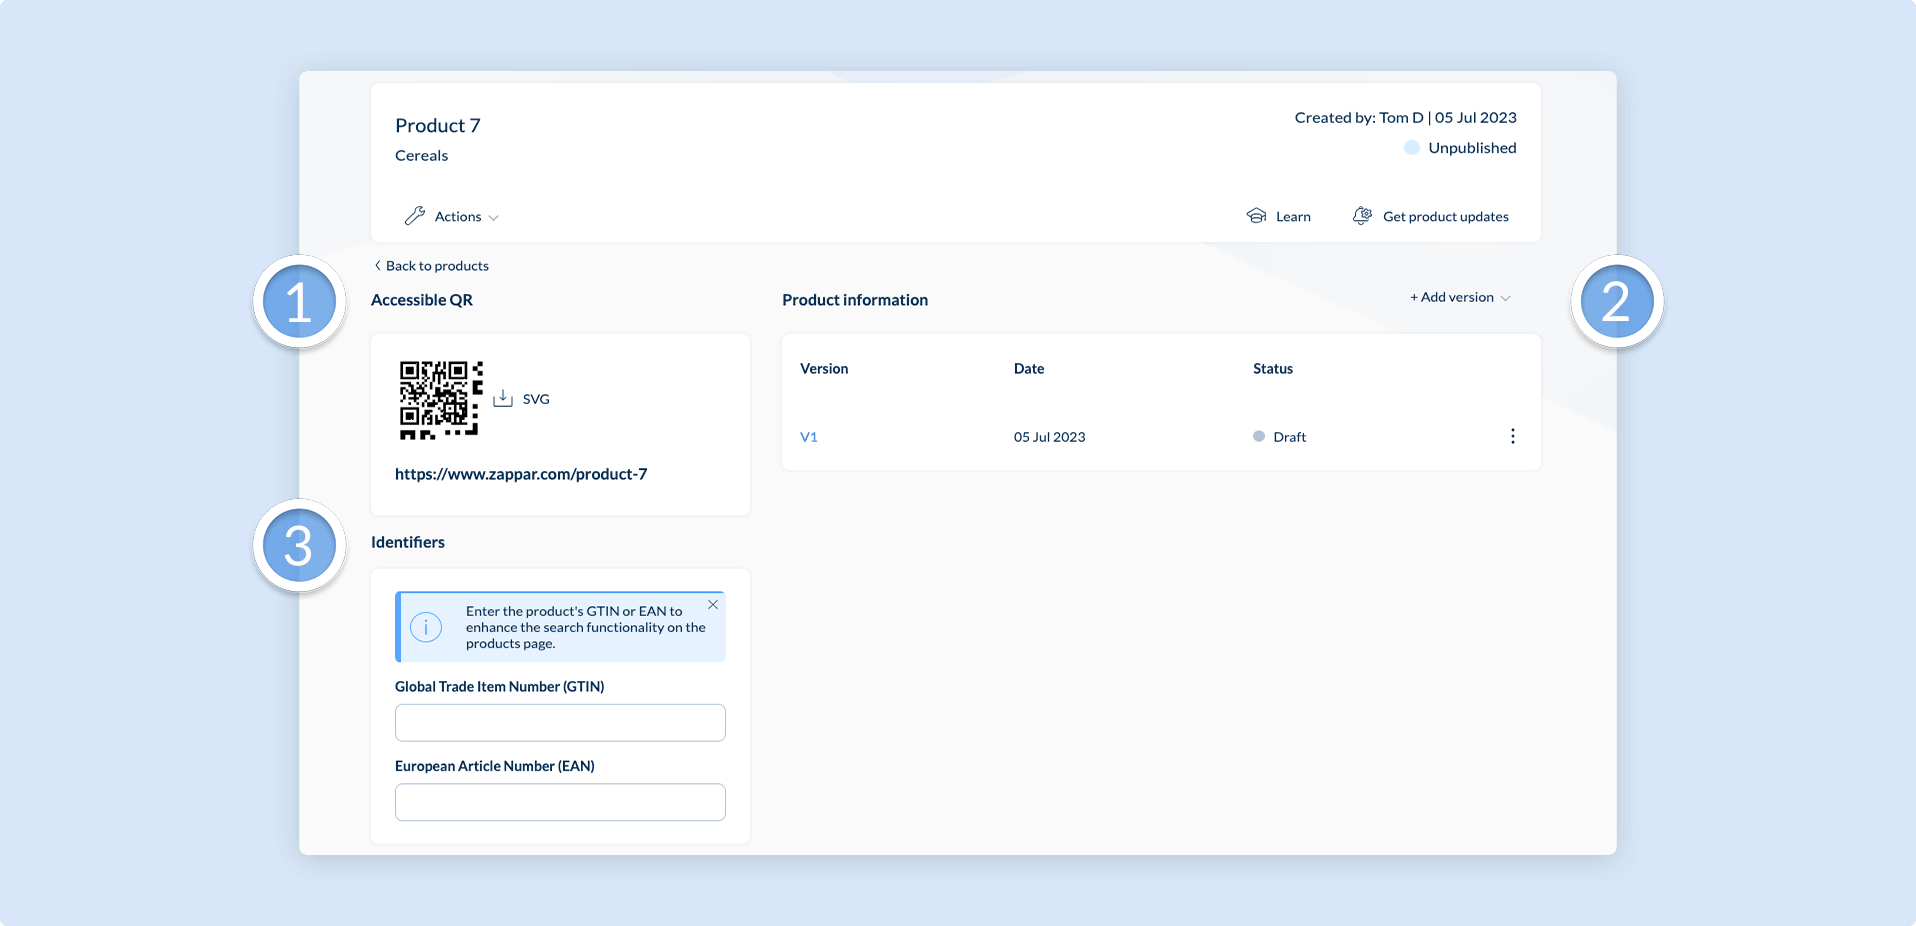
There are 3 main operations that can be completed on the product overview page:
- Generating an Accessible QR code
- Create new Product information versions
- Adding Identifiers
**Generating Accessible QR codes**
Generating Accessible QR (AQR) codes is easy. Simply drop in the URL of the QR code that you are going to be using for your non-Zapvision element.
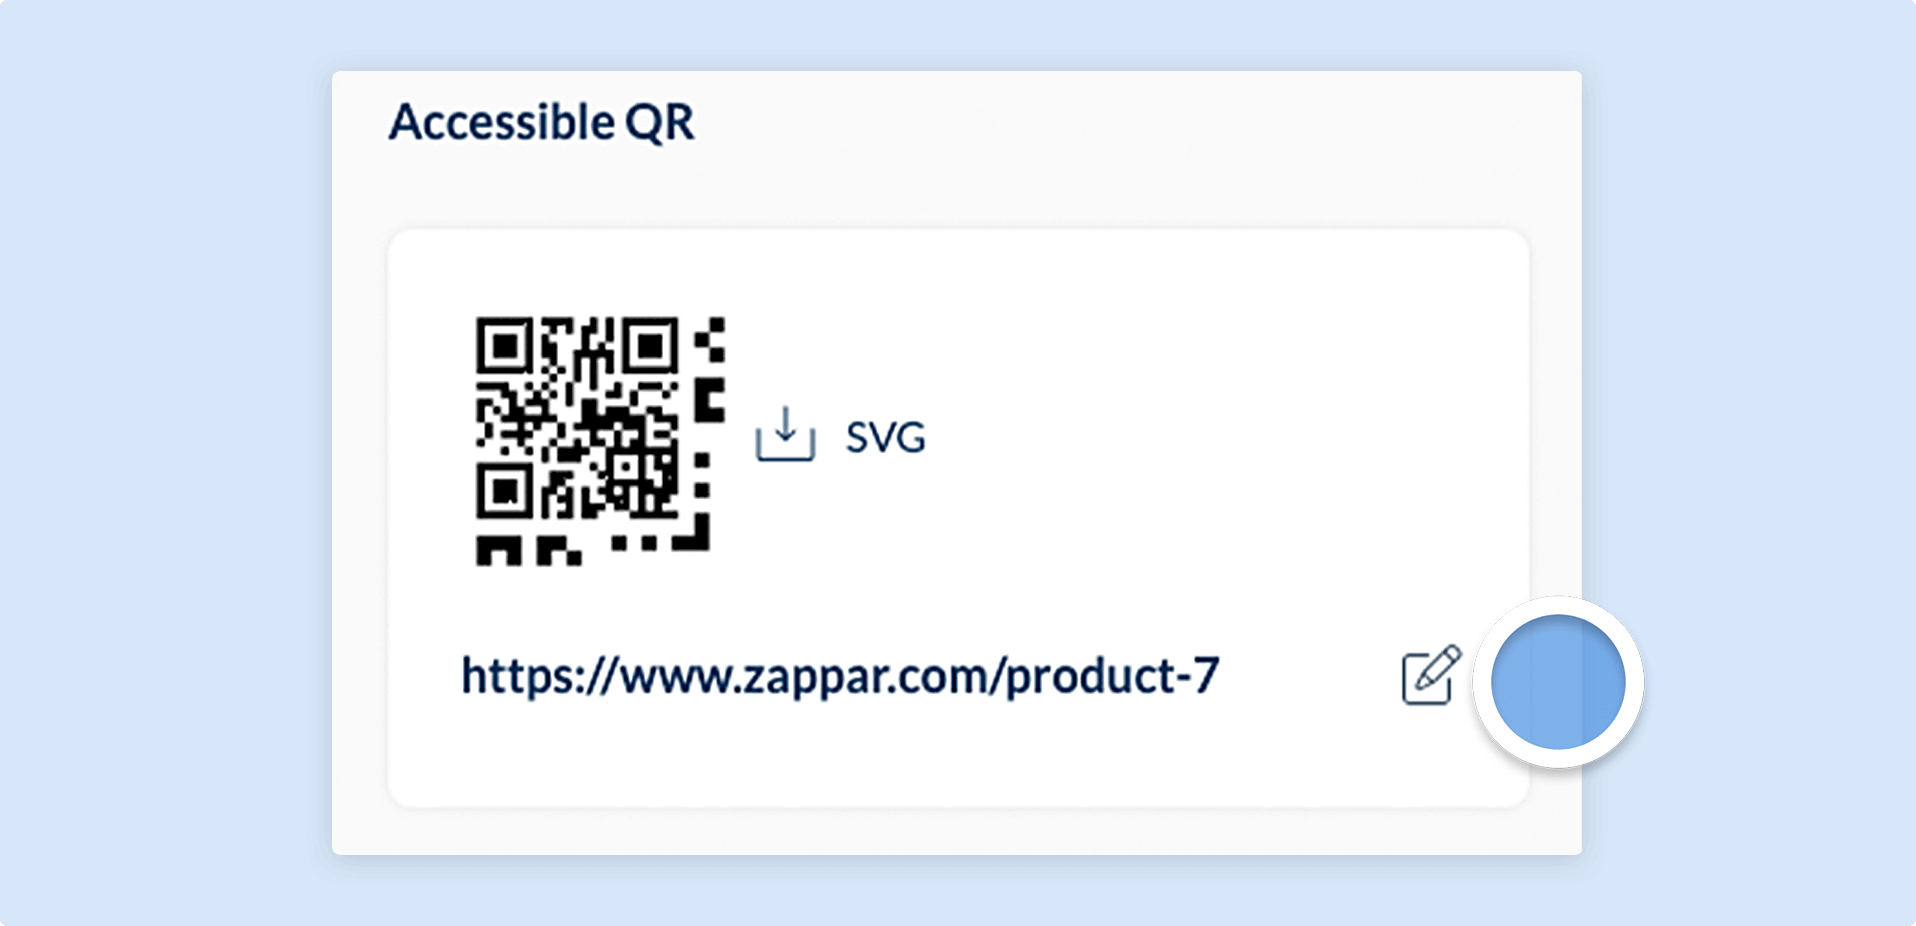
QR codes are unique to a URL, so the code generated will be the exact code you already have, and in addition, will have enhanced the code with the Accessible ‘timing pattern’ elements around it. The ‘timing pattern’ is mapped to the GS1 category selected when creating the product.
Once you have created your code, you will need to publish some content to test it. You can at this stage download the .SVG file of the code to be added to your packaging artwork.
Creating new product information versions
To start adding Structured product information to your code, you need to create a new product version.
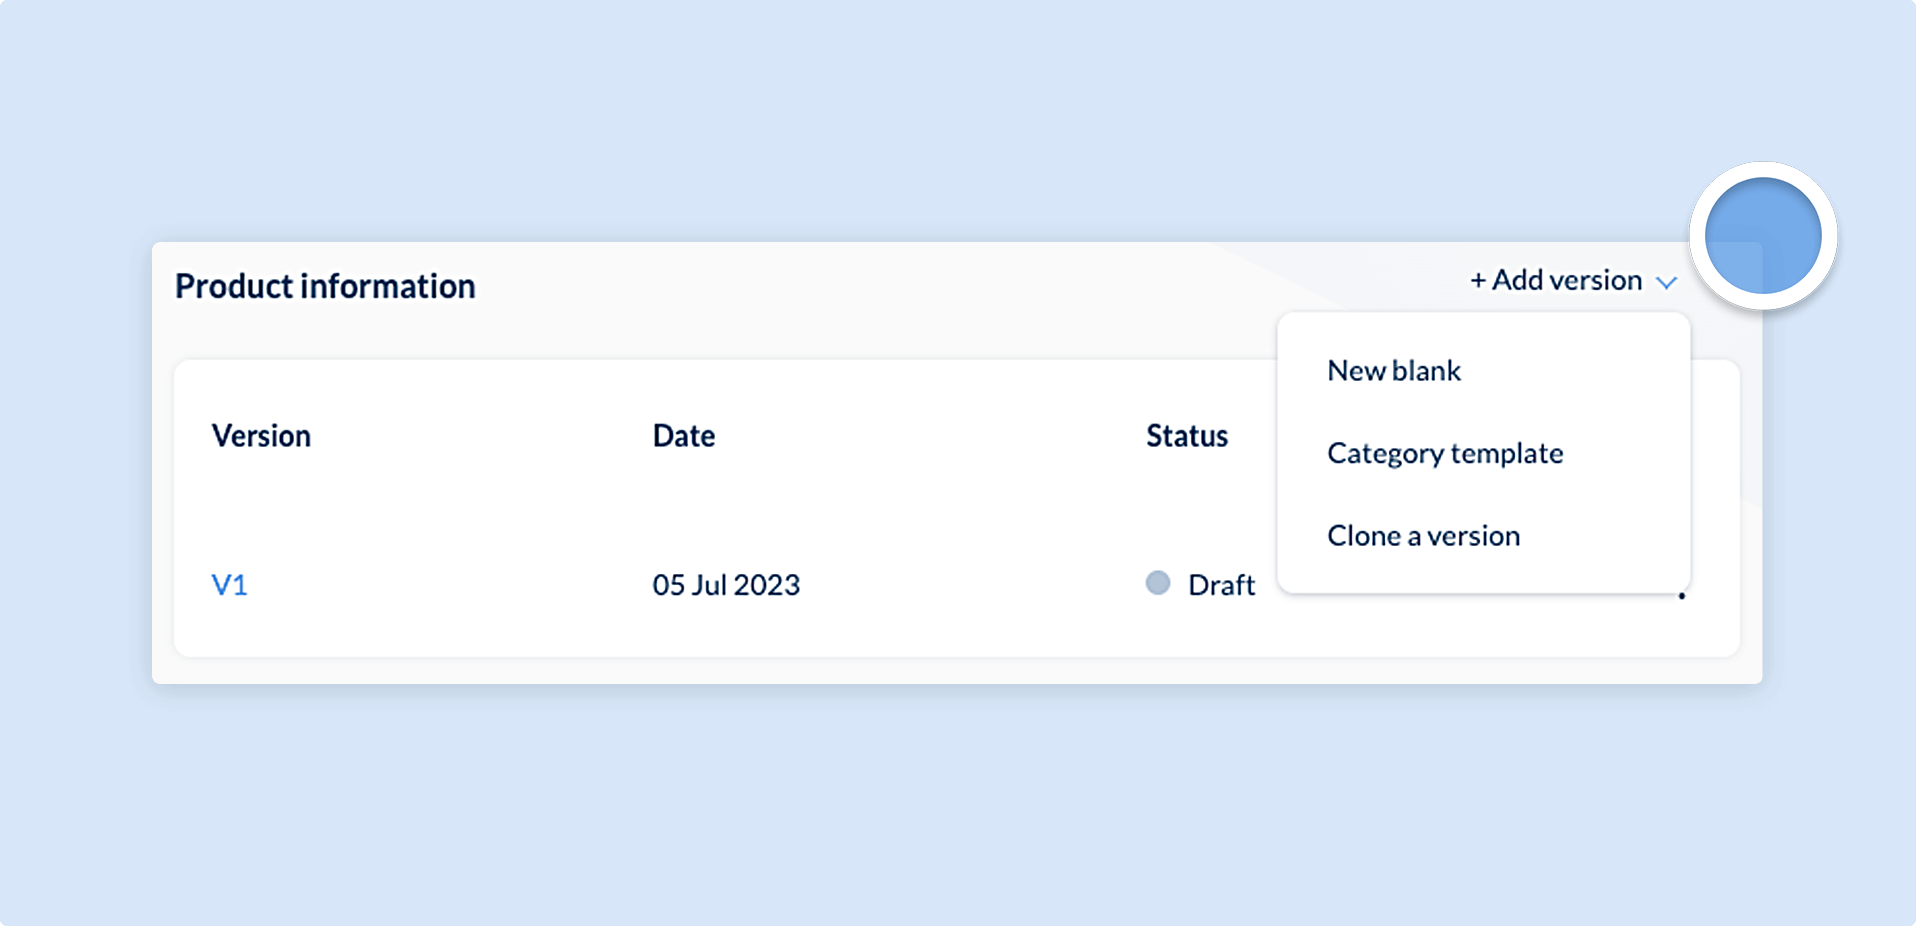
To help you get started, we provide you with three choices for your first version. You can choose between the following:
| Product version type | Description |
|---|---|
| Category template | Templated product information that provides suggestions of the data, relevant to the product category selected. |
| Blank | An empty table for you to start from scratch. |
| Clone product data | Allows you to duplicate content from an existing product within the workspace. |
After you have created your first product, the interface will change slightly and the onboarding graphic will be replaced with a table of your versions. You will continue to be able to create any of these versions types.
Adding identifiers

Identifiers are an additional way to help you find products on the product information page. Many customers have over 100 products in their workspace, and so entering a products Global Trade Item Number (GTIN) or European Article Number (EAN) can help when searching for products and AQR codes later on.
Identifiers are optional and can be added later if desired.
Structured product information page
Section titled “Structured product information page”The Structured Product Information page is the most complex page that exposes the greatest amount of functionality.
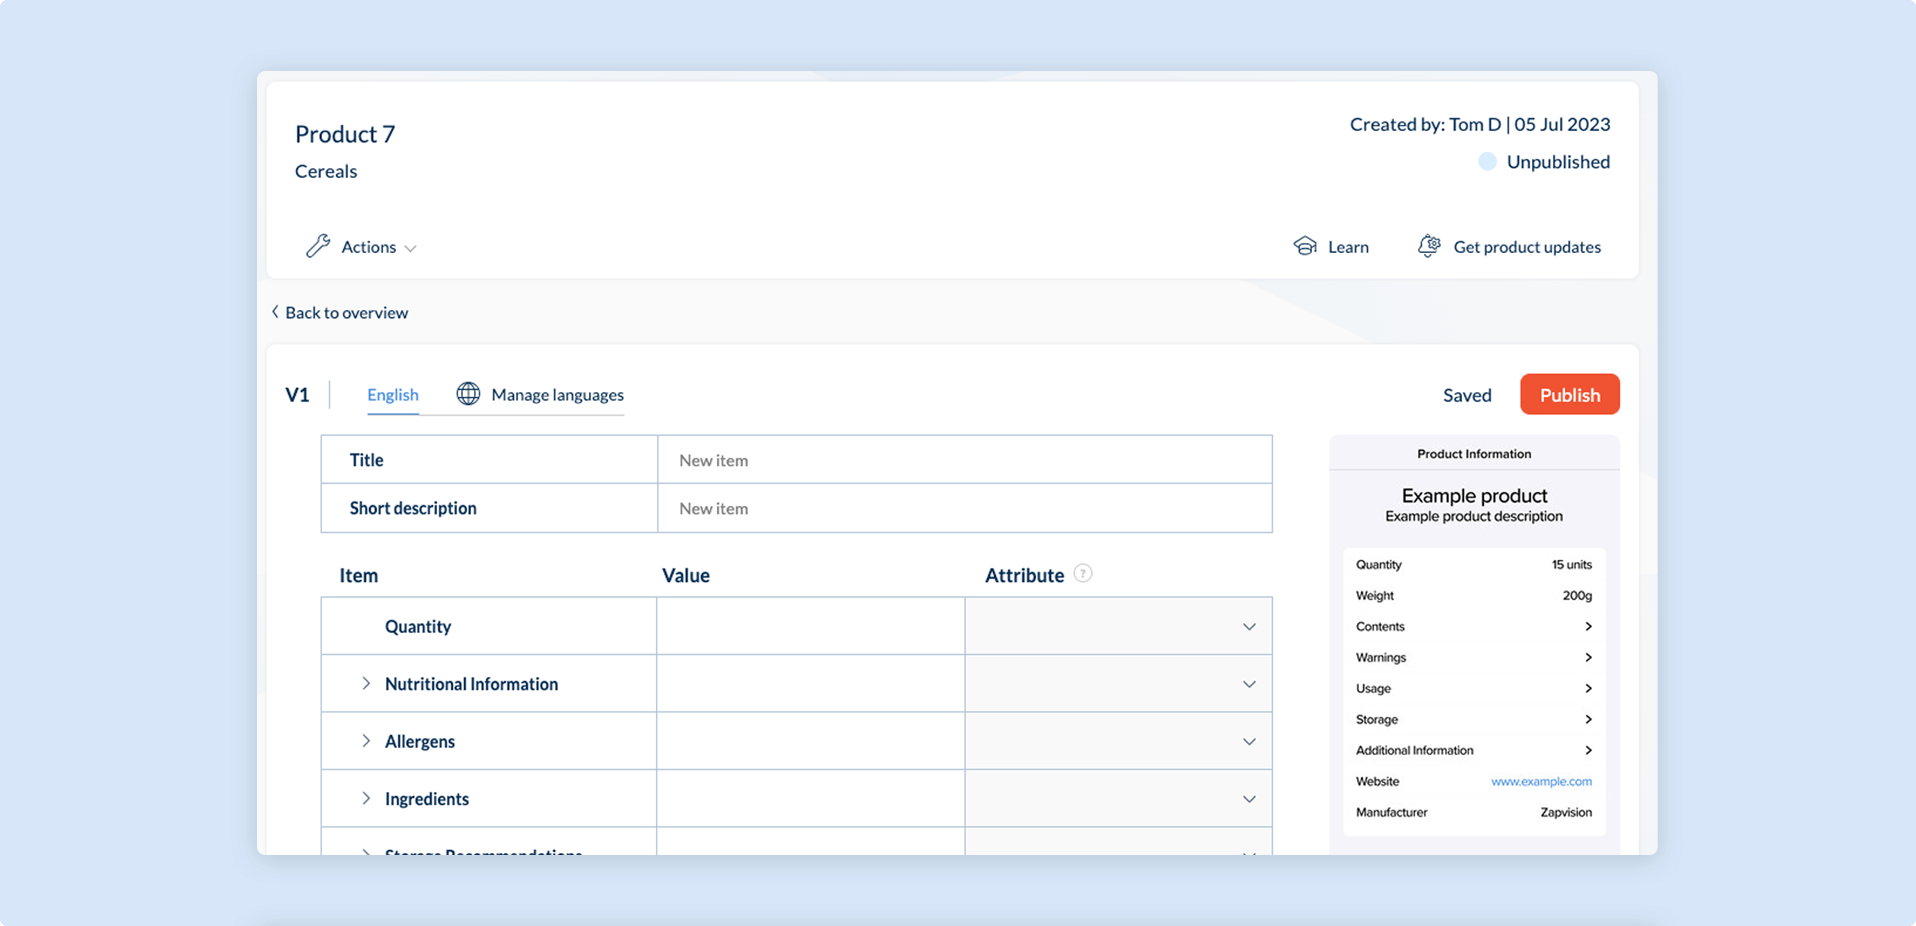
On this page, you will take the product information printed on the back of the specific product packaging and translate it into the system in a way that makes sense to the blind and partially sighted user.
1. Title and short description
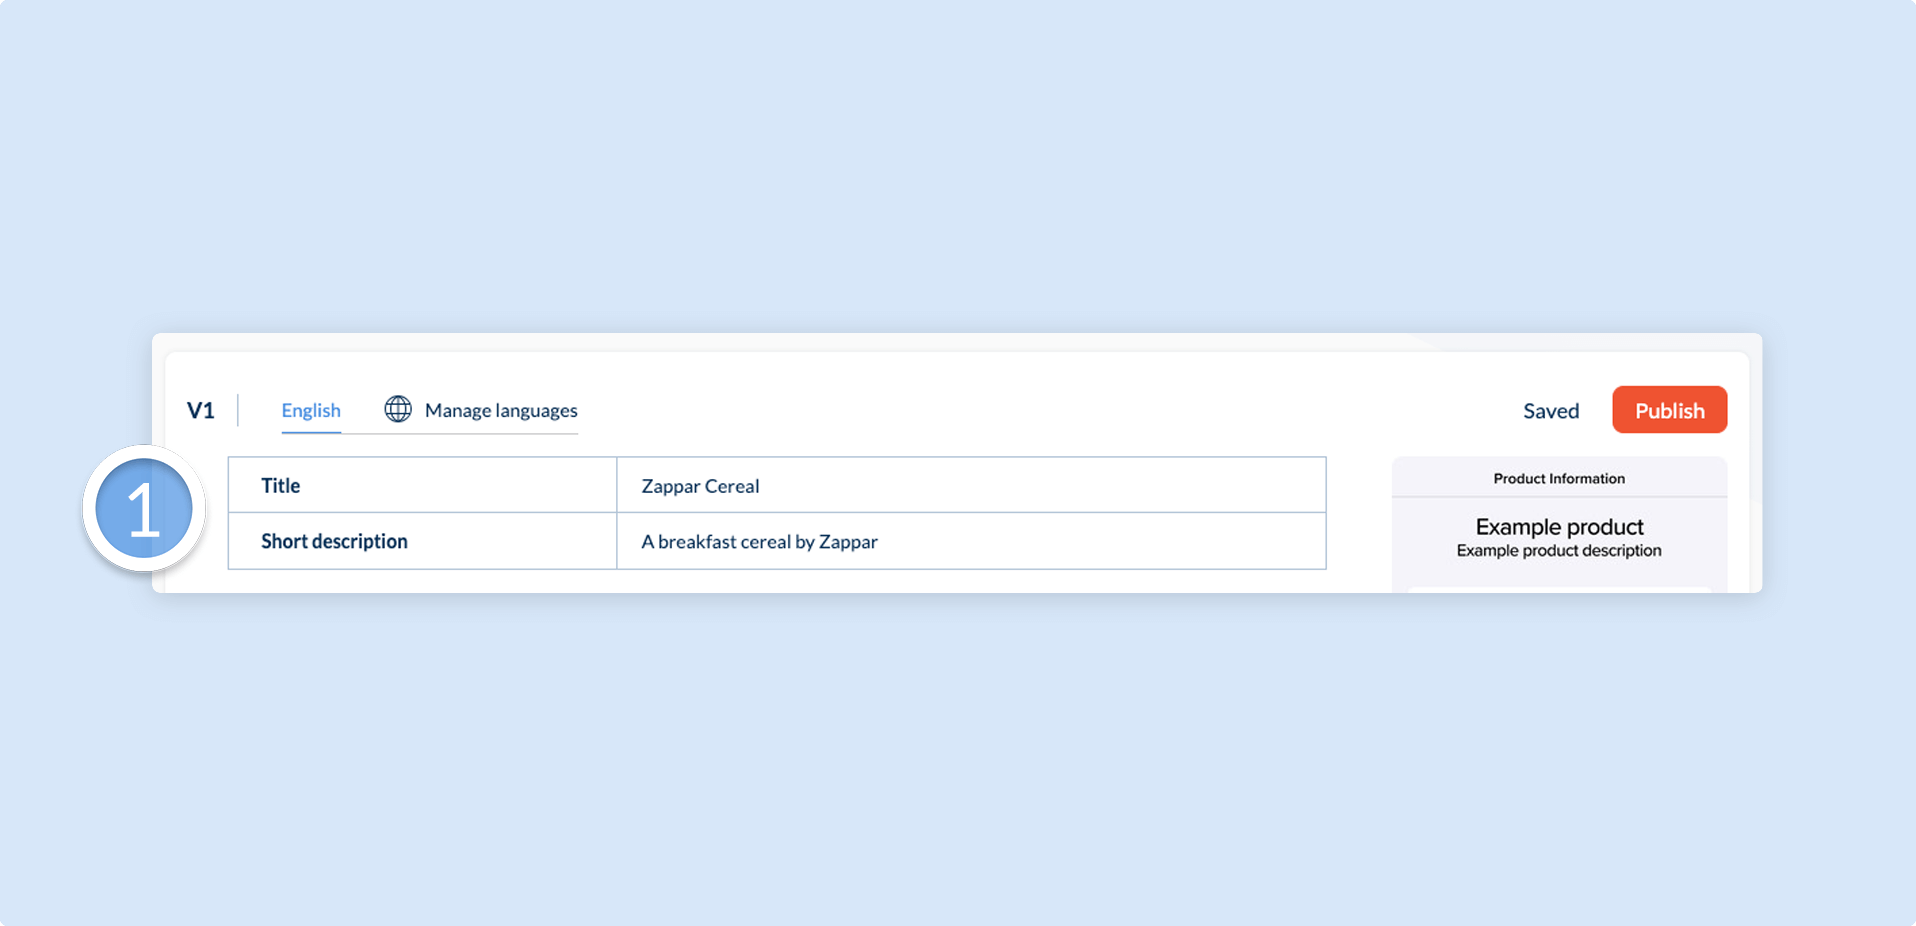
The first task for any product will be the input the Title and a Short description, which will be read aloud by the app when it is initially scanned. To offer the best service for end users, short descriptions should be short, avoid brand messaging, and be focused on utility rather than flair.
2. Pages and sub-pages
Product information can appear within the Zapvision app across multiple pages and sub-pages. The content management system provides you with an intuitive a way to create sub-pages in the app. Simply hover over a row and click the plus (+) icon that appears to the left hand side of the table.
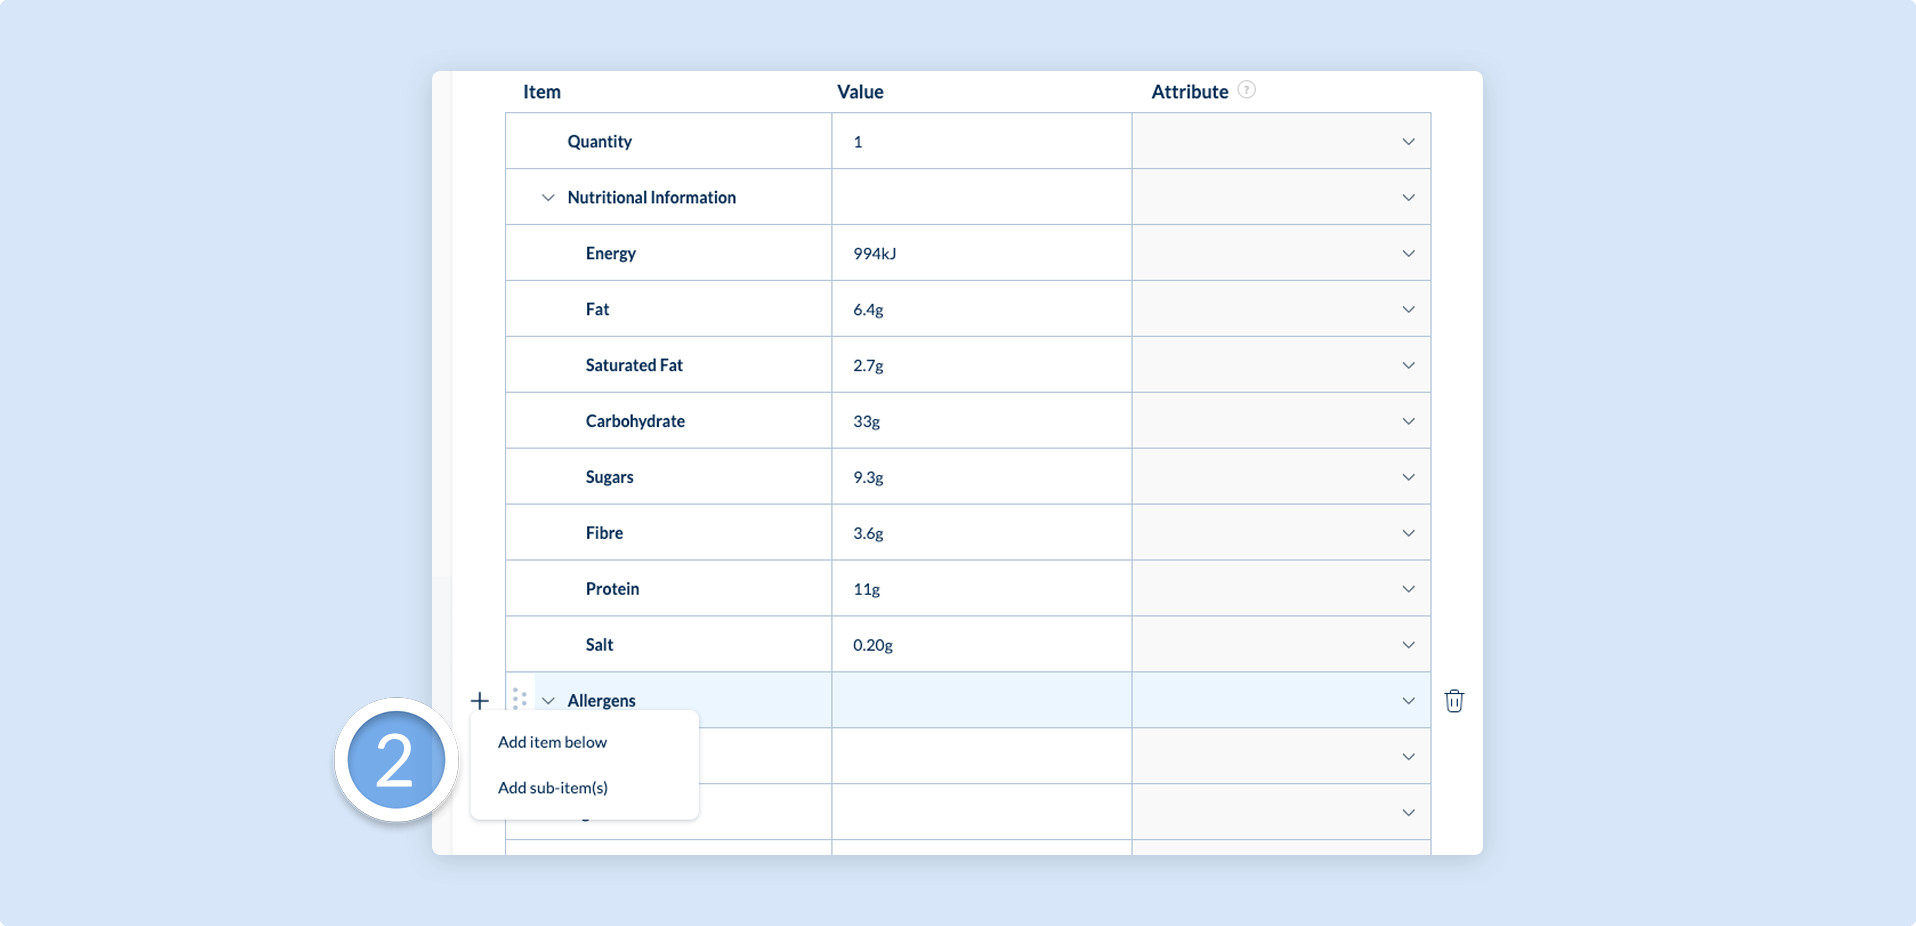
These sub-pages are visualized in a tree-structure, with an arrow (>) to indicate that an item has children. You have the ability to view and edit children by clicking on the arrow (>). Once you are finished with editing a sub page, you can then close by clicking again on the same icon.
Sub-pages are recommended to be used when you have lists of items. The value column is recommended to only support short numbers of characters (<30). If you have a list of items (e.g. ingredients), then we strongly recommended creating a sub-page from an Item called ‘Ingredients’ and listing out all the ingredients as items on the sub-page.
3. Attributes
Attributes are special information that are mapped to the specific configurations of the Zapvision end user.
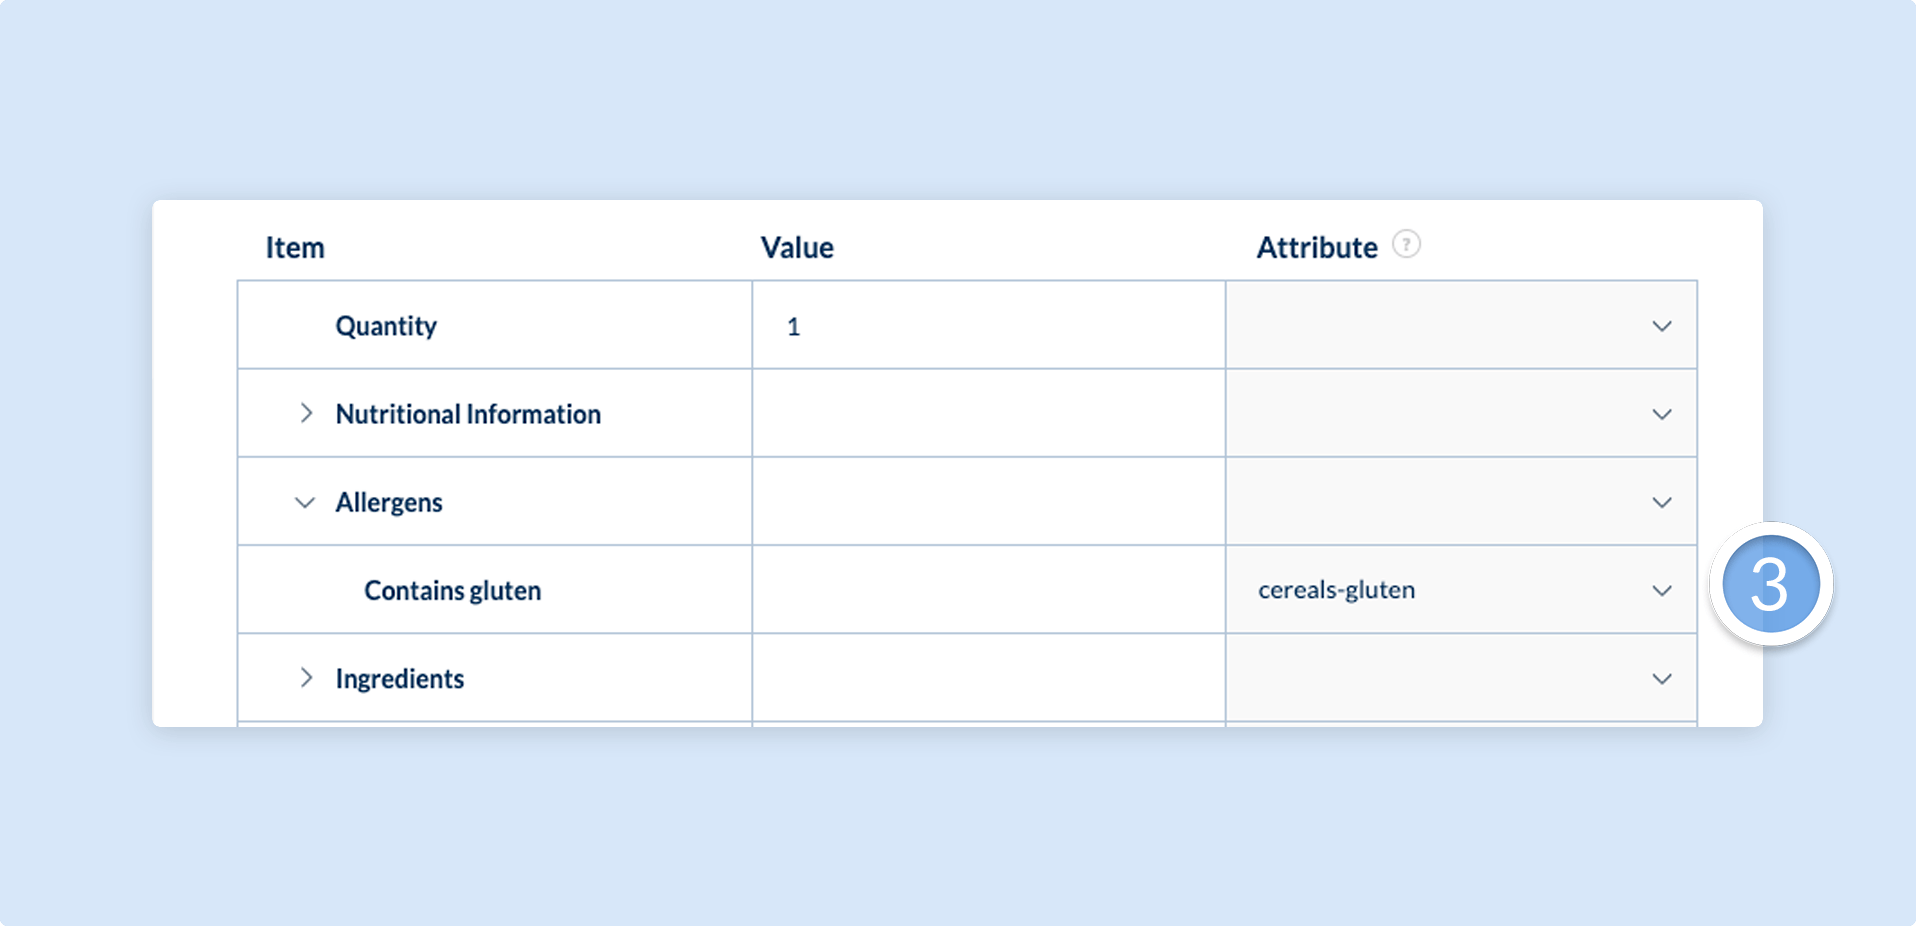
For example, a user may choose to use the settings of the Zapvision app to say that they are gluten intolerant. By setting cereals-gluten as an attribute on the relevant item, the app will read out to the end user that this is the case as soon as the AQR code is scanning, saving them time so they do not need to go into the product information to learn this.
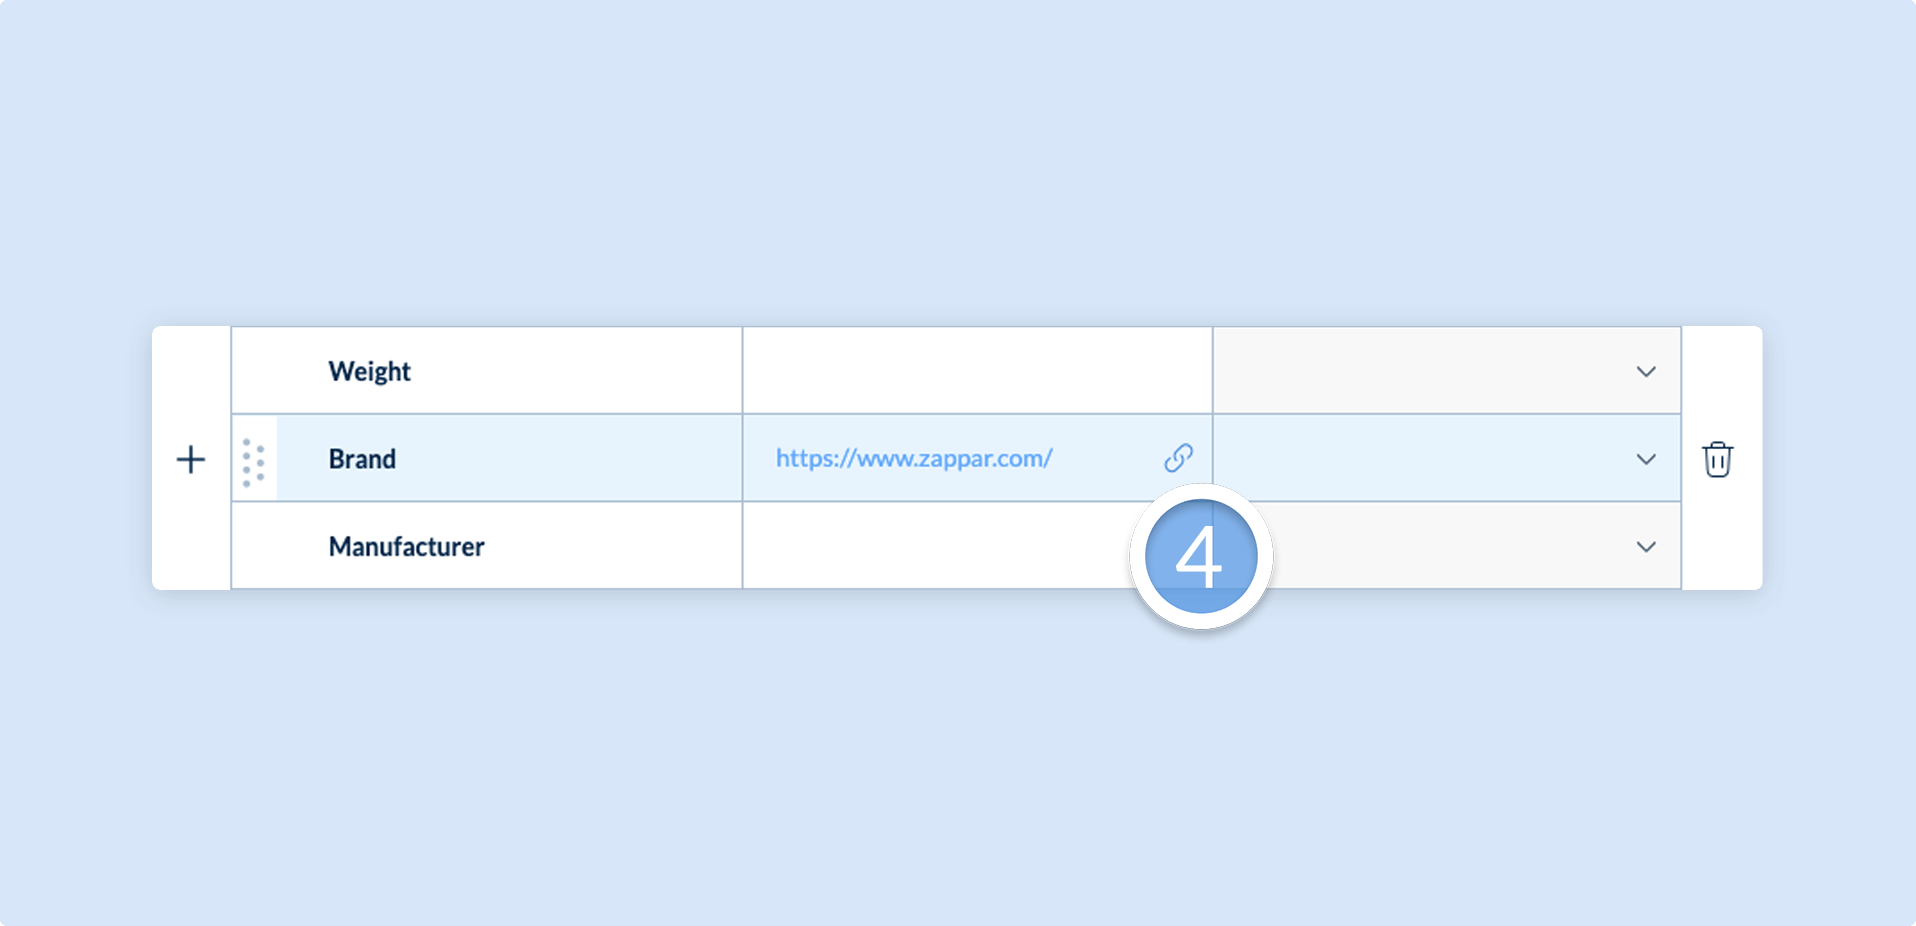
4. Hyperlinks
Hyperlinks can be added to the text within the values column by simply inputting the URL or telephone number and hovering over the link icon.
5. Announce variants
Announce variants provide the ability to edit the way that the app reads out text, whilst leaving the text visualized the same for sighted users.
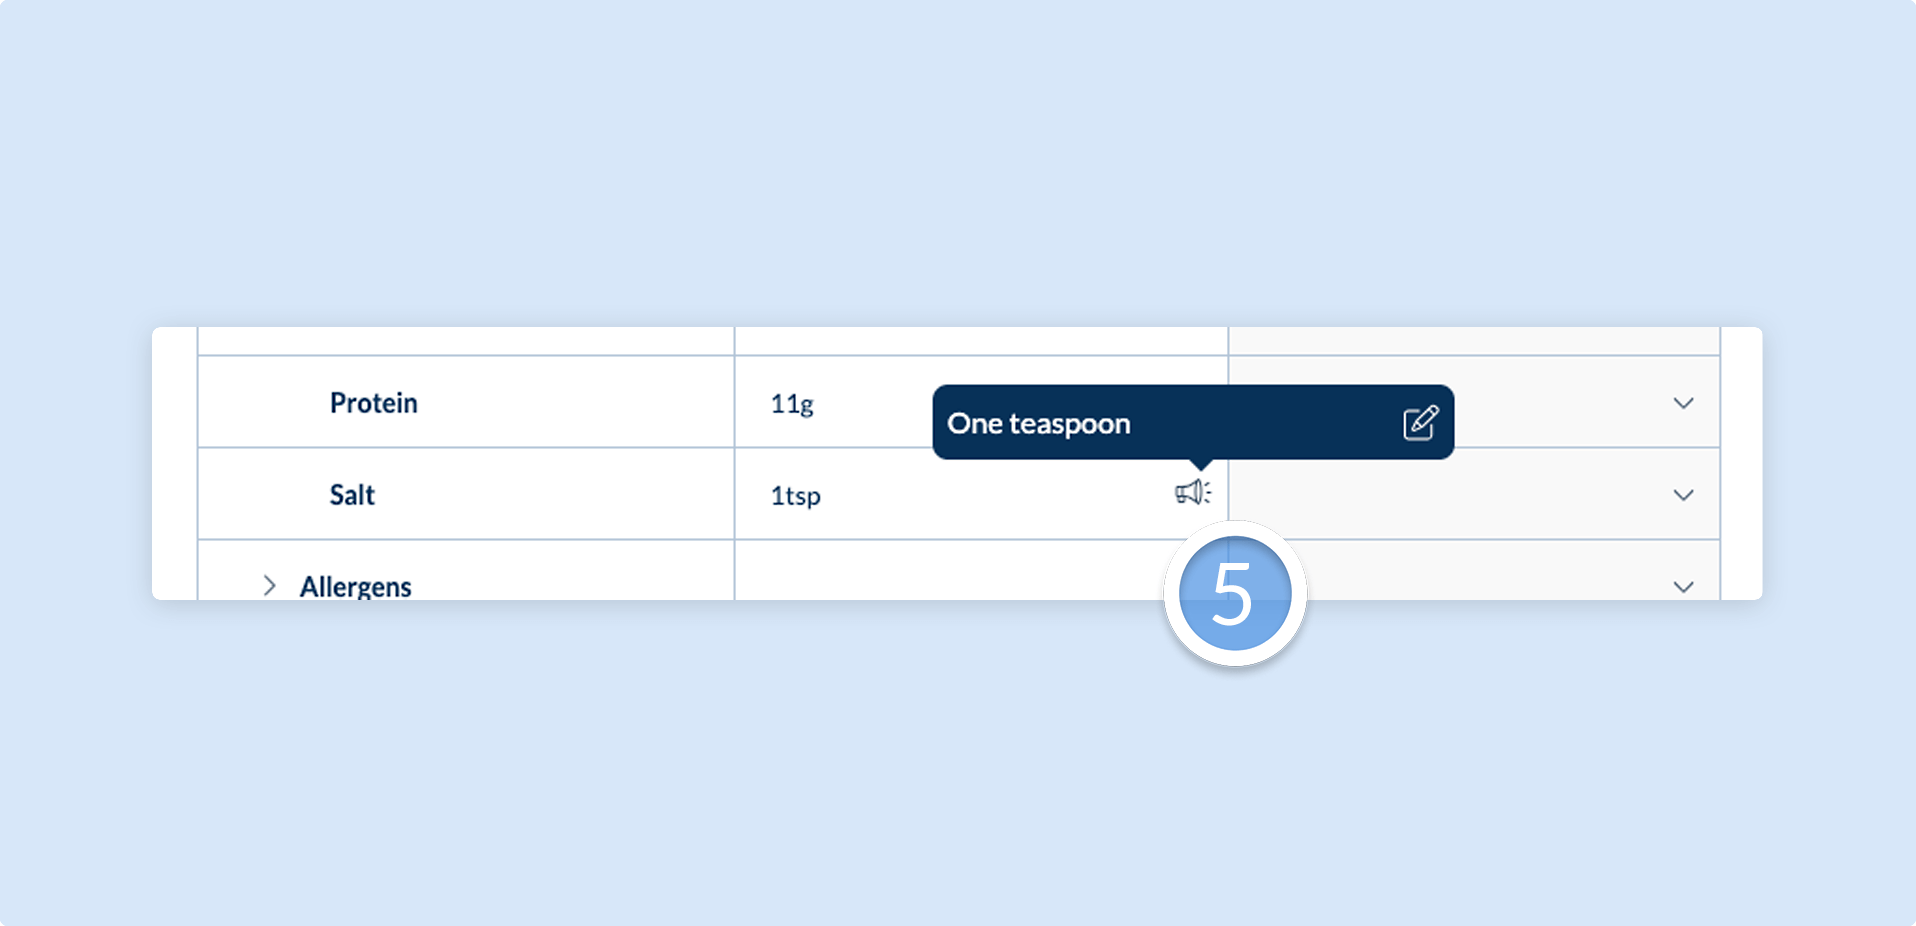
An example would be “Zappar” which is typically spoken as “Zapper”; or “Aluminium”, which for American audiences could be written as “Aloominum”. Setting an announce variant is simple and can be included on any item or value or the title.
6. Managing languages
Managing languages is a valuable feature when your product SKU is going to be sold across multiple countries or in countries where there is more than one language spoken.
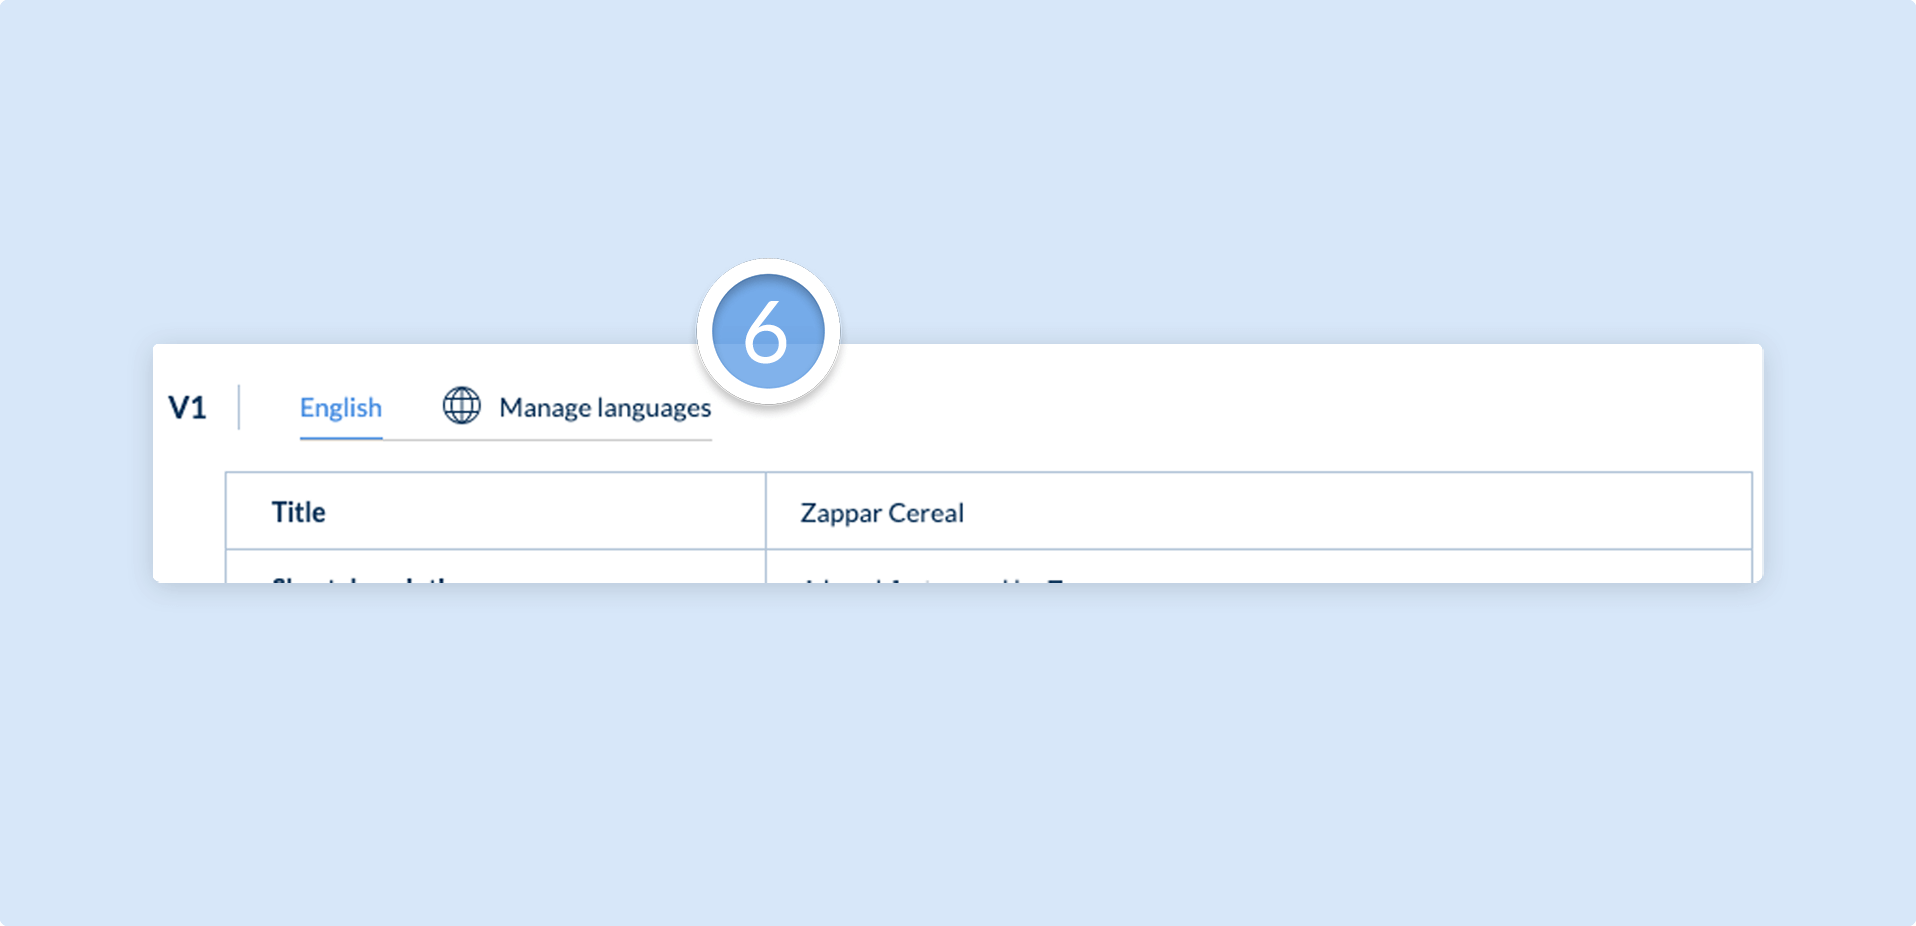
The Zapvision app is configured on a users phone to support their first language, and you are able to present your product information in any language you choose. Above the table, select “Manage languages” to prompt the modal in the screenshot below and add in your secondary, tertiary language.
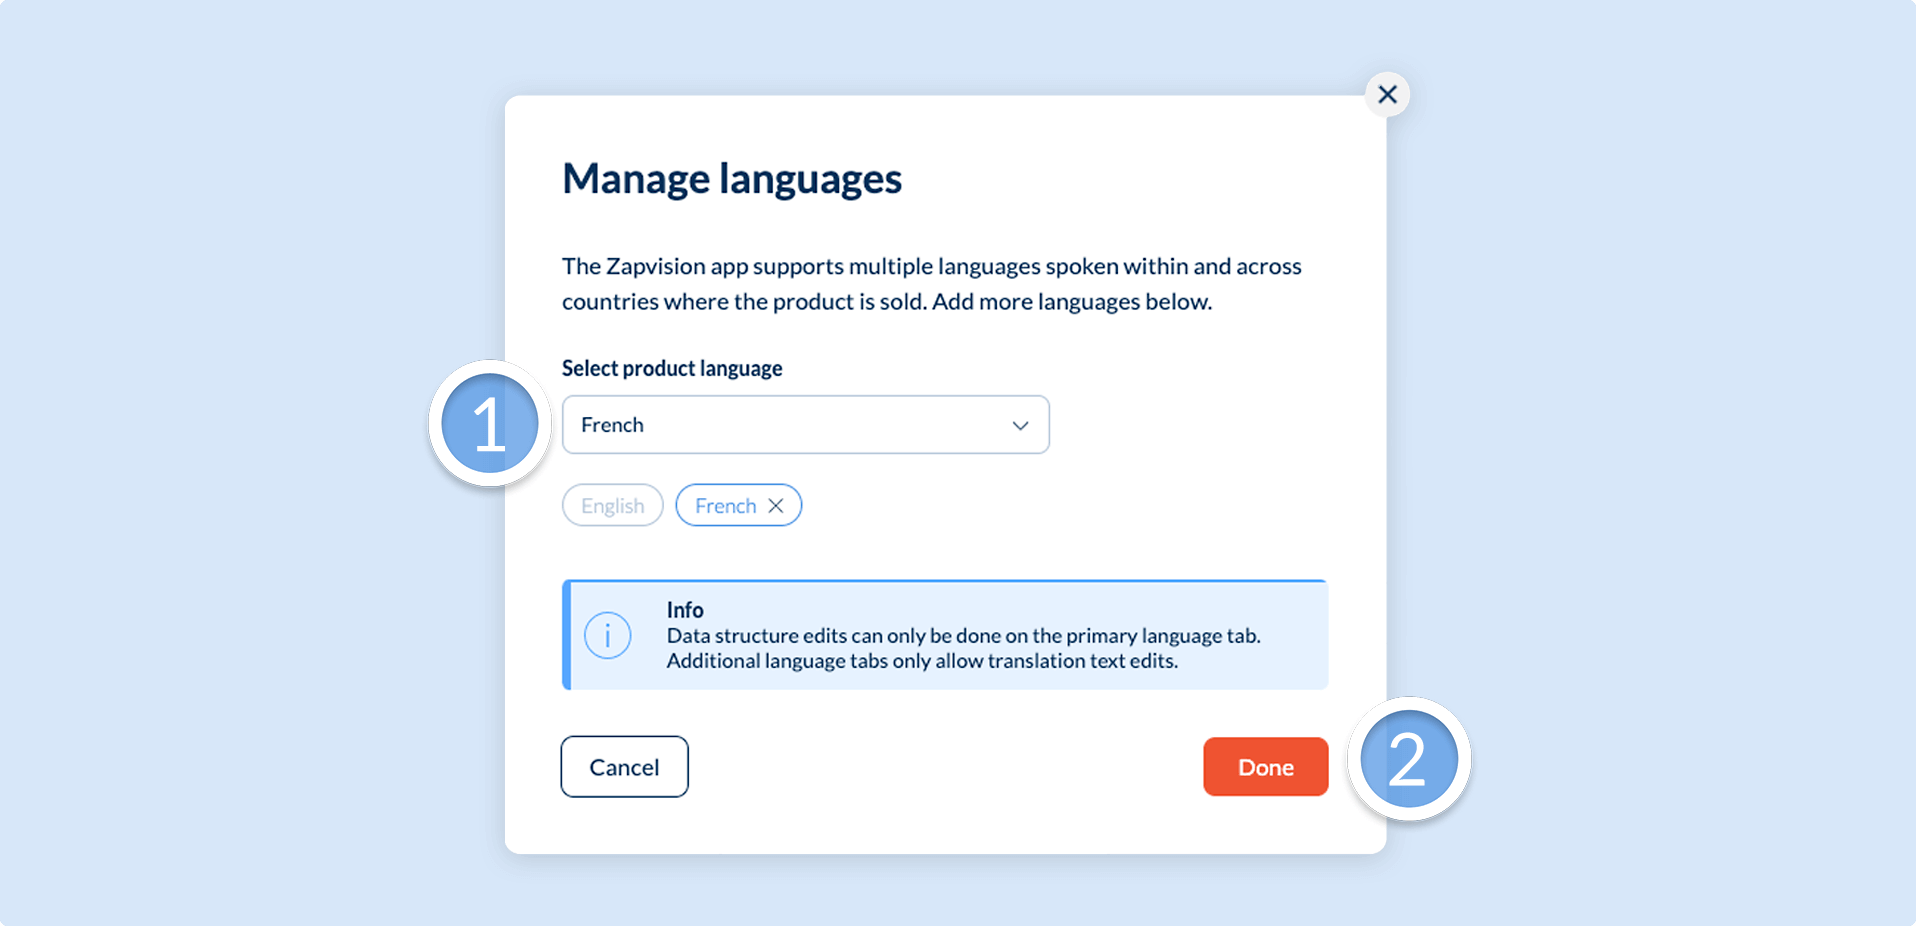
Once you have added an additional language, you will need to fill in the structured data yourself with the correct translations. The system will provide you with the original language information to help with translations.
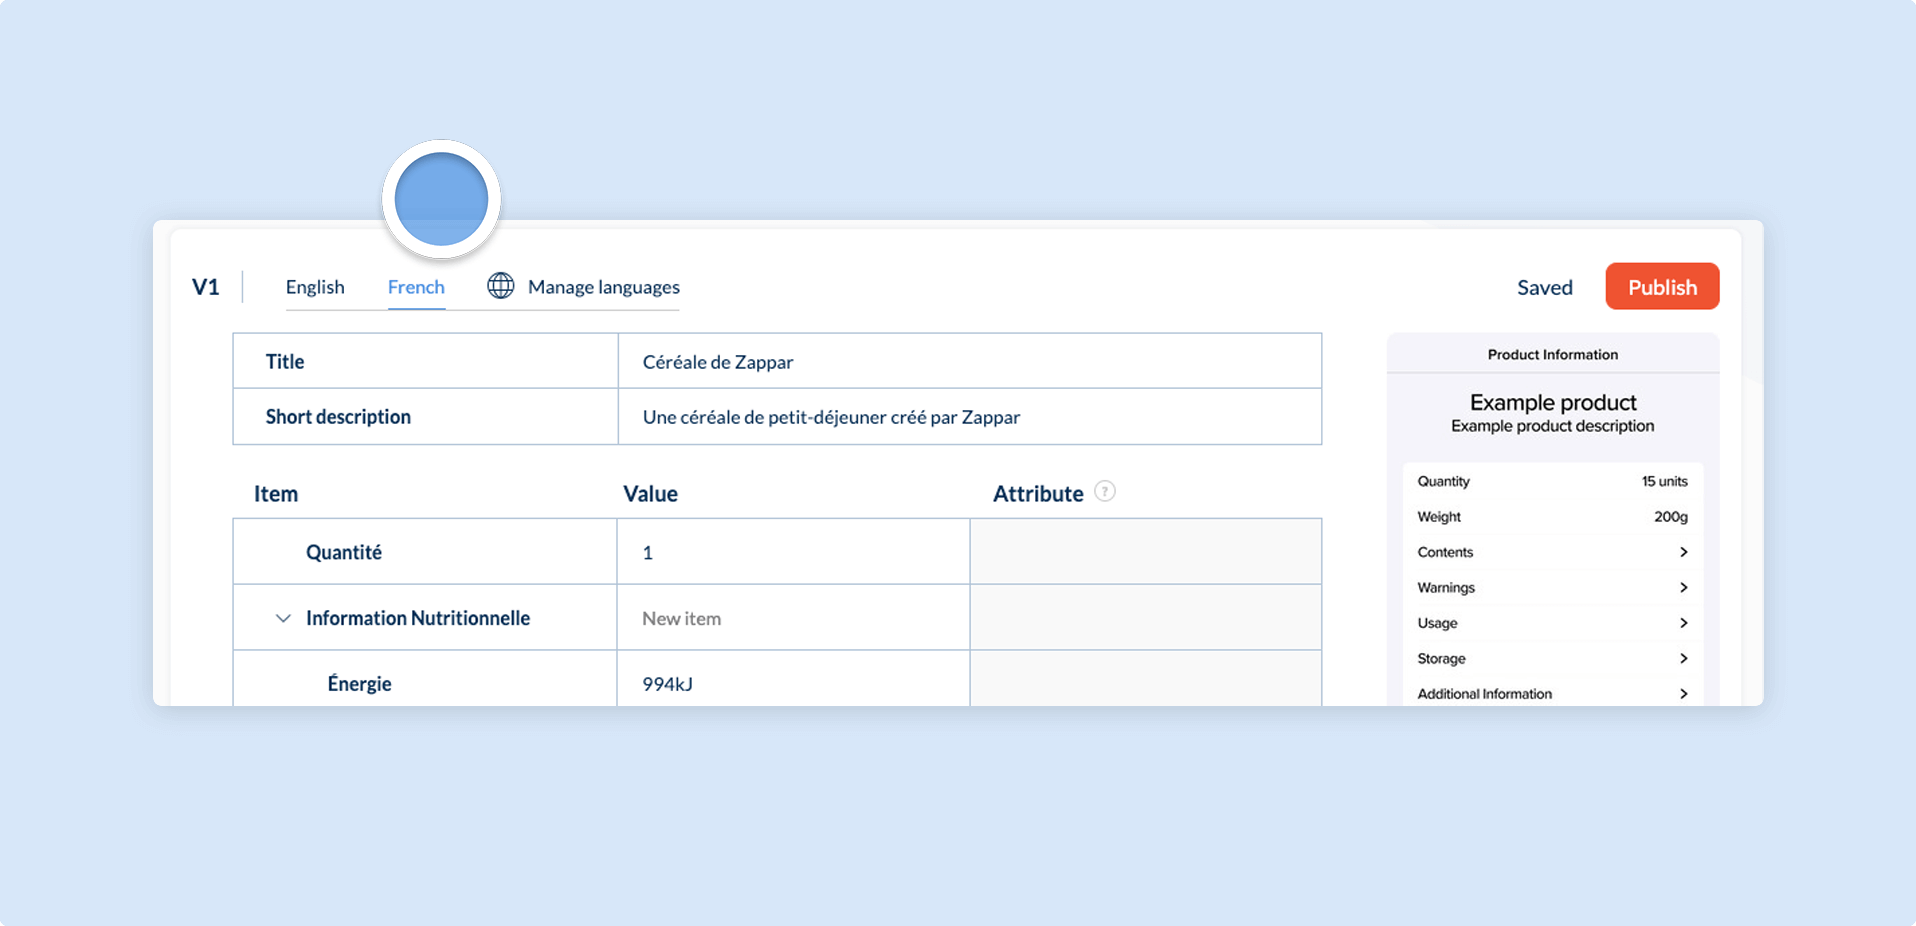
The structure of the Product information must remain consistent across languages, and so editing the table structure (e.g. adding sub-pages, deleting items) is not permitted on secondary languages.
Currently the Zapvision CMS only supports a small sub-section of spoken languages in the world, to reduce the length of the list and improve the user experience. We can however add languages from an exhaustive list, so if your required language is not present please get in touch via support@zappar.com.